
How to Replace Lower Control Arm Ball Joint Safely on Your Car
A worn lower ball joint can make a vehicle feel loose, clunk over bumps, or wander while braking. Because this joint connects the lower control arm to the steering knuckle, severe wear can affect steering control and, in extreme cases, allow the wheel to fold outward. Replacing it is a realistic home repair on many vehicles, but it is not a job to rush or improvise.
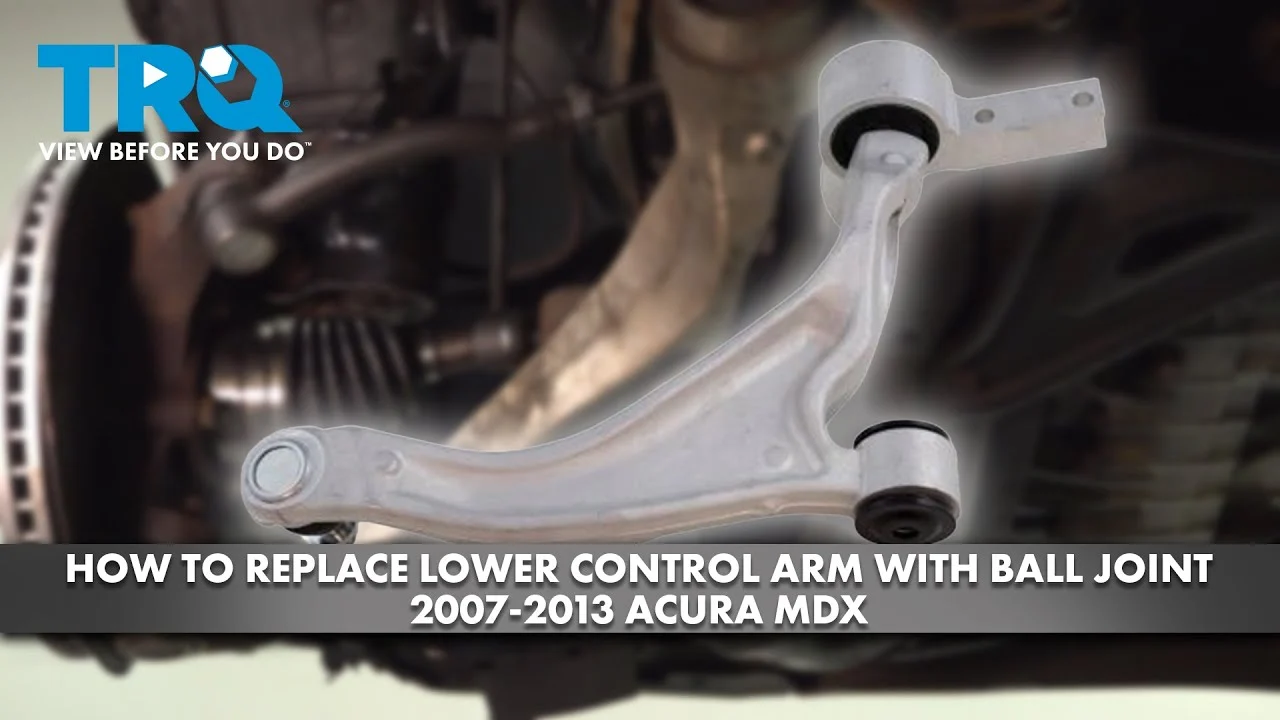
Learning how to replace lower control arm ball joint starts with identifying the joint design on your specific vehicle. Some are bolted or riveted to the control arm, while others are pressed into it and require a heavy-duty ball joint press. A few control arms are sold only as complete assemblies, making replacement of the entire arm the more practical option.
This guide explains how to confirm the repair, support the vehicle safely, separate the suspension components, install the correct joint, and check the result before driving normally. Use the factory service information for torque values and any vehicle-specific procedures; the general sequence below cannot replace those specifications.
At a glance
- Support the vehicle by its frame or approved lift points, never by the control arm you are removing.
- Confirm whether the ball joint is press-fit, bolted, riveted, or part of a complete control-arm assembly before buying parts.
- After reassembly, check for looseness and have the alignment inspected if any steering or suspension connection was disturbed.
How to replace lower control arm ball joint safely on your car
The procedure below applies to many front suspensions with a separate lower ball joint, but vehicle layouts differ. Read the service instructions for your year, make, and model first, especially if the vehicle has an aluminum steering knuckle, a captive ball joint, a ride-height sensor, or a spring mounted in the lower control arm.
Tools you will need
- Floor jack and properly rated jack stands for lifting and supporting the vehicle
- Wheel chocks to prevent movement
- Socket and wrench set, including the sizes specified for your vehicle
- Breaker bar or impact wrench for stubborn fasteners
- Ball joint separator or suitable puller for separating the tapered stud
- Ball joint press with the correct adapters for a press-fit joint
- Torque wrench for final tightening
- Replacement ball joint, new retaining hardware, and a new cotter pin when specified
- Penetrating oil, wire brush, and rust-protection spray for corroded hardware
- Optional: pry bar, dead-blow hammer, snap-ring pliers, and a service manual
Step 1 Confirm the diagnosis and replacement design
Before lifting the vehicle, verify that the lower ball joint is actually worn. With the vehicle parked on level ground, set the parking brake and chock the rear wheels. If the front wheel is off the ground, grasp it at the top and bottom and rock it inward and outward while another person watches the joint.
Movement at the ball joint is a concern, although some vehicles require a specific loaded or unloaded inspection method.
Also listen for clunks during low-speed turns or over small bumps, and inspect the rubber dust boot. A torn boot allows water and grit into the joint, but a torn boot alone does not prove that the joint has excessive play. Compare the suspected side with the opposite side and follow the manufacturer’s inspection procedure where available.
Look up the replacement part before disassembly. A press-fit joint usually has a retaining ring or shoulder and must be pressed out and in with controlled force. A bolt-in joint may use bolts and nuts, while a riveted joint requires drilling or grinding the factory rivets away.
If the joint is permanently integrated into the control arm, replace the complete arm instead of trying to separate it.
Important
Stop and seek professional help if the vehicle cannot be supported securely, the coil spring is under unusual tension, the control arm is badly cracked, or the joint will not separate without uncontrolled force. A loaded suspension spring and a slipping press can cause serious injury.
Step 2 Prepare the vehicle and loosen the wheel fasteners
Park on a solid, level surface and place the transmission in Park or in gear. Chock the wheels that remain on the ground. Loosen the front wheel lug nuts slightly while the tire still contacts the ground, but do not remove them yet.
Choose the manufacturer’s lifting point, then raise the vehicle high enough to remove the wheel and work under the steering knuckle. Position jack stands beneath the approved structural support points, lower the vehicle onto them, and give the body a firm push to confirm it is stable. Keep the jack lightly supporting a suitable point as a backup only if it does not interfere with the work.
Remove the wheel and place it flat beneath the vehicle only as a secondary precaution, not as a substitute for jack stands. Turn the steering wheel only if the service instructions allow it and only after confirming that the vehicle is stable.
Step 3 Expose and document the suspension connection
Clean dirt from the lower ball joint, its fasteners, and the steering knuckle with a wire brush. Take several photos before disconnecting anything. Record the direction of the ball-joint stud, the position of washers and spacers, and the routing of brake hoses and ABS wiring.
Identify the retaining method. A castle nut uses a cotter pin and may also use a washer. A prevailing-torque nut may be intended for one-time use.
Press-fit joints often have a snap ring that must be removed before pressing. Do not assume the new part includes every nut, washer, or retaining ring you need.
If the vehicle has a ride-height sensor or brake-hose bracket attached to the control arm, unfasten the bracket without stretching the hose or wiring. Support the steering knuckle so its weight does not hang from the brake hose, ABS cable, or outer tie-rod connection.
Step 4 Support the steering knuckle and separate the tapered stud
Place a jack or suitable support beneath the steering knuckle, using a block or adapter that will not damage it. The goal is to hold the knuckle at approximately its normal position while the lower ball-joint nut is removed.
Remove the cotter pin if fitted, then loosen and remove the ball-joint nut. If the stud turns with the nut, apply moderate upward pressure beneath the knuckle or use the method specified by the service manual. Do not heat a part near a rubber boot, brake hose, or ABS wiring without a controlled procedure.
Use a ball-joint separator or puller to release the tapered stud from the steering knuckle. A tapered stud is wedged tightly into a matching hole, so removing the nut does not make it fall free. Avoid striking the threaded end directly, because damaged threads can prevent proper nut installation.
If using a hammer, strike the solid sides of the knuckle near the tapered bore only when the vehicle instructions permit it.
When the stud releases, the knuckle should remain supported and the brake assembly should not pull on its flexible hose. If the control arm is spring-loaded, support it before removing any hardware that lets it move.
Step 5 Remove the old ball joint or control arm
For a bolt-in joint, remove the retaining bolts and nuts while keeping the control arm supported. Some bolts are difficult to access because the joint sits close to the arm or subframe. If a bolt turns inside a captive nut or the threads are damaged, stop rather than applying force that could tear the control arm.
For a riveted joint, remove the rivet heads with a grinder or drill, then drive the remaining bodies out with a punch. Protect nearby brake and electrical components from metal filings. Wear eye protection, and do not grind near fuel, rubber, or wiring that can be damaged by sparks.
For a press-fit joint, remove its snap ring first if present. Position the ball joint press squarely over the control arm, using adapters that support the arm and receive the old joint. Turn the press gradually and verify that the adapters remain centered.
The joint should move in a controlled line; a tilted press can slip or deform the control arm.
If the complete control arm is being replaced, remove the arm’s inner mounting bolts only after supporting it and accounting for spring tension. Do not allow the arm to drop. Marking the original washer or cam-bolt position can help preserve a rough alignment setting, but those marks are not a substitute for a professional alignment.
A useful way to approach how to replace lower control arm ball joint is to check your progress after each stage.
Step 6 Compare the parts and clean the mounting area
Place the new and old parts side by side. Compare the stud angle, mounting diameter, bolt pattern, snap-ring groove, grease fitting position, and dust-boot shape. The replacement should match the application catalog and the old part; do not modify a joint to make an incorrect part fit.
Clean rust and debris from the control-arm bore or mounting surface. A press-fit bore must remain round and undamaged. Remove only loose corrosion and burrs; enlarging the bore or grinding the control arm can leave the joint with an unsafe interference fit.
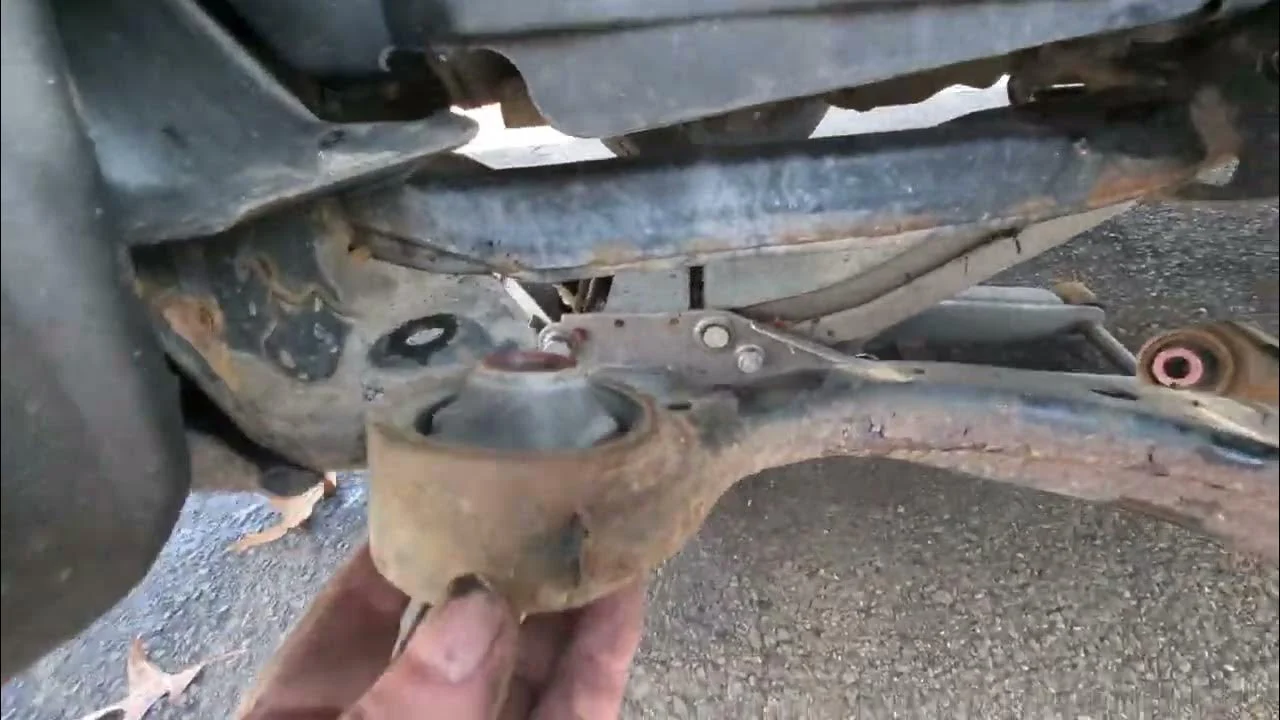
Check the control arm for cracks, severe corrosion, and worn bushings. If the arm is damaged or its bushing is deteriorated, installing a new ball joint into it may not solve the suspension problem. This is a sensible point to switch to a complete control-arm assembly when the part design and service information support that repair.
Step 7 Install the replacement joint correctly
For a bolt-in joint, place it in the same orientation as the original and install the specified new hardware finger-tight. Tighten the fasteners in the sequence and to the torque listed for the vehicle. If the joint uses rivets from the factory, use the replacement bolts or hardware supplied for that application rather than ordinary hardware-store bolts.
For a press-fit joint, align it with the control arm and press against the joint’s housing, not the stud or dust boot. Keep the press straight and continue until the joint’s shoulder is fully seated in the arm. Install the retaining ring in its groove if the design uses one.
A ring that is only partly seated can allow the joint to move out of the arm.
Do not press on the ball stud, and do not use the new dust boot as a contact surface. Stop if the joint begins to enter crookedly, the control arm flexes excessively, or the press requires force that seems abnormal. Remove it, inspect the alignment and bore, and correct the problem before continuing.
Step 8 Reconnect the steering knuckle and torque the hardware
Guide the new ball-joint stud into the steering knuckle without forcing it sideways. Reinstall the washer and nut in their original order, then tighten the nut to the manufacturer’s specification. If the joint uses a castle nut, continue tightening only as the service instructions allow so the cotter-pin hole aligns; never back off a properly tightened suspension nut just to insert the pin unless the instructions specifically permit that method.
Install a new cotter pin whenever one was removed, bending its ends so it cannot work out. If the replacement includes a new self-locking nut, use it rather than reusing the old one when the instructions call for replacement.
Reconnect ABS-wire brackets, brake-hose brackets, stabilizer links, and any other components removed for access. Check that the brake hose and sensor wire have full clearance through the steering range and cannot rub on the tire, spring, or control arm.
Step 9 Reinstall the wheel and lower the vehicle
Reinstall the wheel and tighten the lug nuts by hand in a crisscross pattern so the wheel seats evenly. Raise the vehicle slightly, remove the jack stands, and lower it carefully until the tire contacts the ground. Torque the lug nuts in the specified pattern and to the vehicle’s specified value.
Before moving the vehicle, turn the steering wheel from lock to lock while observing the repaired area. The tire should not touch the brake hose, wiring, control arm, or inner fender. The ball-joint boot should remain seated and unpinched.
Step 10 Perform a stationary and low-speed check
With the vehicle on the ground, inspect the joint and all fasteners one more time. Push down on the repaired corner if practical and listen for a new clunk. Then start with a slow drive in a safe area, using gentle braking and turns.
Pay attention to wandering, steering-wheel position, vibration, or noises that were not present before the repair.
Recheck the visible hardware after the short test if the service information recommends it, and arrange a wheel alignment when required. Any change involving the control arm, ball joint, steering knuckle, or alignment cams can alter toe, camber, or caster. A vehicle that drives acceptably can still wear tires quickly if its alignment is wrong.
What the lower ball joint does and why the design matters
The lower ball joint is a ball-and-socket pivot between the lower control arm and steering knuckle. It allows the knuckle to move up and down with the suspension while also turning left and right with the steering. The control arm bushing at the inner end provides a separate pivot, so replacing a ball joint does not automatically repair worn bushings.
Press-fit and bolt-in designs need different tools and different installation checks. A press-fit joint depends on the correct interference fit and full seating depth. A bolt-in joint depends on the correct orientation, fastener grade, and torque.
The exact joint may also be integrated into the control arm, particularly on some modern assemblies.
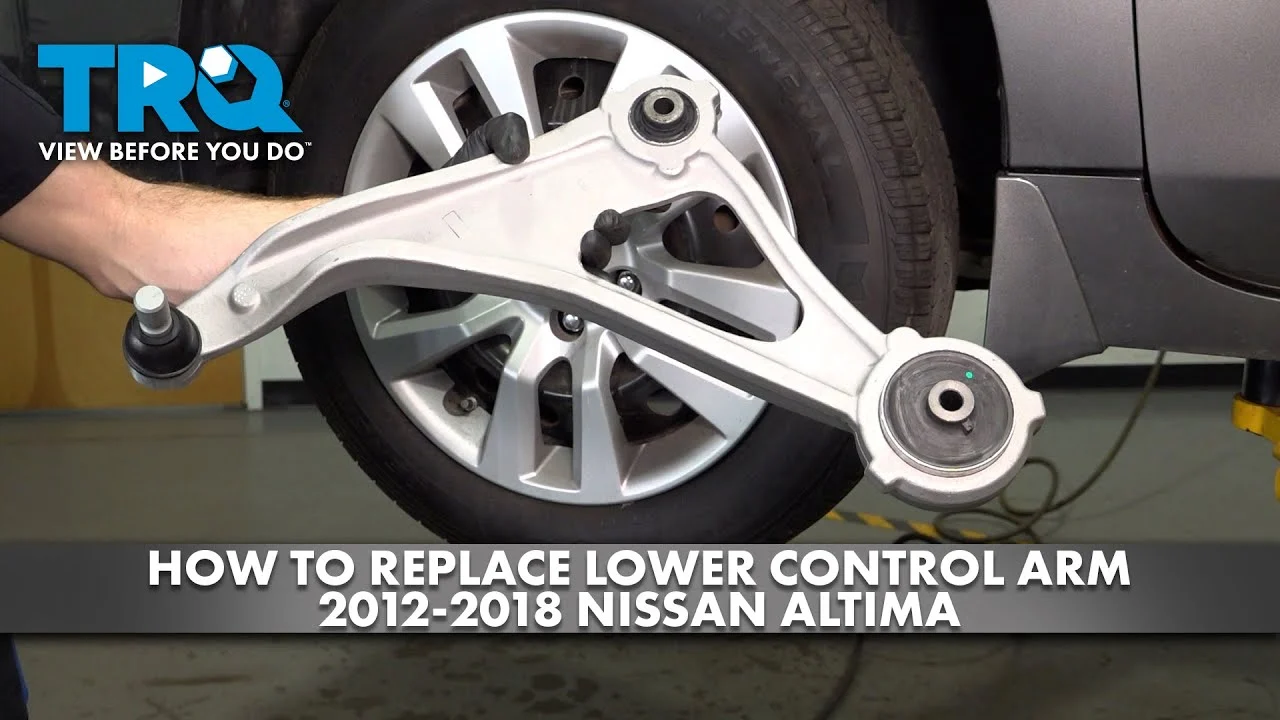
When considering how to replace lower control arm ball joint, compare the price and condition of the complete arm with the joint alone. A complete arm can save the difficult pressing operation and renew a worn bushing, but it still must match the vehicle and may require transferring brackets or hardware.
How to check the repair before normal driving
A proper result is more than a quiet test drive. The new joint should be fully seated, its retaining ring or fasteners should be correctly installed, and the tapered stud should be clamped securely in the steering knuckle. The dust boot should not be twisted, split, or trapped under a washer.
- Confirm every removed fastener is present and tightened to the vehicle specification.
- Verify that a new cotter pin or specified locking device is installed.
- Check that the wheel is tight and the tire clears all suspension and brake parts.
- Look for stretched brake hoses, pinched ABS wiring, or displaced brackets.
- Listen for clunks during gentle turns and over a small, safe bump.
- Watch for steering pull, a crooked steering wheel, vibration, or uneven braking.
- Schedule an alignment when the manufacturer requires it or whenever control-arm position changed.
Check your result
A successful stationary check shows no visible joint movement, no interference through the steering range, and no hardware left unsecured. A successful road check is quiet and predictable, but it does not replace an alignment inspection.
Common problems during ball-joint replacement
Rust often makes an otherwise straightforward repair difficult. Penetrating oil and careful cleaning can help, but do not round fasteners or hammer directly on a threaded stud. If a fastener, press, or separator is visibly bending, stop and reassess the setup.
| Symptom | Likely issue or response |
|---|---|
| The replacement joint will not start straight | Remove it and realign the press and adapters. Do not force a tilted joint into the bore. |
| The stud spins while tightening | Use the specified method to load the taper or hold the stud, and inspect damaged threads before proceeding. |
| There is play after installation | Do not drive normally. Check seating, retaining hardware, and the knuckle bore; obtain professional inspection if the cause is unclear. |
| The vehicle pulls or the wheel is crooked | Have the alignment checked and inspect for another worn steering or suspension part. |
| A clunk remains | Recheck the ball joint, control-arm bushings, stabilizer link, tie-rod end, and brake hardware rather than assuming the new joint failed. |
Frequently asked questions
Can I replace a lower ball joint without removing the control arm?
Sometimes. A bolt-in joint can often be replaced with the control arm installed, while a press-fit joint may be accessible in place but is usually easier and safer to press out on a bench. The vehicle’s service procedure and available clearance decide the method.
How do I know whether my ball joint is press-fit?
Look at the replacement catalog and inspect the joint on the vehicle. A press-fit joint has a cylindrical housing seated in a control-arm bore, often with a snap ring. A bolt-in joint has a flange and visible bolts or rivets.
Do not rely only on appearance if corrosion hides the mounting style.
Should I replace both lower ball joints at the same time?
Not automatically. Replace the opposite side if it also has measurable play, a damaged boot, or similar wear. If both sides are the same age and condition, doing them together can be efficient, but a sound joint does not require replacement solely because the other side failed.
Do I need an alignment after replacing a ball joint?
An alignment inspection is strongly recommended, and it is required on vehicles where the ball joint or control arm position affects alignment angles. It is especially important if the complete control arm was replaced, alignment bolts were disturbed, or the steering wheel is no longer centered.
What if the ball joint is riveted to the control arm?
Remove the rivet heads with suitable cutting or drilling equipment and install the manufacturer-approved replacement hardware. If the rivets are inaccessible, the arm is badly corroded, or metal filings could damage nearby components, replacing the complete arm or using a repair shop is safer.
Finish the repair with a careful inspection
Learning how to replace lower control arm ball joint is mainly an exercise in correct support, correct part identification, and controlled installation. The job is complete only when the joint is fully seated or securely bolted, the steering knuckle and related brackets are reconnected, and every fastener is tightened to the vehicle’s specifications.
Take a cautious low-speed test drive, stop immediately for looseness or unusual noise, and arrange an alignment inspection when appropriate. If the joint will not separate, the control arm is damaged, or the suspension spring makes the work unpredictable, handing the vehicle to a qualified repair shop is the safest next action.






