How to Replace a Lower Control Arm: Complete DIY Suspension Repair Guide
Learning how to replace a lower control arm is one of the most valuable suspension repairs a vehicle owner can tackle. The lower control arm helps keep the wheel aligned while allowing the suspension to move smoothly over bumps and uneven roads.
Over the years, I have replaced lower control arms on sedans, SUVs, and pickup trucks. In most cases, drivers noticed immediate improvements in steering response, ride quality, and tire wear. While every vehicle is different, the overall process follows the same core steps.
What Does a Lower Control Arm Do?
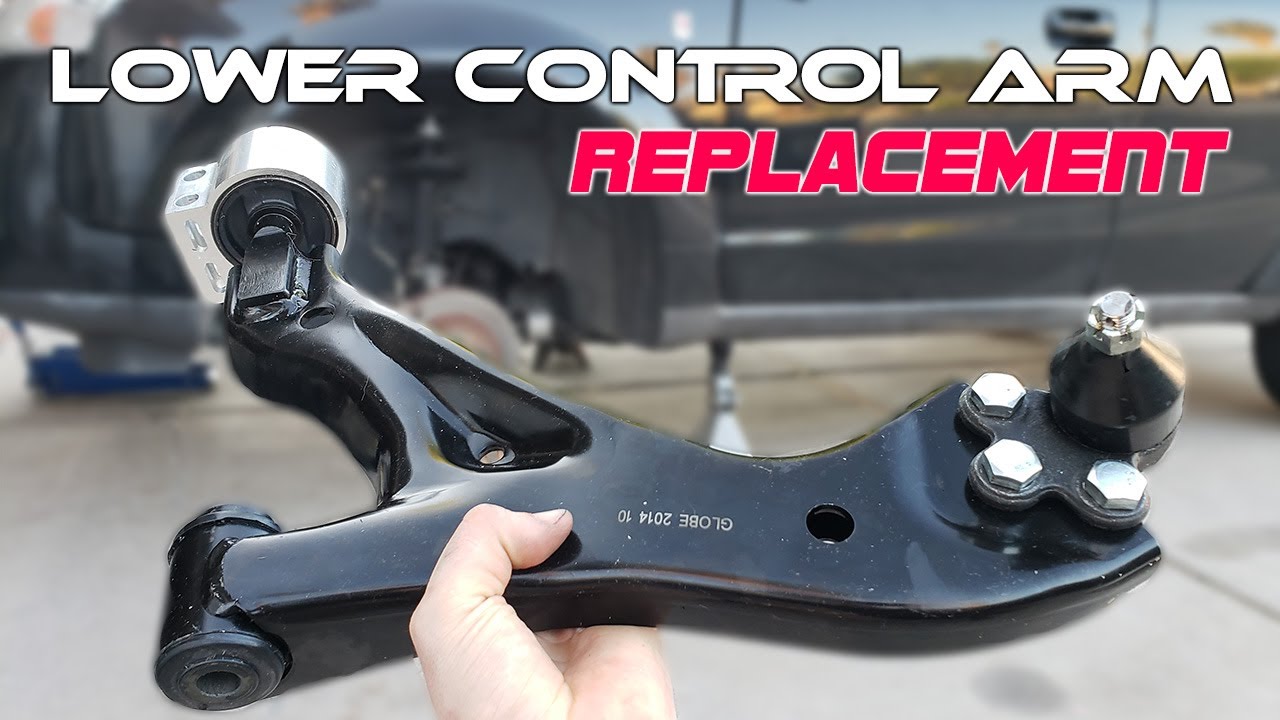
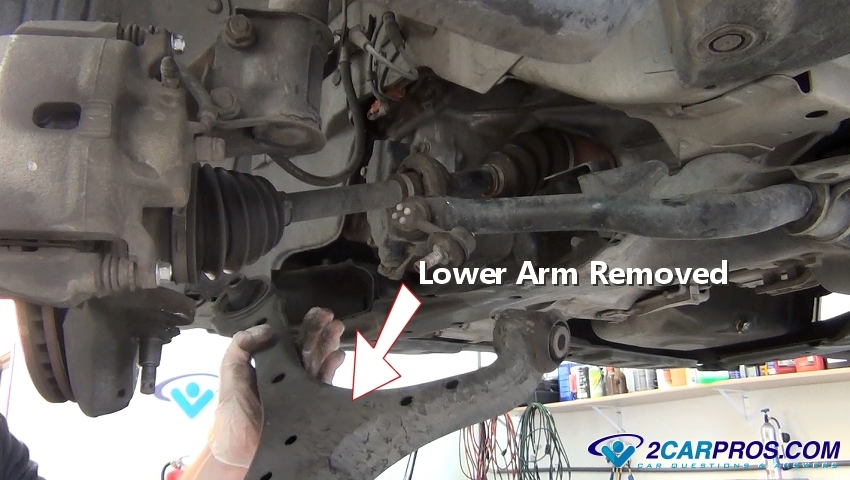
The lower control arm connects the vehicle frame or subframe to the steering knuckle. It allows the wheel to move up and down while maintaining proper wheel position.
Most lower control arms contain bushings and often a ball joint. These components absorb road vibrations and help maintain steering stability. Understanding this role makes it easier to understand how to replace a lower control arm correctly.
- ✦ Supports Suspension Movement
Allows controlled vertical wheel travel over bumps and rough roads.
- ✦ Maintains Alignment
Helps keep the wheel positioned correctly for predictable handling.
- ✦ Reduces Vibration
Bushings absorb shocks and road impacts.
Why Control Arms Wear Out
Bushings deteriorate due to age, road salt, heat, and repeated impacts. Ball joints can also develop excessive play after years of service.
- ✦ Age
Rubber components naturally break down over time.
- ✦ Road Hazards
Potholes and curbs can damage suspension components.
Signs You Need to Replace a Lower Control Arm
Before learning how to replace a lower control arm, it helps to recognize the warning signs. Many suspension issues develop gradually and become worse over time.
Ignoring a damaged control arm can lead to tire wear, steering problems, and reduced vehicle control. Early diagnosis often prevents more expensive repairs.
- ✦ Clunking Noises
A worn bushing or ball joint may create knocking sounds over bumps.
- ✦ Uneven Tire Wear
Poor wheel positioning can cause tires to wear faster.
- ✦ Vehicle Pulling
Damaged suspension components may affect straight-line tracking.
Visual Inspection Clues
Look for cracked bushings, rust damage, bent arms, or leaking hydraulic bushings. These issues often indicate replacement is needed.
- ✦ Cracked Rubber
A common sign of bushing failure.
Tools and Parts Needed
Gathering the correct tools before starting makes the job safer and faster. Many lower control arm replacements require significant leverage and suspension disassembly.
Always consult a repair manual for vehicle-specific procedures and torque specifications.

- ✦ Floor Jack
Used to safely raise the vehicle.
- ✦ Jack Stands
Essential for safely supporting the vehicle.
- ✦ Socket Set
Needed for removing mounting bolts and hardware.
- ✦ Torque Wrench
Ensures proper fastener tightening.
- ✦ Replacement Control Arm
Choose a quality component designed for your vehicle.
Optional Helpful Tools
Penetrating oil, breaker bars, pry bars, and ball joint separators can make stubborn components easier to remove.
- ✦ Penetrating Oil
Helps loosen rusted fasteners.
Step-by-Step Guide: How to Replace a Lower Control Arm
The exact procedure varies by vehicle, but the following process covers the general steps involved in how to replace a lower control arm safely and effectively.
Work on a level surface and wear eye protection throughout the repair.

- ✦ Step 1
Loosen lug nuts slightly before lifting the vehicle.
- ✦ Step 2
Raise the vehicle and support it securely with jack stands.
- ✦ Step 3
Remove the wheel for access.
- ✦ Step 4
Disconnect sway bar links, ball joints, or other attached components as required.
- ✦ Step 5
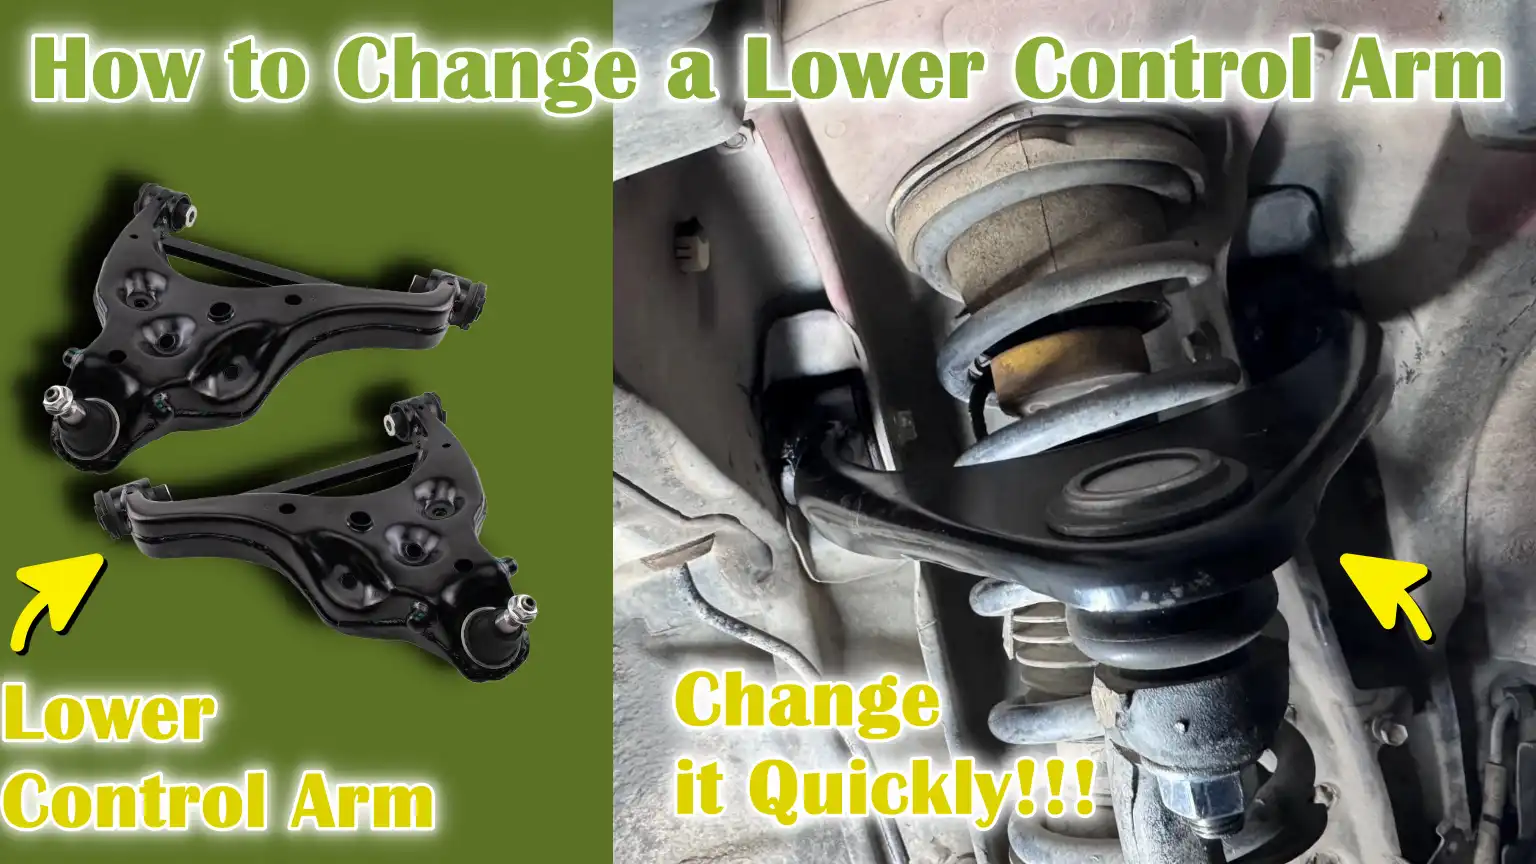
Remove control arm mounting bolts and carefully extract the old arm.
- ✦ Step 6
Install the new control arm and loosely install fasteners.
- ✦ Step 7
Torque all hardware according to manufacturer specifications.
- ✦ Step 8
Reinstall removed parts, mount the wheel, and lower the vehicle.
Important Torque Considerations
Many control arm bushings must be torqued at normal ride height. Tightening them while the suspension hangs can shorten bushing life.
- ✦ Follow Specifications
Use the vehicle manufacturer’s torque values.
Common Mistakes to Avoid
Many first-time DIY mechanics make avoidable errors when learning how to replace a lower control arm. Careful preparation helps prevent these issues.
Taking extra time during installation often saves hours of troubleshooting later.

- ✦ Skipping Jack Stands
Never rely solely on a hydraulic jack.
- ✦ Incorrect Torque
Overtightening or undertightening fasteners can cause failures.
- ✦ Reusing Damaged Hardware
Replace single-use hardware when required.
- ✦ Ignoring Alignment
A professional alignment is often necessary after the repair.
Mistakes That Damage New Parts
Improper bushing loading and installation shortcuts can reduce the lifespan of even high-quality replacement parts.
- ✦ Wrong Tightening Position
Bushings should often be torqued at ride height.
Do You Need a Wheel Alignment After Replacement?
In most cases, yes. Anytime suspension geometry changes, wheel alignment should be checked. This is an important final step in how to replace a lower control arm.
Driving without an alignment can cause steering issues and premature tire wear. Many repair shops recommend scheduling an alignment immediately after installation.

- ✦ Protect Tires
Proper alignment helps maximize tire life.
- ✦ Improve Handling
Correct alignment supports predictable steering.
When Alignment Is Critical
Alignment is especially important if the old control arm was bent or severely worn.
- ✦ Bent Components
Previous damage often changes suspension angles.
Cost of Replacing a Lower Control Arm
The cost depends on the vehicle, labor rates, and part quality. Economy cars often cost less to repair than luxury vehicles or trucks.
DIY replacement can reduce labor expenses significantly. However, specialized tools and alignment costs should still be considered.

- ✦ DIY Cost
Usually includes parts, tools, and alignment expenses.
- ✦ Professional Repair
Includes labor, parts, shop fees, and alignment services.
When Professional Help Makes Sense
Vehicles with severe corrosion, seized bolts, or complex suspension designs may be better handled by experienced technicians.
- ✦ Heavy Rust
Corroded hardware can greatly increase repair difficulty.