
How to Replace a Control Arm: Complete DIY Guide for Safe Suspension Repair
Learning how to replace a control arm can save money and restore safe vehicle handling. The control arm connects the wheel assembly to the frame and helps keep the suspension moving smoothly over bumps and uneven roads.
Over the years, I have replaced many control arms on daily drivers, trucks, and SUVs. In most cases, drivers noticed better steering response and reduced tire wear immediately after the repair. While the job requires care and patience, many DIY mechanics can complete it with the right tools and preparation.
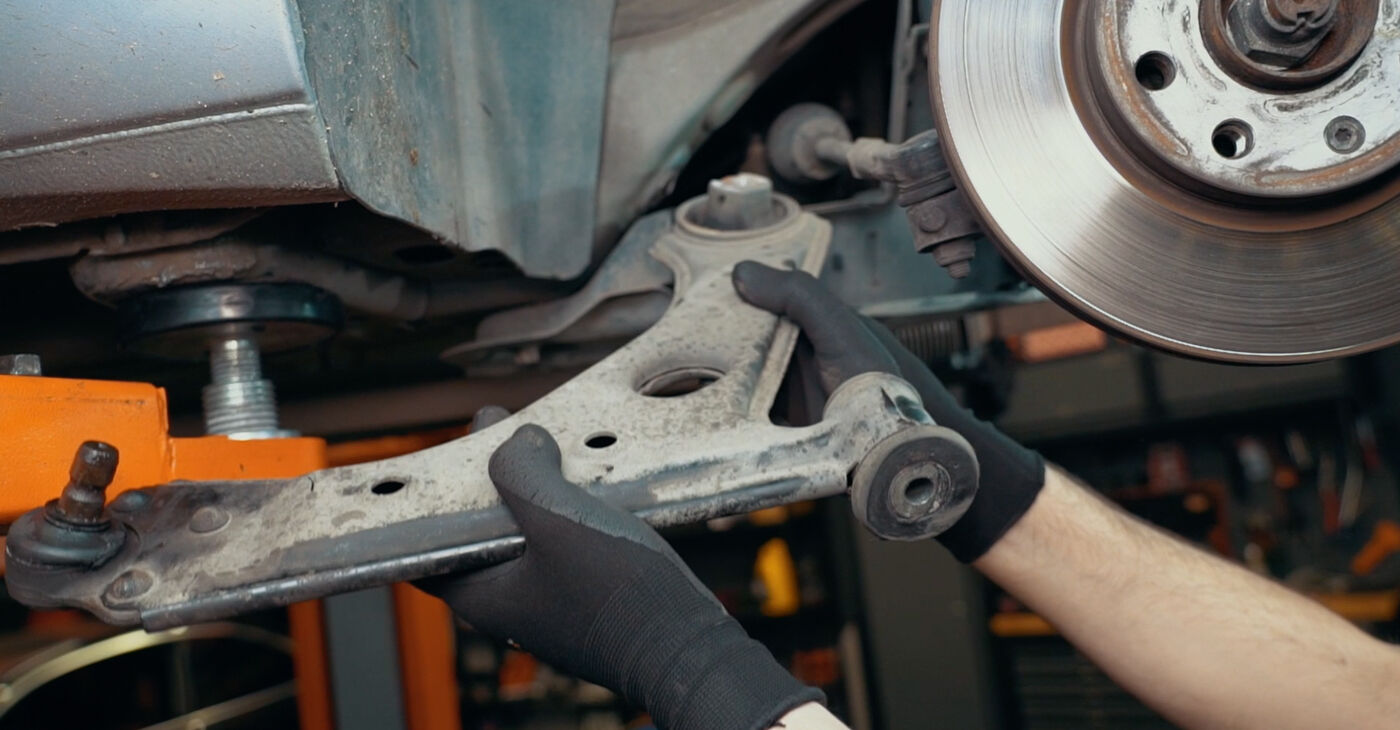
What Is a Control Arm and Why Is It Important?
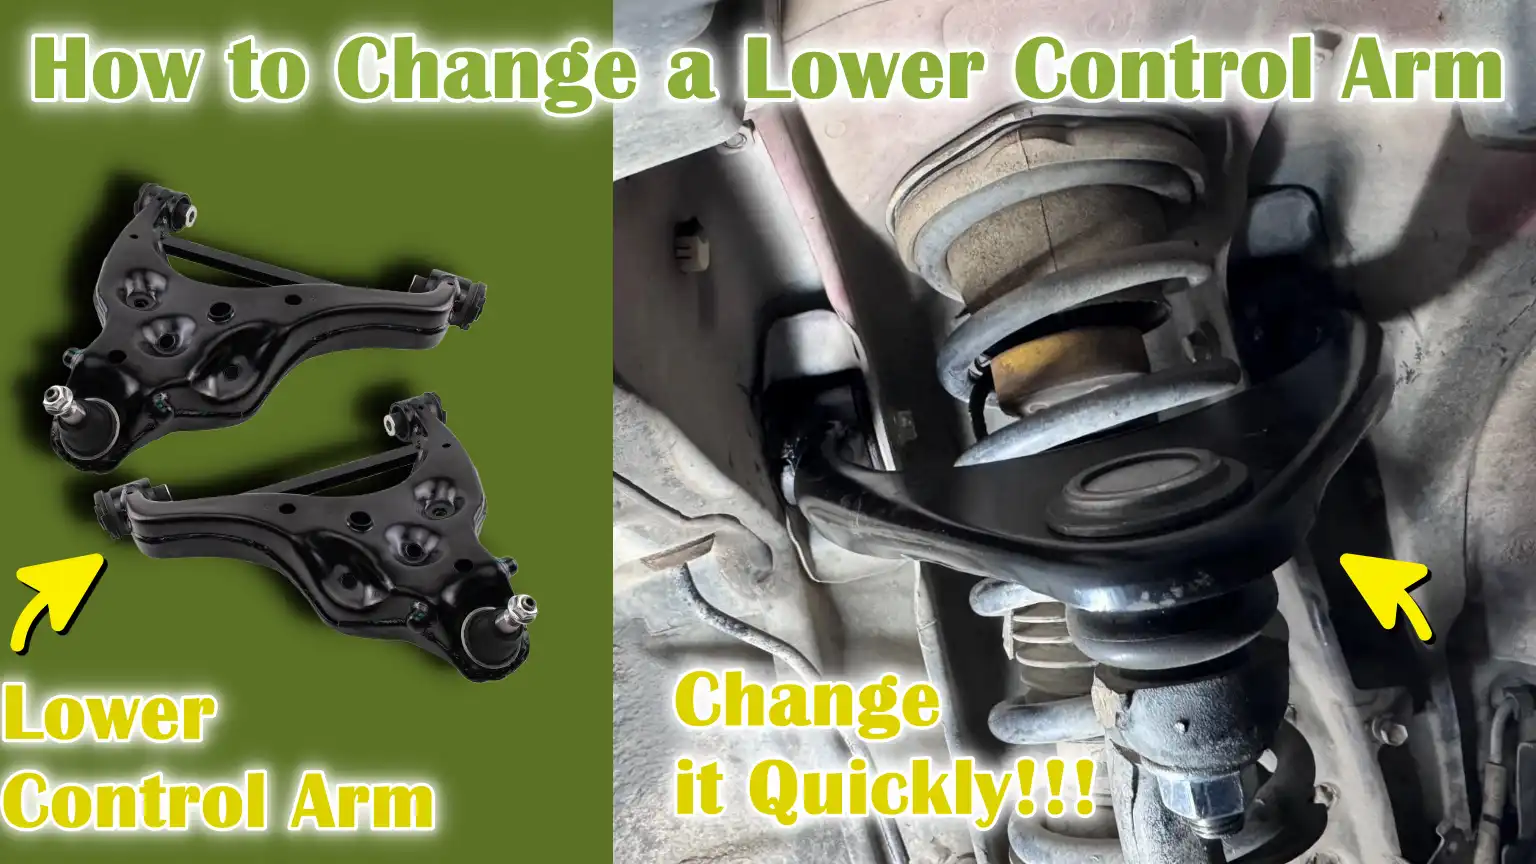
A control arm is a suspension component that connects the vehicle chassis to the steering knuckle or wheel hub assembly. It allows the wheel to move up and down while maintaining proper alignment.
Most vehicles use upper control arms, lower control arms, or both. Bushings and ball joints attached to the control arm help absorb road shock and allow controlled movement.
Understanding how to replace a control arm starts with understanding its job. A damaged control arm can affect steering, braking, ride quality, and tire wear.

- ✦ Suspension Support
Helps control wheel movement during driving.
- ✦ Alignment Stability
Maintains correct wheel angles and tire contact.
- ✦ Ride Comfort
Works with bushings and ball joints to reduce vibration.
Common Types of Control Arms
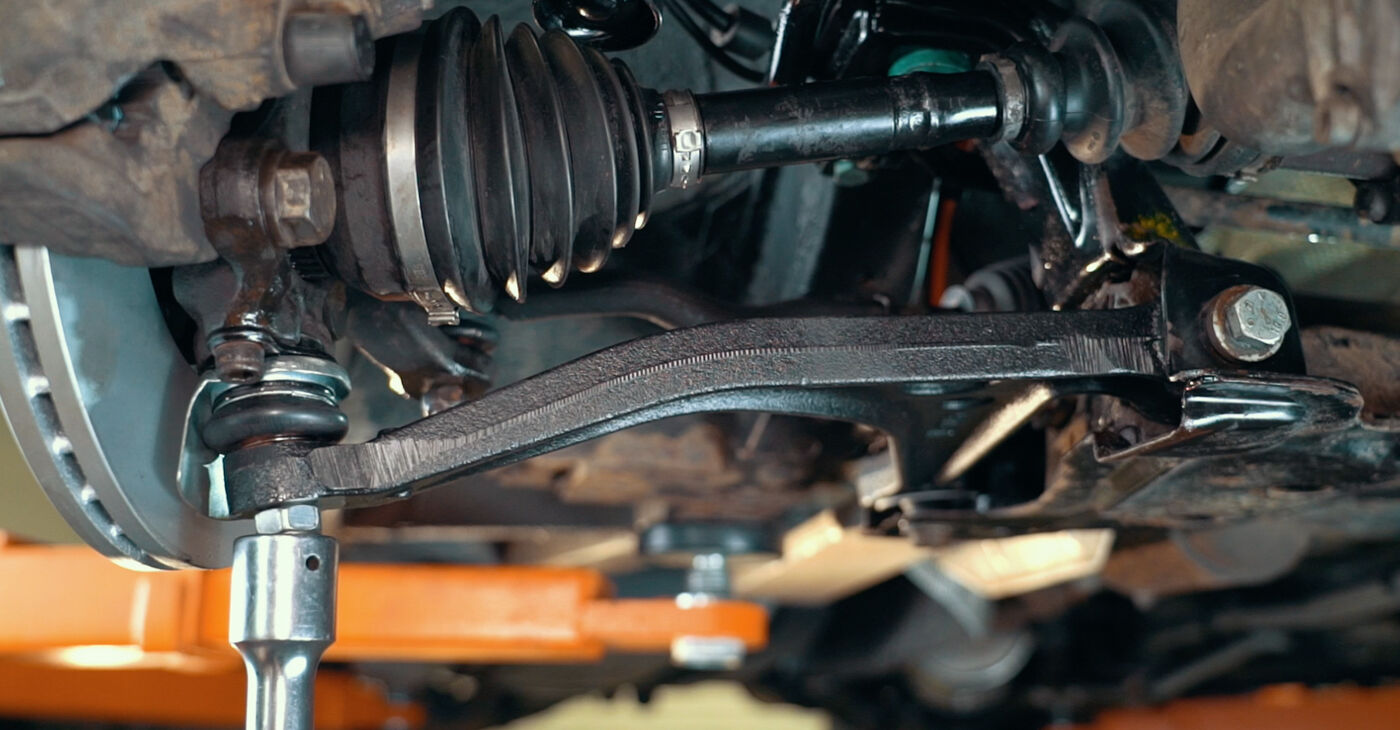
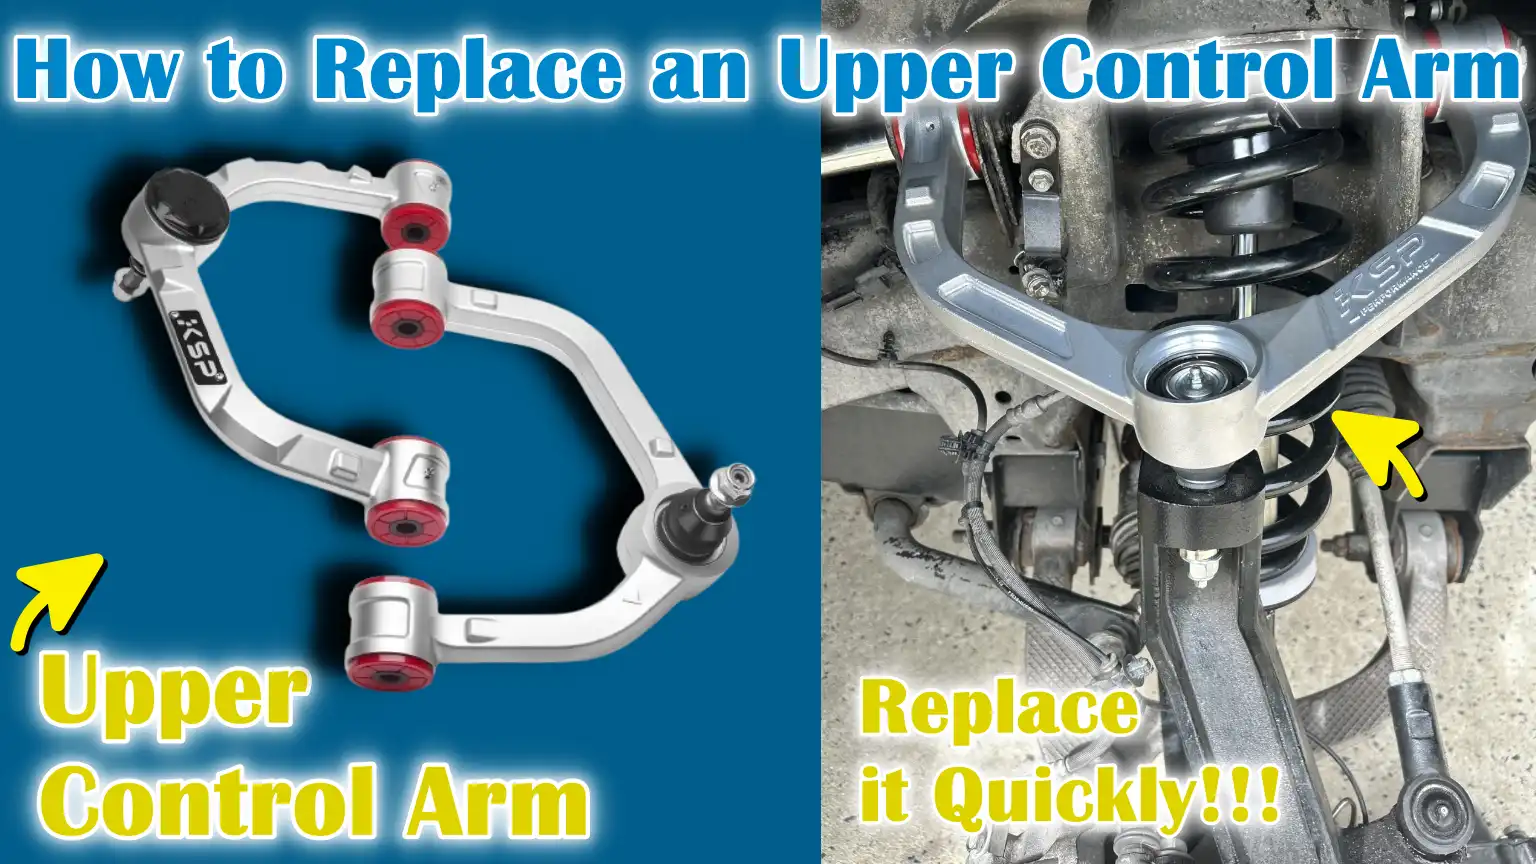
Vehicles may use stamped steel, forged steel, or aluminum control arms. Some come with pre-installed bushings and ball joints, which makes replacement easier.
- ✦ Upper Control Arm
Typically found in double-wishbone suspension systems.
- ✦ Lower Control Arm
Common on many passenger vehicles and trucks.
Signs You Need to Replace a Control Arm
Before learning how to replace a control arm, you should know the warning signs of failure. A worn control arm can create serious suspension and steering issues.
Drivers often notice clunking sounds, uneven tire wear, steering vibration, or a wandering vehicle. These symptoms can develop gradually or appear suddenly after hitting a pothole or curb.

- ✦ Clunking Noises
Often caused by worn bushings or loose ball joints.
- ✦ Uneven Tire Wear
Poor suspension geometry can wear tires quickly.
- ✦ Steering Pull
The vehicle may drift left or right.
- ✦ Vibration
Damaged suspension parts can create shaking through the steering wheel.
When Replacement Is Better Than Repair
Many modern control arms include sealed ball joints and pressed-in bushings. Replacing the complete assembly is often faster and more reliable than replacing individual components.
- ✦ Time Savings
Complete assemblies reduce labor time.
Tools and Supplies Needed
Having the correct equipment makes the job safer and easier. Before starting how to replace a control arm, gather all tools and replacement parts.
Always work on a flat surface and support the vehicle with quality jack stands. Never rely only on a hydraulic jack.
- ✦ Floor Jack
Used to lift the vehicle safely.
- ✦ Jack Stands
Provide stable support during repairs.
- ✦ Socket Set
Needed for suspension fasteners.
- ✦ Torque Wrench
Ensures bolts are tightened correctly.
- ✦ Breaker Bar
Helps loosen stubborn bolts.
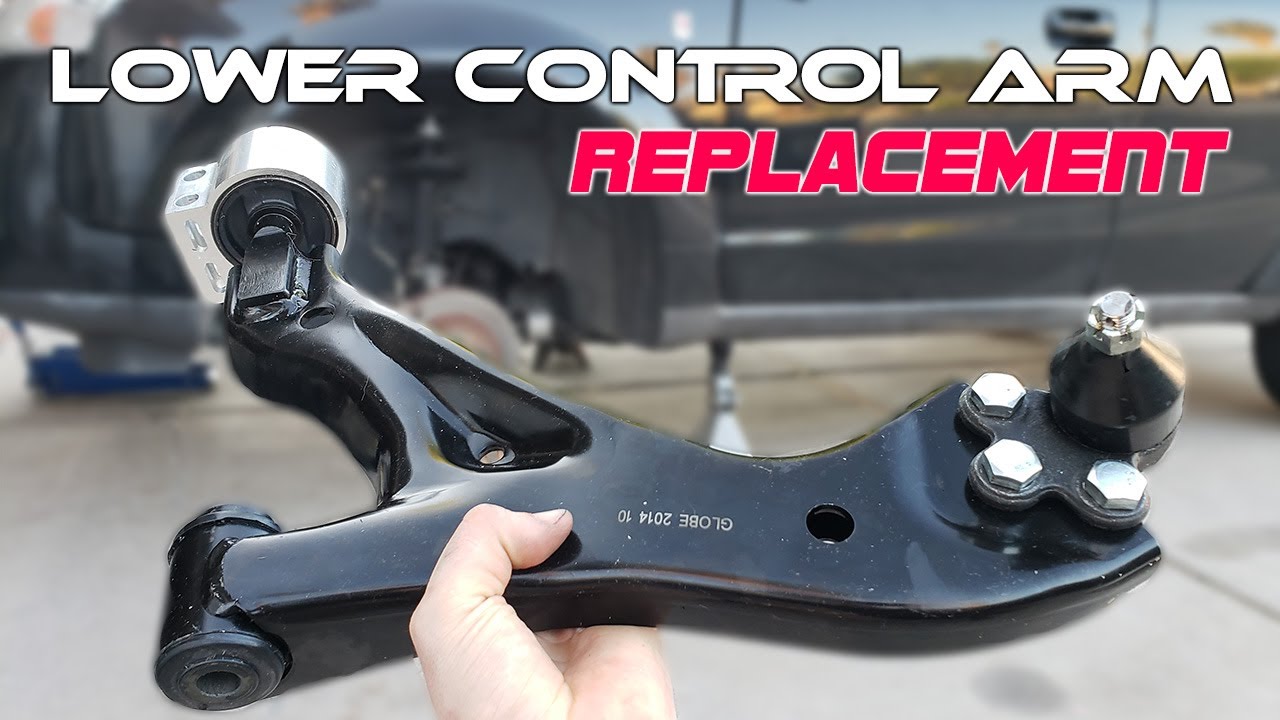
- ✦ Replacement Control Arm
Use a quality part designed for your vehicle.
Optional Helpful Tools
Penetrating oil and a ball joint separator can make difficult jobs much easier, especially on older vehicles exposed to road salt.
- ✦ Penetrating Oil
Helps loosen rusty hardware.
Step-by-Step Guide: How to Replace a Control Arm
This section explains how to replace a control arm using a typical front suspension setup. Vehicle designs differ, so always consult the repair manual for exact specifications.
Take photos before removing components. This simple habit can help during reassembly.
- ✦ Work Safely
Wear eye protection and secure the vehicle before starting.
Step 1: Lift and Secure the Vehicle
Loosen the wheel lug nuts slightly. Raise the vehicle and place it securely on jack stands. Remove the wheel to access the suspension.
- ✦ Safety First
Confirm the vehicle is stable before working underneath.
Step 2: Inspect the Suspension
Examine the control arm, bushings, and ball joint. Check nearby components for damage or excessive wear.
- ✦ Look for Cracks
Damaged rubber bushings are a common failure point.
Step 3: Disconnect the Ball Joint
Remove the retaining hardware and separate the ball joint from the steering knuckle. Use the proper tool to avoid damaging components.
- ✦ Protect Threads
Avoid striking threaded studs directly.
Step 4: Remove Control Arm Mounting Bolts
Locate the frame mounting bolts and remove them carefully. Some bolts may require a breaker bar because suspension fasteners are often torqued tightly.
- ✦ Keep Hardware Organized
Store bolts and nuts in labeled containers.
Step 5: Install the New Control Arm
Position the new control arm and loosely install all mounting hardware. Reconnect the ball joint and confirm correct fitment.
- ✦ Compare Parts
Match the new part to the old one before installation.
Step 6: Torque Fasteners to Specification
Use a torque wrench to tighten all bolts according to manufacturer specifications. This step is critical when learning how to replace a control arm.
- ✦ Use Factory Specs
Proper torque prevents premature wear and failures.
Step 7: Reinstall the Wheel and Lower the Vehicle
Reinstall the wheel and tighten the lug nuts. Lower the vehicle and perform a final inspection.
- ✦ Final Check
Verify all hardware is secure before driving.
Common Mistakes to Avoid
Many first-time mechanics make avoidable mistakes when learning how to replace a control arm. Paying attention to details helps ensure a successful repair.
Improper torque, reused damaged hardware, and skipping alignment are among the most common issues.
- ✦ Skipping Torque Specifications
Can lead to loose or damaged components.
- ✦ Ignoring Alignment
May cause rapid tire wear and poor handling.
- ✦ Replacing Only One Side
Consider inspecting the opposite side for similar wear.
Bushings Must Be Loaded Correctly
Some suspension designs require final bushing tightening at ride height. Check the service manual to avoid premature bushing failure.
- ✦ Ride Height Tightening
Helps bushings last longer.
Do You Need a Wheel Alignment After Replacing a Control Arm?
Yes, in most cases you should schedule a professional wheel alignment after learning how to replace a control arm and completing the repair.
Even small changes in suspension geometry can affect tire wear and handling. Alignment ensures the vehicle drives straight and safely.
- ✦ Protect Tires
Proper alignment helps maximize tire life.
- ✦ Improve Handling
The vehicle will track more accurately.
What Happens Without Alignment?
Ignoring alignment can lead to uneven tire wear, steering pull, and reduced fuel efficiency over time.
- ✦ Long-Term Cost
Premature tire replacement can become expensive.
Control Arm Replacement Cost
The cost of how to replace a control arm depends on vehicle type, labor rates, and part quality. DIY repairs can significantly reduce expenses if you already own the required tools.
Many passenger vehicles require one to three hours of labor per side. Luxury vehicles and trucks may require additional time.

- ✦ DIY Cost
Usually includes only parts and alignment expenses.
- ✦ Professional Repair
Includes labor, parts, and often alignment services.
- ✦ Complete Assemblies
May cost more upfront but save labor time.
Factors Affecting Price
Vehicle design, suspension complexity, and regional labor rates all influence total repair cost.
- ✦ Vehicle Type
Truck and SUV repairs are often more expensive.






