How to Remove Upper Control Arm Chevy Silverado Safely
Learning how to remove upper control arm Chevy Silverado parts is a practical job for an experienced DIY owner. The basic process is simple, but rust, tight suspension hardware, alignment cams, and limited clearance can make the work harder than it first appears.
On Silverado trucks I would treat preparation as part of the repair itself. Mark the alignment hardware, support the steering knuckle, protect the brake hose and ABS wire, and check how the factory bolts must come out before applying force. Those small steps can prevent damaged parts and make installation much easier.
This guide explains how to remove upper control arm Chevy Silverado assemblies from the front suspension. It also covers tools, ball-joint separation, stubborn bolts, common mistakes, and important differences between Silverado generations.
What the Upper Control Arm Does on a Chevy Silverado
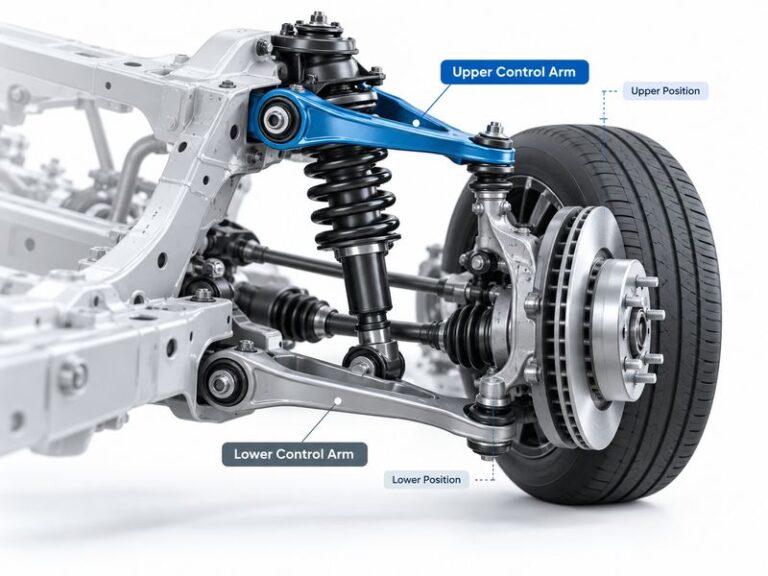
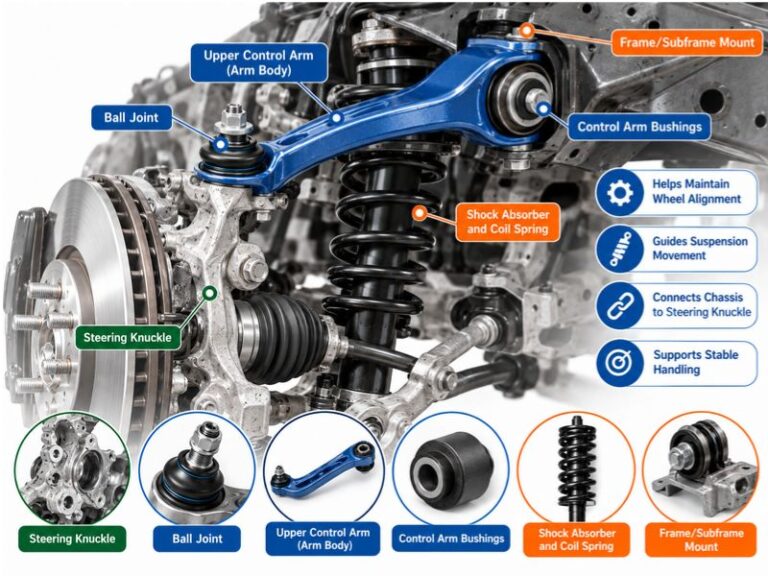
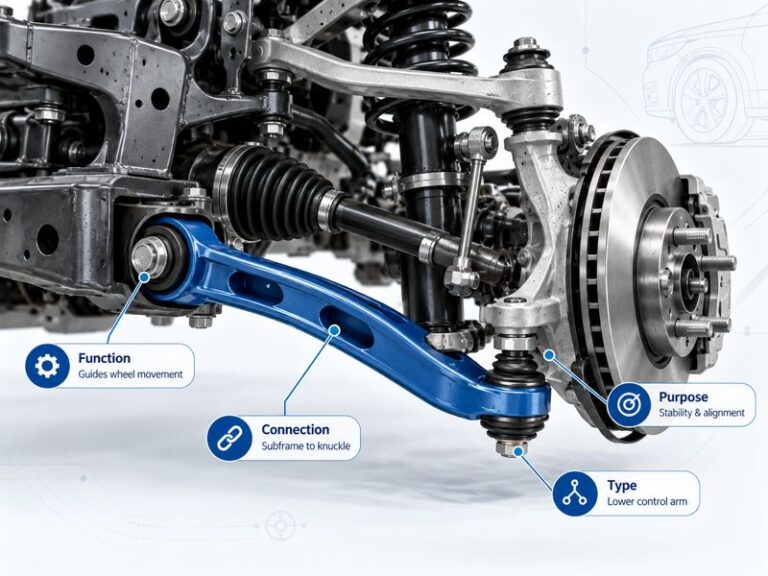
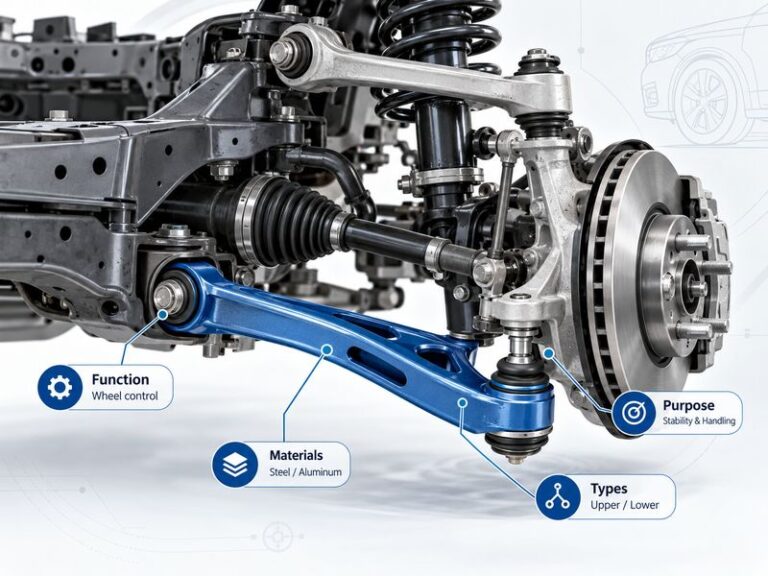
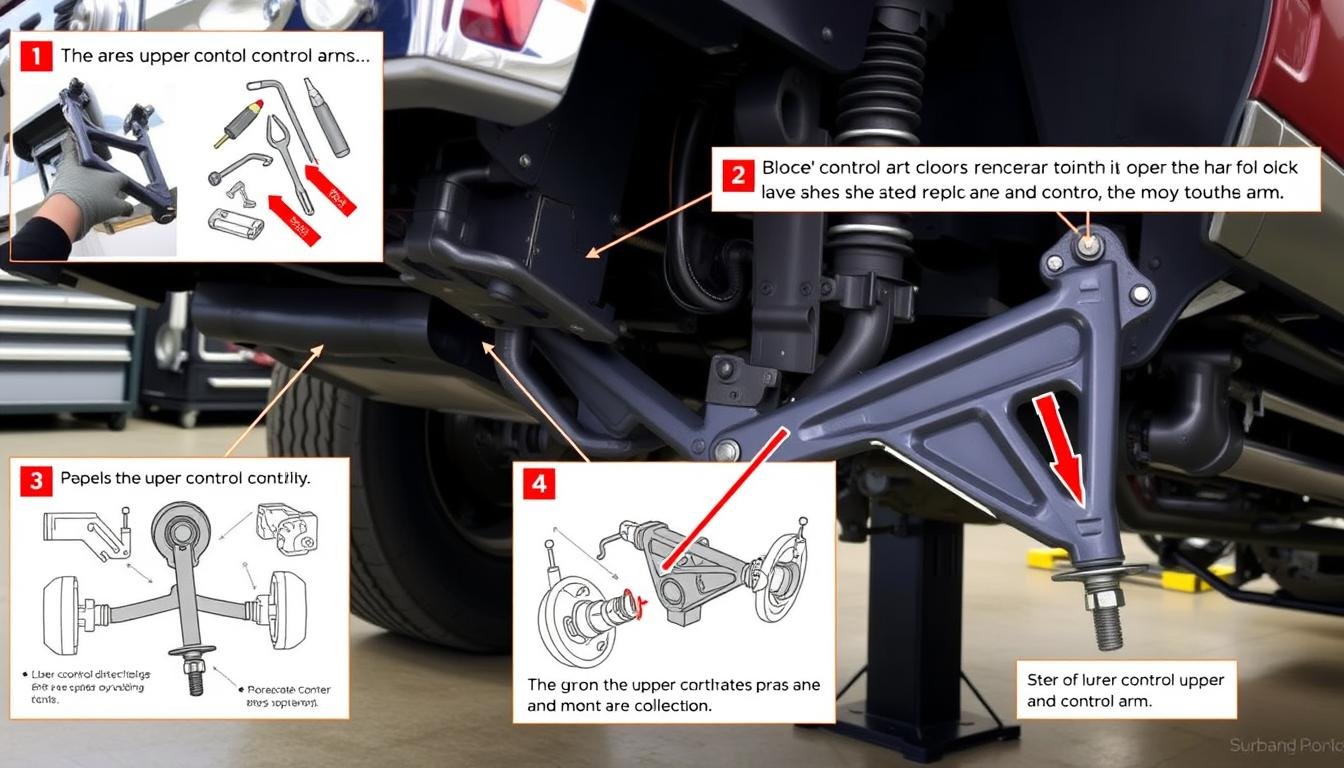
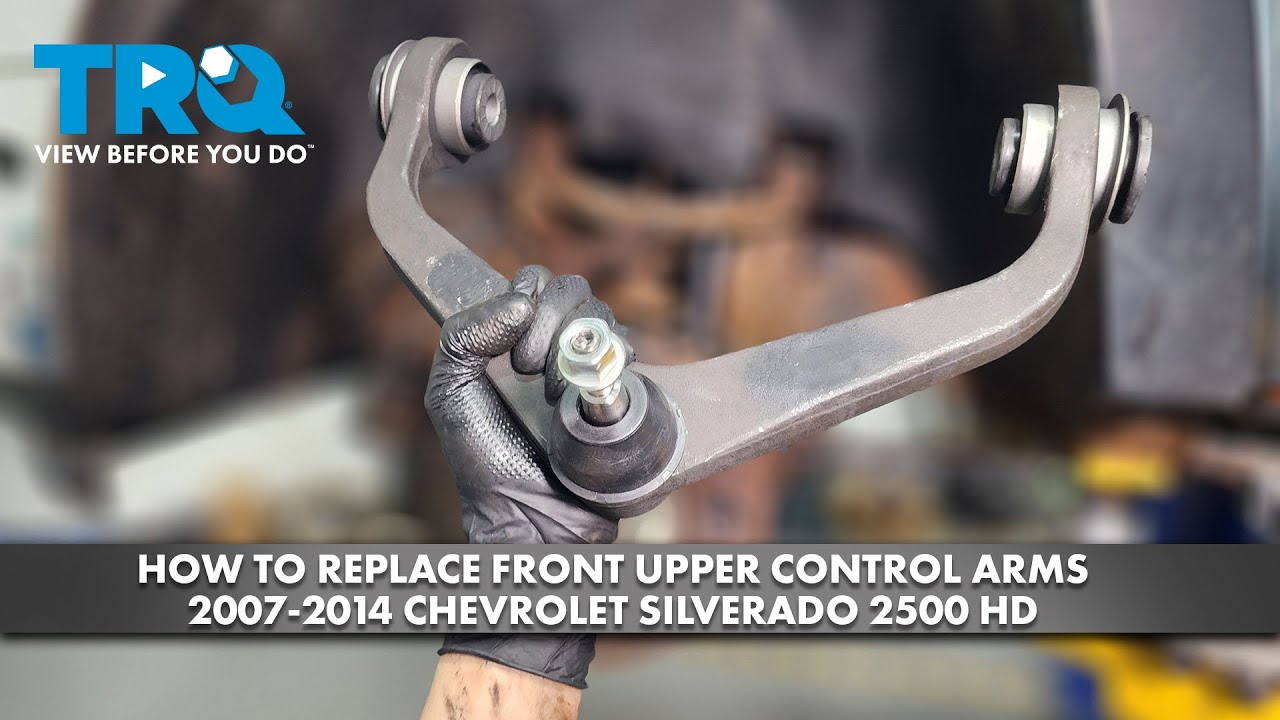
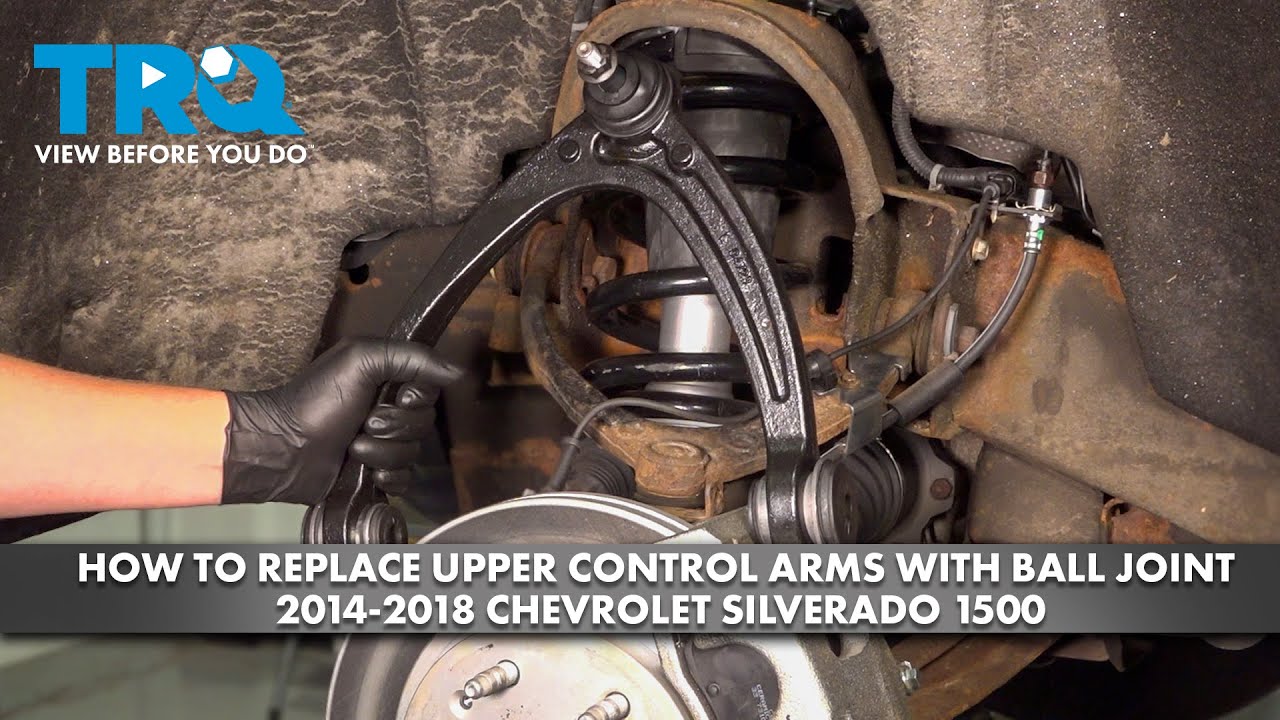
The upper control arm is part of the Silverado’s front suspension. It connects the frame or suspension mounting points to the steering knuckle through an upper ball joint.
As the wheel moves up and down, the control arm helps guide that motion. Its bushings let the arm pivot, while the ball joint lets the steering knuckle turn and move with the suspension.
A worn upper control arm assembly may cause loose steering, uneven tire wear, clunking, or poor alignment. Some replacement arms include new bushings and a ball joint as one complete unit.

- ✦ Frame connection
The inner side of the arm attaches to the truck through pivot bolts and bushings.
- ✦ Knuckle connection
The outer end normally connects to the steering knuckle through the upper ball joint.
- ✦ Alignment role
The mounting hardware may affect camber and caster, so its original position is worth marking.
Tools You Need to Remove a Silverado Upper Control Arm
Before starting how to remove upper control arm Chevy Silverado work, gather the correct tools. Having everything nearby saves time once the truck is on jack stands.
Socket sizes can vary by model year and suspension package. Look at your truck before buying specialty tools, and use six-point sockets on heavily rusted fasteners when possible.
- ✦ Floor jack
Use a jack rated for the weight of your Silverado.
- ✦ Jack stands
Support the truck on solid stands placed at approved lift points.
- ✦ Wheel chocks
Block the wheels that stay on the ground.
- ✦ Socket and wrench set
Use strong hand tools sized for the control arm and ball-joint hardware.
- ✦ Breaker bar
This gives extra leverage for tight or rusted control arm bolts.
- ✦ Torque wrench
Use it during reassembly to tighten suspension fasteners to the correct specification.
- ✦ Ball-joint separator
A suitable separator can release the ball-joint stud from the steering knuckle.
- ✦ Penetrating oil
Apply it to rusty hardware before trying to remove stubborn bolts.
- ✦ Paint marker
Mark the location of alignment cams or washers before loosening them.
- ✦ Safety glasses and gloves
Protect your eyes and hands from rust, dirt, and slipping tools.
Should You Use an Impact Wrench?
An impact wrench can make removal faster, especially on rusty trucks. Still, it should not replace careful inspection of the fastener and nearby brake or ABS parts.
Use hand tools if access is tight or if the bolt starts to bind. For final installation, use a torque wrench rather than relying on an impact gun.
Prepare the Silverado Before Removing the Control Arm
Good preparation matters when learning how to remove upper control arm Chevy Silverado suspension parts. Park on a flat, hard surface and set the parking brake before lifting the truck.
Loosen the front wheel lug nuts slightly while the tire is still touching the ground. Raise the front of the truck, place it securely on jack stands, and remove the wheel.
Never work beneath a truck supported only by a hydraulic jack. Give the truck a firm stability check before putting your hands near the suspension.
- ✦ Park safely
Choose level pavement or another firm surface.
- ✦ Chock the wheels
Prevent the truck from rolling while you work.
- ✦ Lift correctly
Use suitable factory-approved lifting and support points.
- ✦ Remove the front wheel
This gives access to the control arm, knuckle, and mounting bolts.
- ✦ Inspect the work area
Locate the brake hose, ABS harness, ball joint, and control arm bolts before removing anything.
Support the Steering Knuckle
Once the upper ball joint is disconnected, the steering knuckle can move outward. Support it so its weight does not pull on the brake hose or wheel-speed sensor wiring.
A second jack or secure support can help control the knuckle. Do not place yourself where a shifting suspension part could trap your hand.
How to Remove Upper Control Arm Chevy Silverado Step by Step
The exact layout changes across Silverado generations, but the basic removal sequence is similar. Work slowly and note how each washer, cam, bolt, clip, and bracket was installed.
Take photos before taking parts apart if needed. They can be very useful when routing wires and returning alignment hardware to its original position.

Step 1: Remove Any Brackets Attached to the Control Arm
Check the upper control arm for ABS wire clips, brake hose brackets, or other retainers. Remove or release anything that would keep the control arm attached after the main bolts are removed.
Do not pull on an electrical wire to release a clip. Work on the clip or bracket itself.
Step 2: Mark the Alignment Cam Positions
Before loosening the inner upper control arm bolts, mark the current positions of the alignment cams, washers, or bolt heads relative to their mounts. A paint marker works well.
These marks do not replace a wheel alignment. They simply give you a reference that can help keep the setup close enough for safe movement to an alignment shop.
Step 3: Loosen the Upper Ball Joint Nut
Find the upper ball-joint stud where it passes through the steering knuckle. Remove any retaining device used on your application, then loosen the nut.
Leaving the nut loosely threaded for the first part of separation can help control the joint when the taper releases. Do not reuse a damaged locking nut or retaining part if the replacement procedure calls for a new one.
Step 4: Separate the Upper Ball Joint From the Knuckle
Use a suitable ball-joint separator to release the tapered stud from the steering knuckle. Keep the knuckle supported while you work.
Avoid damaging the ball-joint boot if the joint will be reused. Once the taper releases, remove the nut and move the upper control arm away from the knuckle.
Step 5: Remove the Inner Control Arm Bolts
Remove the bolts that hold the inner control arm bushings to the frame brackets. Keep track of the exact order and direction of cams, washers, nuts, and bolts.
Clearance may be tight on some Silverado models. Look behind each bolt before forcing it out because wiring, hoses, body parts, or other components may limit removal space.
Step 6: Remove the Upper Control Arm
With the ball joint disconnected and both inner mounts free, move the control arm out of its frame brackets. Rotate it carefully to find the easiest path.
If it does not come out easily, stop and check for a hidden clip, bracket, bolt, or interference point. Do not pry against a brake hose or electrical harness.
How to Separate a Stuck Upper Ball Joint
The tapered ball-joint connection can stay firmly locked in the steering knuckle even after the nut is loose. Rust and years of road exposure can make this one of the hardest parts of how to remove upper control arm Chevy Silverado assemblies.
Start with penetrating oil and a proper separator. Apply force in a controlled way and keep your hands clear of the joint because it may release suddenly.
- ✦ Apply penetrating oil
Give the product time to work around rusty exposed hardware.
- ✦ Use the correct separator
Choose a tool that fits the joint without damaging nearby parts.
- ✦ Keep the knuckle supported
Do not allow its full weight to hang from the brake hose.
- ✦ Avoid uncontrolled hammering
Heavy impacts can damage parts, threads, boots, or nearby components.
Can You Use a Pickle Fork?
A pickle fork can separate some ball joints, but it often damages the rubber dust boot. That may not matter if the entire upper control arm and ball joint are being replaced.
If you plan to reuse the joint, use a separator that does not cut or crush the boot whenever possible.
How to Remove Stuck Upper Control Arm Bolts
Inner control arm bolts may be much harder to remove than expected, especially on trucks driven in states that use road salt. Corrosion can seize a bolt to the inner sleeve of the control arm bushing.
Soak the hardware with penetrating oil and clean exposed threads. Use a solid six-point socket and steady leverage before moving to more aggressive methods.
If a bolt turns but refuses to slide out, the bushing sleeve may be rusted to it. At that point, removal can become a more involved repair and replacement hardware may be needed.
- ✦ Do not round the fastener
Use the correct socket and keep the tool square on the bolt or nut.
- ✦ Check bolt clearance
Make sure another component is not blocking the bolt before using more force.
- ✦ Inspect the bolt
Replace hardware that is badly corroded, stretched, damaged, or has poor threads.
- ✦ Use heat with extreme care
Heat can damage rubber parts, wiring, hoses, coatings, and nearby fuel or brake components. Avoid it unless you understand the risks.
Silverado Model Years Can Change the Removal Process
A search for how to remove upper control arm Chevy Silverado can refer to many different trucks. Silverado suspension design has changed across generations, and 1500, 2500HD, and 3500HD models are not all the same.
A 1999-era truck may not provide the same bolt access or hardware arrangement as a 2018 or 2024 model. Two-wheel-drive and four-wheel-drive trucks may also have different nearby components.
Use this guide for the removal method, but verify the factory procedure and torque specifications for the exact year, model, drivetrain, and suspension package before installation.

- ✦ 1999-2006 generation
Expect older hardware and a higher chance of rust or seized bushing bolts.
- ✦ 2007-2013 generation
The basic ball-joint and inner pivot concept remains similar, but hardware access should be checked before removal.
- ✦ 2014-2018 generation
Pay close attention to clips, sensor wiring, alignment hardware, and replacement-arm compatibility.
- ✦ 2019 and newer trucks
Newer suspension designs and trim packages can change access, arm shape, and service procedures.
- ✦ HD trucks
Silverado 2500HD and 3500HD components can differ from Silverado 1500 parts, so do not assume procedures or specifications are identical.
Check Your Exact Truck Before Buying Parts
Match the replacement upper control arm to the year, model, drivetrain, suspension option, and vehicle configuration. A part that looks similar may still have different geometry.
This is especially important on lifted or modified trucks. Some suspension lifts require upper control arms designed for the changed geometry.
What to Inspect After the Upper Control Arm Is Removed
Once the arm is out, spend a few minutes checking nearby suspension parts. This is much easier while the wheel is removed and the upper knuckle area is open.
Look for cracked boots, loose joints, damaged wiring, leaking shocks, torn bushings, and unusual tire wear. Fixing a related problem now may save you from taking the same area apart again.
- ✦ Ball joint
Check for looseness, boot damage, rust, or loss of grease.
- ✦ Control arm bushings
Look for torn rubber, separation, distortion, and excessive movement.
- ✦ Steering knuckle
Inspect the ball-joint mounting area for visible damage or heavy corrosion.
- ✦ ABS wire
Make sure the harness and clips were not stretched or cut.
- ✦ Brake hose
Check for cracks, kinks, rubbing, or other damage.
- ✦ Shock or strut
Look for leaks and damaged mounts while access is good.
- ✦ Tire
Uneven wear can point to alignment or suspension problems.
Installing the New Upper Control Arm
Knowing how to remove upper control arm Chevy Silverado parts is only half of the repair. The replacement arm must also be installed correctly so the bushings, ball joint, and alignment hardware work as designed.
Place the new arm in the frame mounts and install the inner hardware in the same orientation as before. Reconnect the ball joint to the steering knuckle and reinstall all brackets and clips.
Return the alignment cams near the marks you made during removal. These marks are only a starting reference, not a final alignment setting.

- ✦ Match the old and new arms
Compare shape, mounting points, ball-joint position, and bracket locations before installation.
- ✦ Start bolts by hand
This helps prevent cross-threading.
- ✦ Restore wire and hose routing
Make sure nothing can rub against the tire or moving suspension.
- ✦ Use correct torque values
Follow specifications for your exact Silverado rather than using one universal number.
- ✦ Install new locking hardware when required
Some nuts, cotter pins, or retaining parts should not be reused.
Why Bushing Bolt Tightening Position Matters
Many rubber suspension bushings are designed to rest near their normal ride-height position. Final tightening with the suspension hanging can twist some bushings once the truck is lowered.
Follow the service procedure for your exact truck. If the procedure calls for final bushing torque at normal ride height or simulated ride height, do that before considering the installation complete.
Do You Need an Alignment After Removing an Upper Control Arm?
Yes, a professional wheel alignment is strongly recommended after upper control arm replacement. Removing the inner control arm hardware can change camber and caster settings even if you carefully mark the original positions.
A poor alignment can make the Silverado pull, reduce steering feel, leave the steering wheel off-center, and wear tires quickly. New suspension parts can also place the wheel in a slightly different position than worn parts did.
After completing how to remove upper control arm Chevy Silverado work and installing the replacement, arrange an alignment as soon as practical.
- ✦ Camber
This describes how much the wheel leans inward or outward when viewed from the front.
- ✦ Caster
This affects steering stability and return-to-center behavior.
- ✦ Toe
This measures whether the front edges of the tires point slightly inward or outward.
Common Mistakes to Avoid During Upper Control Arm Removal
Most problems during how to remove upper control arm Chevy Silverado repairs come from rushing, poor support, or failing to record how the original hardware was positioned. A few extra minutes before disassembly can prevent hours of trouble.
Never assume every Silverado uses the same torque values or hardware. Chevrolet has used different suspension designs across model years and weight classes.
- ✦ Working under a jack alone
Always use properly rated jack stands before working around the suspension.
- ✦ Letting the knuckle hang
This can strain the brake hose and ABS sensor wiring.
- ✦ Skipping alignment marks
Marking the cams gives you a useful reference for reassembly.
- ✦ Forcing a blocked bolt
Check for hidden interference before hammering or prying.
- ✦ Damaging a reusable ball-joint boot
Choose the separation method based on whether the joint will be reused.
- ✦ Guessing torque specifications
Use specifications that match the exact model year and suspension.
- ✦ Skipping the alignment
Marks can help with reassembly but cannot confirm final wheel alignment.
How Long Does Silverado Upper Control Arm Removal Take?
The time needed depends heavily on rust, tools, experience, and the truck’s exact suspension. A clean truck with easy bolt access can be much faster than an older Silverado with seized hardware.
Do not set a strict deadline for your first attempt. Give yourself enough time to handle a stuck ball joint or corroded pivot bolt without rushing.
If a bolt is seized inside a bushing sleeve, the job can become much longer. That situation may require cutting tools, new hardware, or professional help.
When You Should Let a Repair Shop Handle the Job
You do not need to do every suspension job yourself. If you cannot safely support the truck or do not have a suitable ball-joint separator and torque wrench, professional service may be the better choice.
A shop is also useful when inner bolts are severely seized, mounting points are damaged, or the suspension has nonfactory lift components. Suspension mistakes can affect steering, tire contact, and vehicle control.

- ✦ Severe corrosion
Rust can turn a routine bolt removal into a cutting or fabrication job.
- ✦ Damaged frame mounts
Bent, cracked, or heavily rusted mounting areas need proper evaluation.
- ✦ Modified suspension
Lift kits and aftermarket geometry may require special procedures or parts.
- ✦ No safe lifting equipment
Do not attempt suspension work without stable support equipment.
- ✦ Uncertain reassembly
Get professional help if you cannot confirm hardware placement or tightening requirements.