
How to Remove an Upper Control Arm: Step-by-Step Guide for Safe Suspension Repair
Learning how to remove an upper control arm is an important skill for DIY vehicle owners and professional technicians alike. The upper control arm plays a key role in keeping the wheel aligned and helping the suspension move smoothly over bumps and uneven roads.
Over the years, I have removed upper control arms on trucks, SUVs, and passenger cars. The exact design varies by vehicle, but the basic process remains similar. Taking your time, using the right tools, and following proper safety practices can prevent damaged parts and unnecessary frustration.

What Is an Upper Control Arm and Why Remove It?
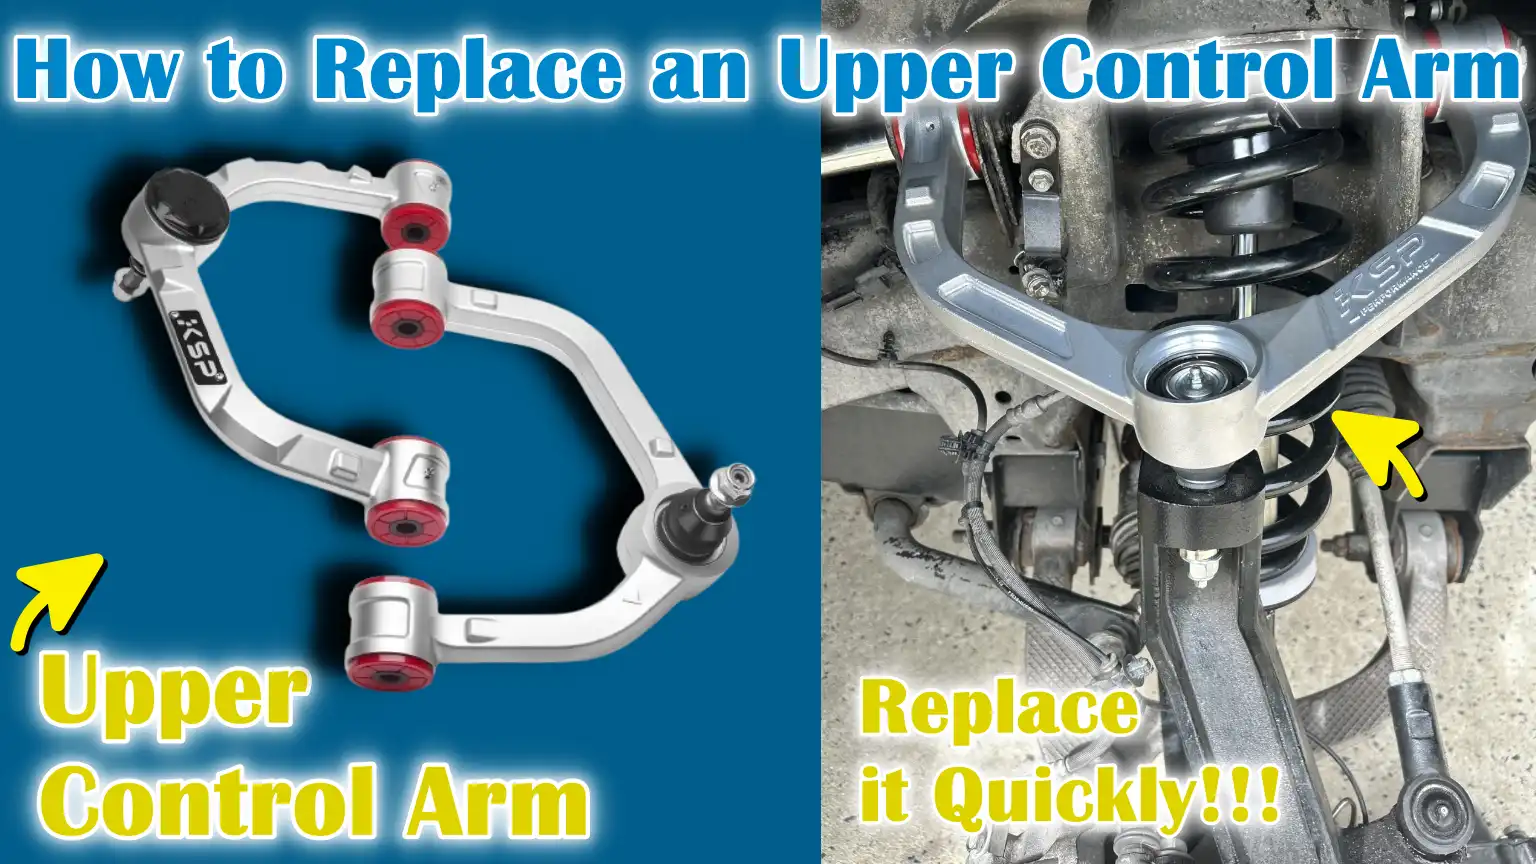
The upper control arm is a suspension component that connects the vehicle frame or body to the steering knuckle. It helps control wheel movement and maintains proper alignment during driving.
Many people search for how to remove an upper control arm because of worn bushings, damaged ball joints, suspension upgrades, collision repairs, or alignment problems. A failing control arm can cause tire wear, steering issues, clunking noises, and poor handling.
- ✦ Worn Ball Joint
A loose or damaged ball joint often requires upper control arm removal.
- ✦ Failed Bushings
Cracked or deteriorated bushings can affect ride quality and alignment.
- ✦ Suspension Upgrade
Many truck owners replace factory control arms with aftermarket versions.
Common Symptoms of a Bad Upper Control Arm
Uneven tire wear, wandering steering, vibration, clunking sounds, and poor alignment are common warning signs. If these symptoms appear, inspecting the suspension is a smart first step.
- ✦ Noise Over Bumps
A worn joint or bushing may create knocking sounds.
Tools and Safety Equipment You Need
Before learning how to remove an upper control arm, gather the proper tools. Having everything ready helps the project move smoothly and safely.
Never rely solely on a hydraulic jack. Always support the vehicle with quality jack stands placed on solid ground.

- ✦ Floor Jack
Used to safely lift the vehicle.
- ✦ Jack Stands
Provide secure support while working underneath.
- ✦ Socket Set
Needed for removing nuts and bolts.
- ✦ Torque Wrench
Important for proper reassembly.
- ✦ Ball Joint Separator
Helps separate the ball joint from the steering knuckle.
Additional Helpful Tools
Penetrating oil, breaker bars, pry bars, and impact tools can save significant time when dealing with rusted suspension hardware.
- ✦ Penetrating Oil
Loosens rusted fasteners before removal.
Step-by-Step: How to Remove an Upper Control Arm
The exact procedure varies by vehicle, but these general steps apply to many cars, trucks, and SUVs. Always consult the factory service manual for model-specific details.
If you are wondering how to remove an upper control arm safely, following the sequence below helps avoid damage to suspension components.
- ✦ Step 1
Park on a level surface and engage the parking brake.
- ✦ Step 2
Loosen wheel lug nuts before lifting the vehicle.
- ✦ Step 3
Raise the vehicle and secure it with jack stands.
- ✦ Step 4
Remove the wheel for suspension access.
Disconnect the Upper Ball Joint
Remove the cotter pin if equipped. Loosen the ball joint nut and separate the ball joint from the steering knuckle using the proper tool. Avoid striking delicate steering components.
- ✦ Protect Threads
Leave the nut partially installed while separating the joint.
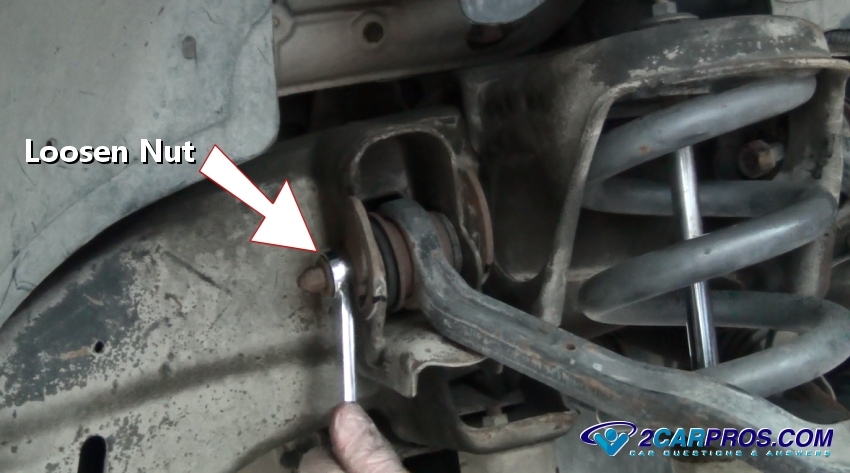
Remove the Mounting Hardware
Locate the bolts securing the upper control arm to the frame or mounting brackets. Remove any alignment shims carefully and keep them organized for reference.
- ✦ Track Shim Locations
Recording shim positions may help during reassembly.
Extract the Upper Control Arm
Once the bolts are removed, slide the control arm out of position. Some vehicles require moving brake lines, ABS wiring, or other nearby components for clearance.
- ✦ Inspect Related Parts
Check bushings, ball joints, and surrounding suspension pieces.
Common Challenges During Upper Control Arm Removal
Many people discover that learning how to remove an upper control arm is straightforward until they encounter rusted fasteners or seized ball joints. These issues are common on older vehicles.
Patience is often the most valuable tool. Rushing can lead to stripped threads, broken bolts, or damaged suspension components.

- ✦ Rusty Bolts
Apply penetrating oil and allow time for it to work.
- ✦ Seized Ball Joints
Use a quality separator tool instead of excessive force.
- ✦ Limited Access
Some vehicles require moving nearby components for clearance.
Tips From Experience
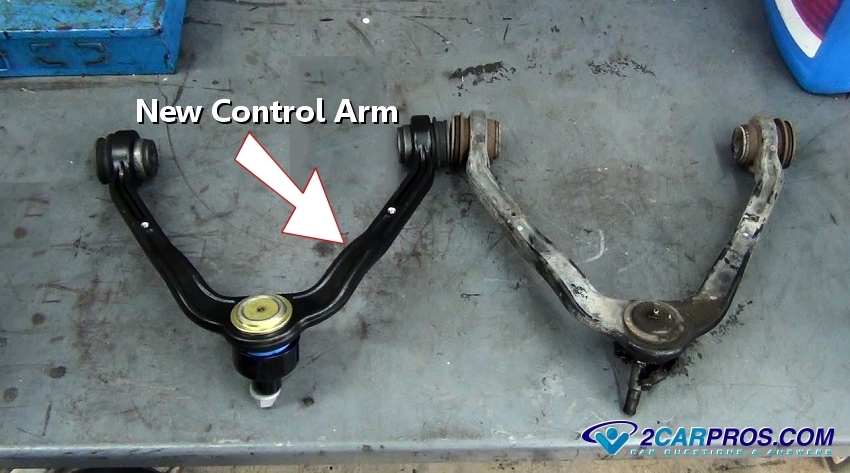
In my experience, taking photos before disassembly helps during reassembly. It is also wise to compare the replacement part with the old component before installation.
- ✦ Take Photos
Document bolt locations and component orientation.
Installing the New Upper Control Arm
After you understand how to remove an upper control arm, the next step is installation. Position the replacement arm in the mounting brackets and loosely install the hardware.
Torque specifications vary by manufacturer. Always use factory specifications for final tightening.

- ✦ Install Hardware
Start all bolts by hand to avoid cross-threading.
- ✦ Reconnect Ball Joint
Secure the ball joint and install a new cotter pin if required.
- ✦ Reinstall Wheel
Mount the wheel and tighten lug nuts properly.
Do Not Skip the Alignment
A professional wheel alignment is strongly recommended after upper control arm service. Even small changes in suspension geometry can affect handling and tire wear.
- ✦ Protect Tires
Correct alignment helps maximize tire life.
Mistakes to Avoid When Removing an Upper Control Arm
Knowing how to remove an upper control arm also means understanding what not to do. Many suspension repairs become difficult because of avoidable mistakes.
Careful planning and proper safety procedures reduce the risk of injury and component damage.
- ✦ Skipping Safety Equipment
Always use jack stands and eye protection.
- ✦ Ignoring Torque Specs
Incorrect torque can cause premature wear or safety concerns.
- ✦ Forgetting Alignment
Poor alignment can quickly destroy tires.
- ✦ Losing Shims
Keep alignment shims organized during removal.
When to Seek Professional Help
If suspension components are heavily corroded, damaged, or difficult to access, professional assistance may save time and prevent costly mistakes.
- ✦ Complex Suspension Designs
Some modern vehicles require advanced procedures.






