
How to Remove a Lower Control Arm: Step-by-Step DIY Guide
learning how to remove a lower control arm is a valuable skill for DIY vehicle owners. The lower control arm plays a major role in keeping your suspension stable and helping your tires maintain proper contact with the road.
Over the years, I have removed lower control arms on sedans, trucks, and SUVs. While the exact process varies by vehicle, the basic steps remain similar. Careful preparation, safe lifting procedures, and the right tools make the job much easier and safer.
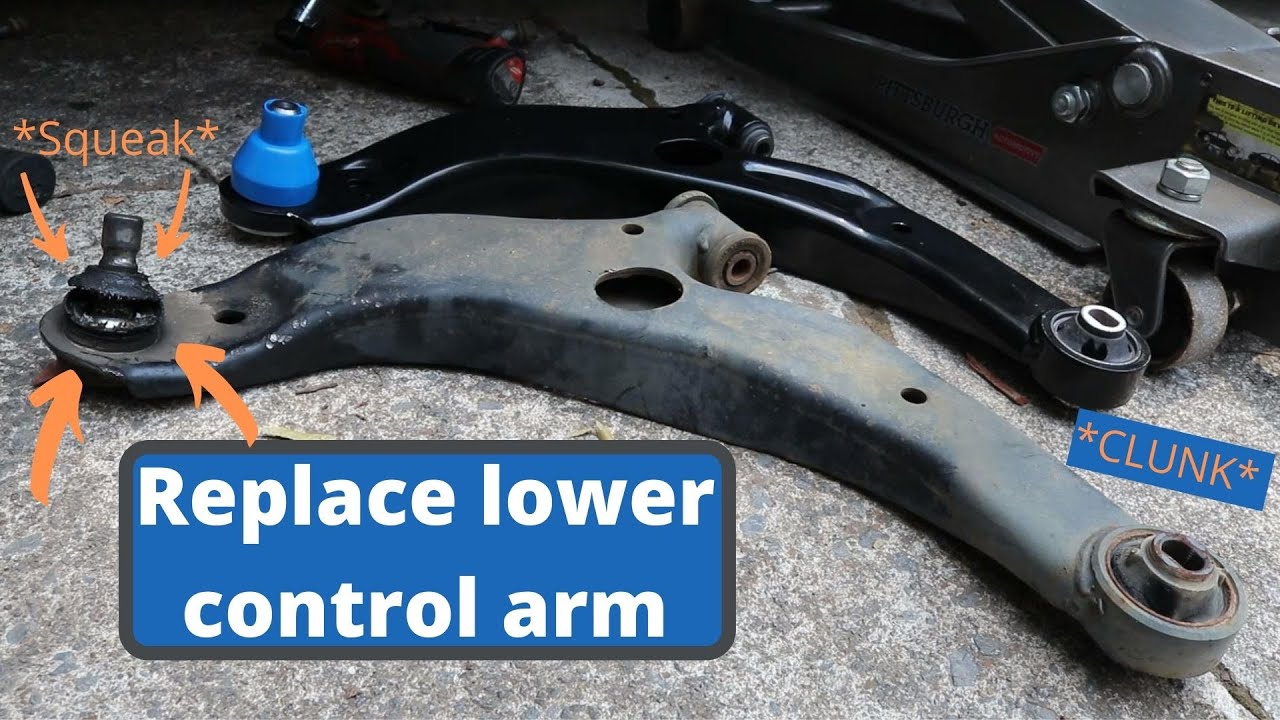
What Is a Lower Control Arm and Why Remove It?
Before learning how to remove a lower control arm, it helps to understand its purpose. The lower control arm connects the vehicle frame or subframe to the steering knuckle. It allows controlled suspension movement while helping maintain wheel alignment.
You may need to remove the component because of worn bushings, a damaged ball joint, collision damage, suspension upgrades, or a complete control arm replacement. Ignoring a failing control arm can lead to poor handling and uneven tire wear.

- ✦ Worn Bushings
Cracked or deteriorated bushings can create vibration, noise, and alignment issues.
- ✦ Failed Ball Joint
A worn ball joint can cause steering instability and safety concerns.
Common Warning Signs
Clunking noises, wandering steering, uneven tire wear, and excessive vibration often indicate lower control arm problems.
- ✦ Loose Handling
The vehicle may feel unstable during turns or braking.
Tools and Safety Equipment You Need
A successful lower control arm removal starts with proper preparation. Gather all required tools before lifting the vehicle.
Safety should always come first. Suspension components are under load, and improper support can cause serious injury.

- ✦ Floor Jack
Used to raise the vehicle safely.
- ✦ Jack Stands
Provide stable support while working underneath the vehicle.
- ✦ Socket Set
Needed to remove mounting hardware.
- ✦ Breaker Bar
Helps loosen stubborn bolts.
Recommended Extra Tools
Penetrating oil, a torque wrench, pry bar, and ball joint separator can save time and reduce frustration.
- ✦ Penetrating Oil
Useful for rusted suspension bolts.
Preparing the Vehicle for Lower Control Arm Removal
When learning how to remove a lower control arm, preparation is critical. Park the vehicle on a level surface and engage the parking brake.
Loosen the wheel lug nuts slightly before lifting the vehicle. Raise the vehicle using the recommended lift points and place it securely on jack stands.
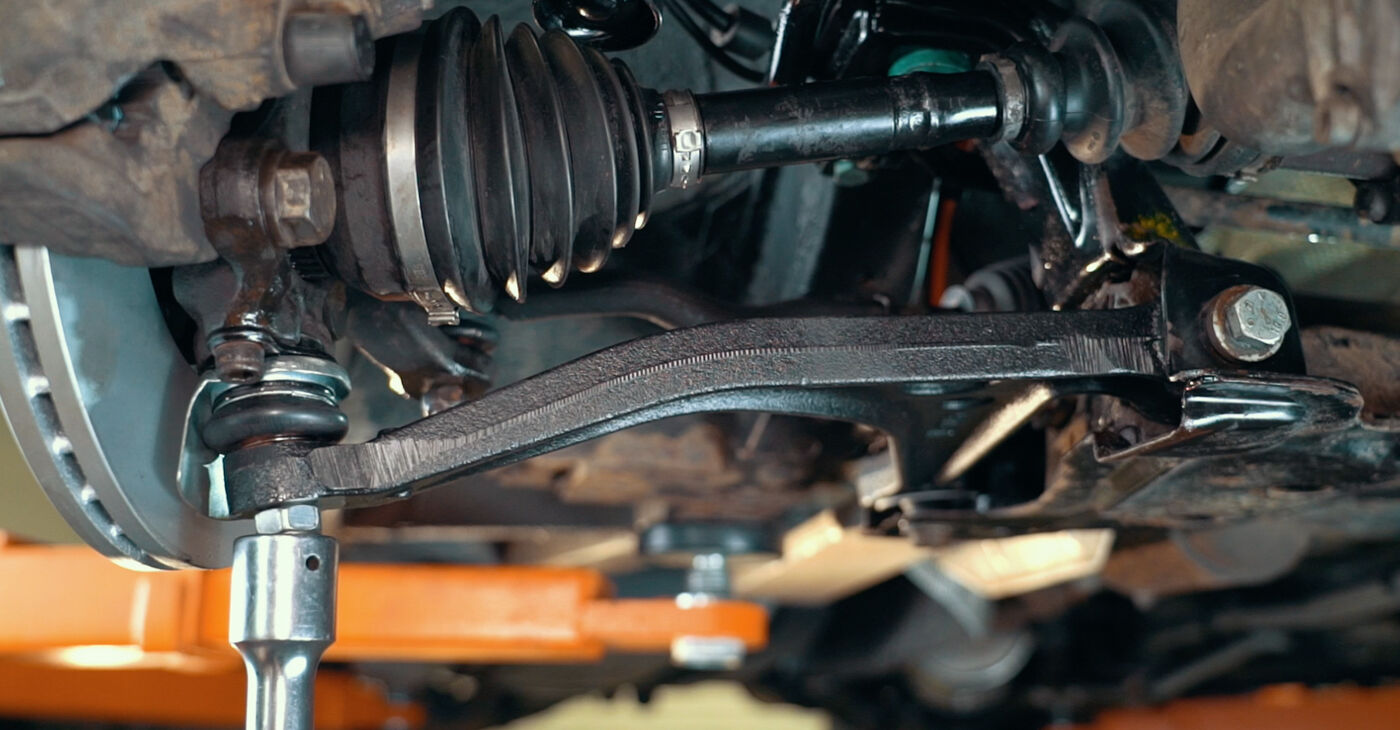
- ✦ Remove the Wheel
This provides access to the suspension assembly.
- ✦ Inspect Components
Look for rust, damaged fasteners, or worn suspension parts.
Reducing Tension on the Suspension
Support the steering knuckle or lower suspension area if necessary to prevent sudden movement when parts are disconnected.
- ✦ Use a Support Jack
A small jack can help stabilize suspension components.
Step-by-Step: How to Remove a Lower Control Arm
The exact procedure depends on the vehicle, but the general process remains similar. Knowing how to remove a lower control arm correctly reduces the chance of damaging nearby suspension components.
Work methodically and keep track of bolts, brackets, and hardware during disassembly.

- ✦ Step 1
Remove any sway bar links attached to the control arm.
- ✦ Step 2
Disconnect the lower ball joint from the steering knuckle.
- ✦ Step 3
Support the suspension if needed.
- ✦ Step 4
Remove the front and rear control arm mounting bolts.
- ✦ Step 5
Carefully maneuver the lower control arm out of position.
Handling Stubborn Components
Rust and corrosion can make removal difficult. Apply penetrating oil and allow it to soak before attempting to loosen seized fasteners.
- ✦ Avoid Excessive Force
Too much force can damage mounting points or nearby components.
Common Problems During Removal
Many people researching how to remove a lower control arm encounter similar obstacles. Rusted bolts and seized ball joints are among the most common challenges.
Patience often solves problems better than brute force. Rushing the process can damage expensive suspension parts.

- ✦ Seized Bolts
Corrosion can lock mounting hardware in place.
- ✦ Frozen Ball Joint
Specialized separators may be required.
When Professional Help Makes Sense
If suspension components are heavily corroded or specialized tools are unavailable, professional assistance may save time and prevent costly mistakes.
- ✦ Safety First
Never compromise safety to complete a repair.
After Removal: Inspection and Reinstallation Tips
Once you know how to remove a lower control arm, the next step is inspecting the part. Check bushings, ball joints, mounting holes, and surrounding suspension components.
If installing a replacement, compare the new part with the old one before assembly. Torque all hardware according to manufacturer specifications.
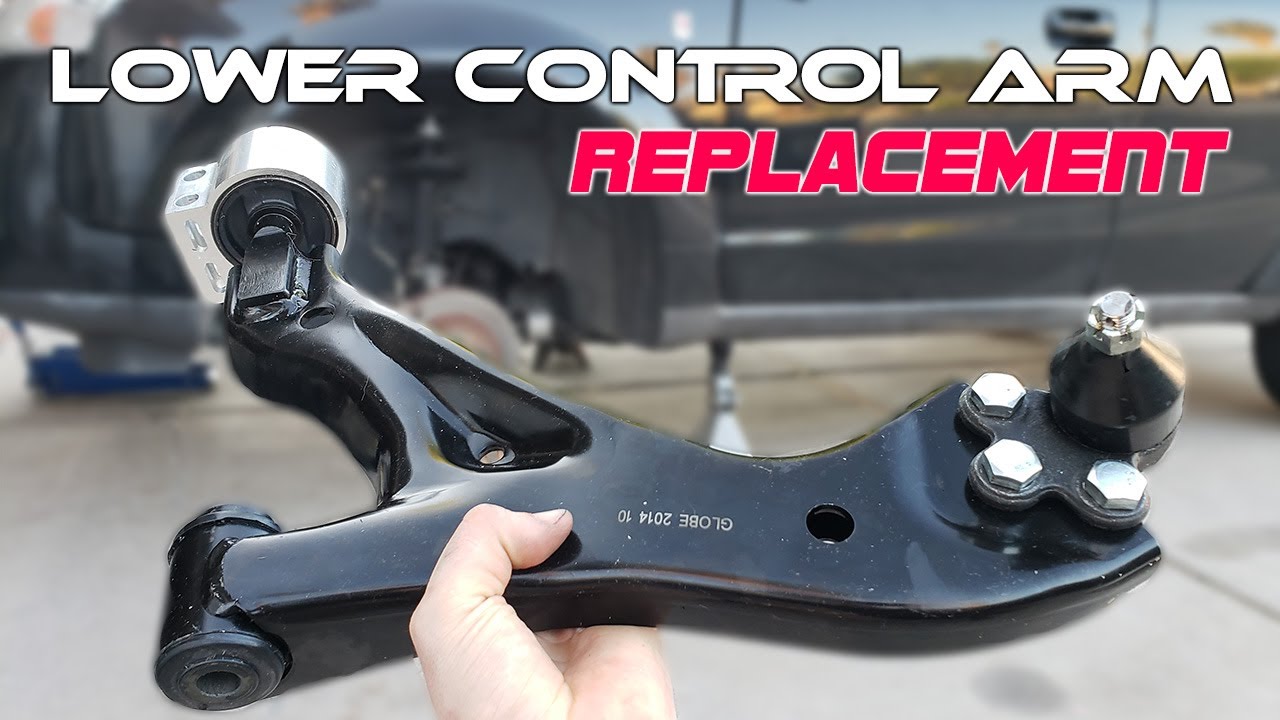
- ✦ Inspect Bushings
Look for cracks, separation, or excessive wear.
- ✦ Check Alignment
Most vehicles require a wheel alignment after suspension work.
Final Checks
After reassembly, verify that all fasteners are tightened correctly and test-drive the vehicle carefully.
- ✦ Listen for Noises
Unusual sounds may indicate loose hardware or incorrect installation.






