How to Install 2008 Nissan Pathfinder Upper Control Arm
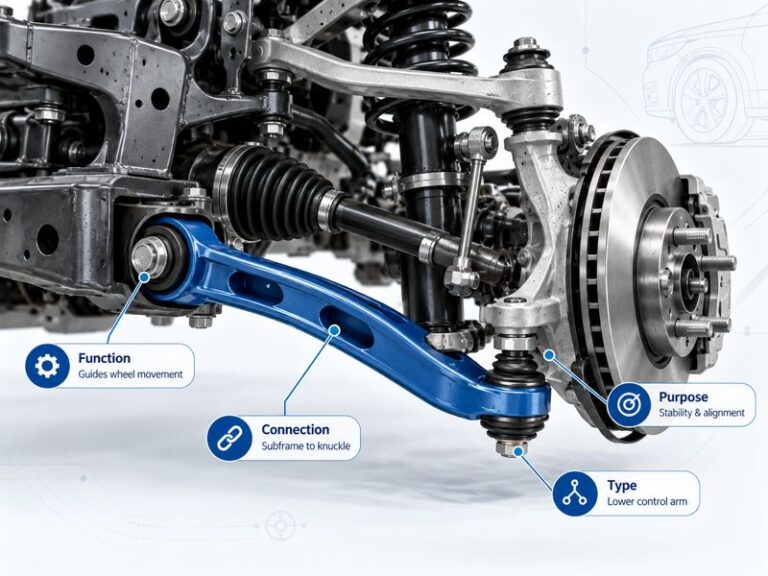
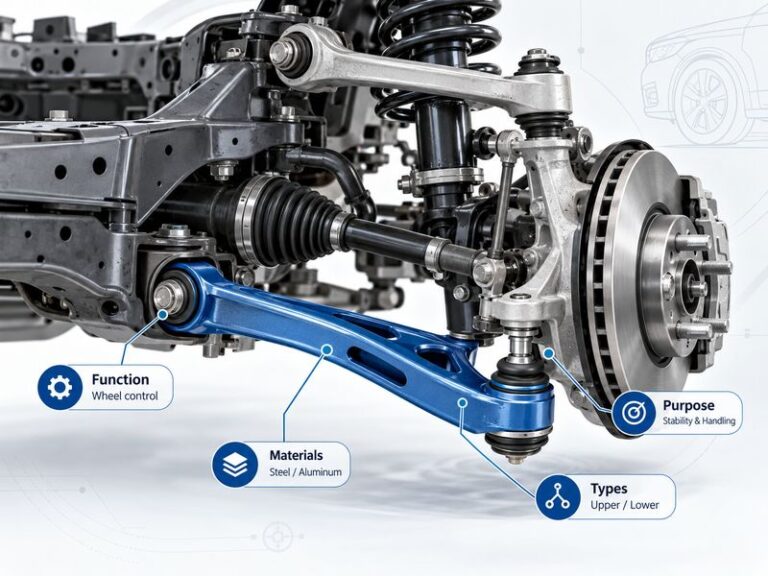
Learning **how to install 2008 Nissan Pathfinder upper control arm** parts is manageable for an experienced DIY owner with safe lifting gear and normal suspension tools. The upper control arm sits above the steering knuckle and helps control wheel movement as the suspension moves up and down. On a 2008 Pathfinder, replacing it usually means removing the front wheel, supporting the suspension, separating the upper ball joint, removing the inner mounting hardware, and fitting the replacement arm.
The job is not hard because it has many parts. The main challenge is working safely around suspension parts and dealing with bolts that may have years of rust. Pathfinders used in U.S. areas with road salt may need extra penetrating oil and cleaning before the bolts move.
This guide explains **how to install 2008 Nissan Pathfinder upper control arm** assemblies step by step. It also covers tools, preparation, ball joint separation, installation, tightening, common mistakes, and the alignment you should plan after the repair. Exact fastener torque can vary with the replacement part and hardware, so always confirm those values in the Nissan service information or the instructions supplied with your control arm.
What the Upper Control Arm Does on a 2008 Nissan Pathfinder
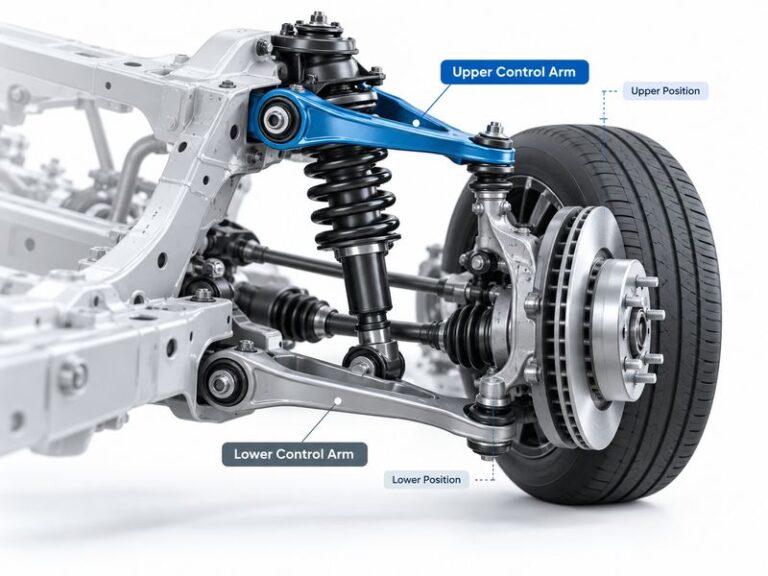
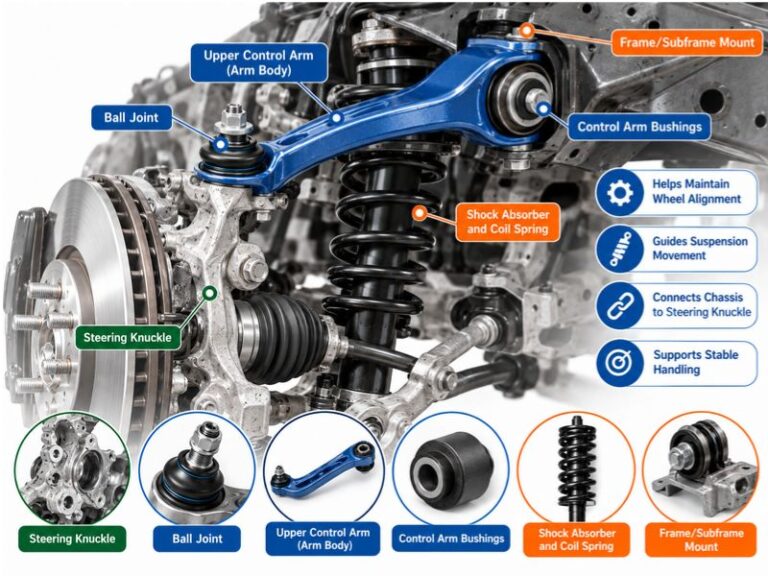
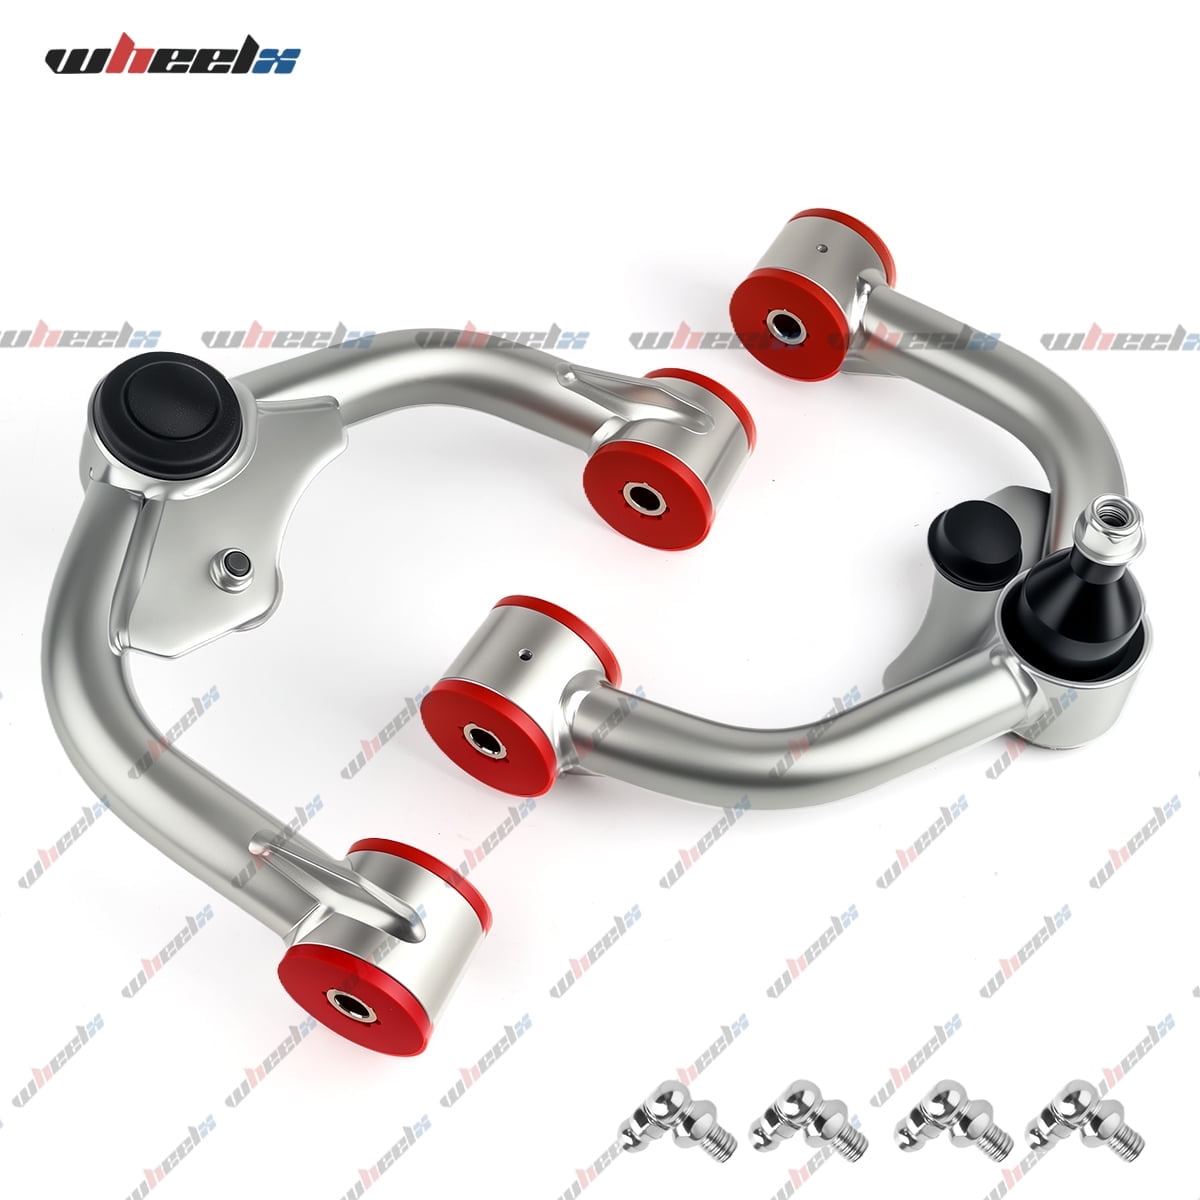
The front upper control arm links the vehicle structure to the upper part of the steering knuckle. Its bushings let the suspension move while keeping the wheel in a controlled path. The ball joint at the outer end allows the steering knuckle to turn and move with the suspension.
A worn arm can cause loose steering, noise, uneven tire wear, or poor alignment. Worn bushings may let the arm move more than it should. A loose upper ball joint can also create play between the arm and steering knuckle.
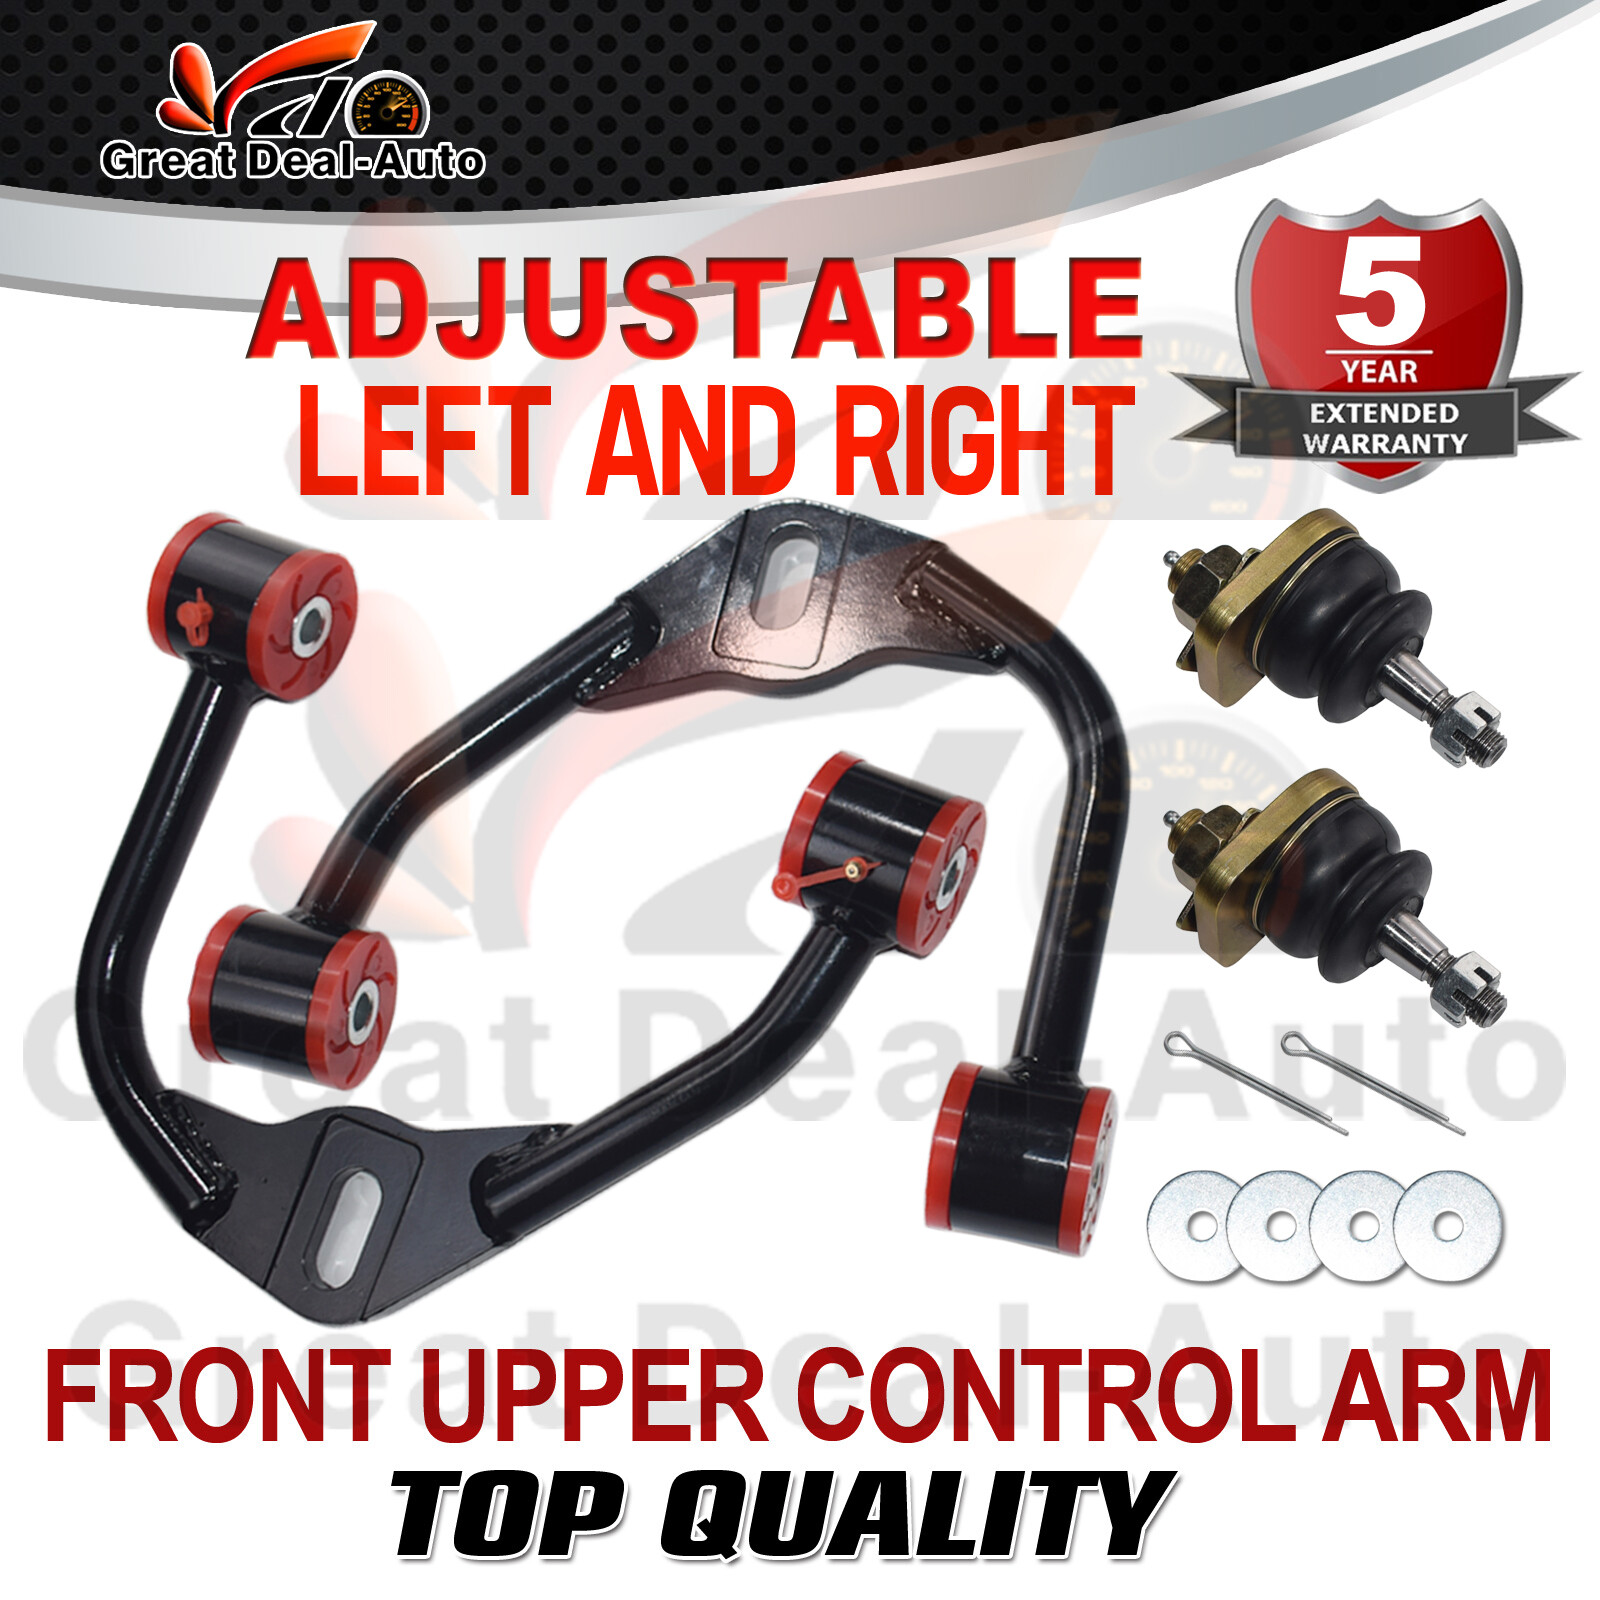
Many replacement upper control arms come as a complete assembly with bushings and an upper ball joint already installed. This can make **how to install 2008 Nissan Pathfinder upper control arm** assemblies easier than rebuilding the original arm.

- ✦ Inner bushings
They allow controlled suspension movement while locating the arm.
- ✦ Upper ball joint
It connects the outer end of the control arm to the steering knuckle.
- ✦ Control arm body
It holds the inner bushings and outer ball joint in the correct position.
Signs the Upper Control Arm May Need Replacement
Do not replace a control arm based on noise alone. Check for damaged bushings, ball joint movement, a bent arm, torn ball joint boots, or movement that should not be present. Tire wear and alignment problems can support the diagnosis, but they can also come from other suspension parts.
- ✦ Clunking noise
A worn joint or bushing may knock when driving over rough roads.
- ✦ Loose wheel feel
Excess ball joint or bushing movement can reduce steering precision.
- ✦ Uneven tire wear
Worn suspension parts can let alignment angles move out of range.
Tools and Parts You Need Before Starting
Good preparation makes this repair much easier. Gather your tools before lifting the SUV. You do not want to stop halfway through the job while the vehicle is supported on stands.
Use a replacement arm made for the correct side of your 2008 Pathfinder. Left and right arms may have different shapes. Compare the replacement with the original before you fully remove the old part.
Basic hand tools handle most of the work, but a ball joint separator can save a lot of time. Penetrating oil is also useful on vehicles that have seen winter road salt.

- ✦ Floor jack
Use a jack with enough capacity for the Pathfinder.
- ✦ Jack stands
Support the vehicle securely before working under or beside the suspension.
- ✦ Wheel chocks
Block wheels that stay on the ground.
- ✦ Socket and wrench set
Use properly sized metric tools that fit the suspension fasteners snugly.
- ✦ Breaker bar
It helps loosen tight suspension bolts without abusing a smaller ratchet.
- ✦ Torque wrench
Use it for final tightening to the correct service specification.
- ✦ Ball joint separator
A suitable separator helps release the upper ball joint from the steering knuckle.
- ✦ Penetrating oil
Apply it to rusty fasteners before attempting removal.
- ✦ Replacement upper control arm
Confirm the part matches your model, year, drivetrain, and installation side.
Check the Replacement Arm Before Installation
Set the new and old control arms beside each other. Compare the bushing locations, arm shape, ball joint position, and mounting width. A quick comparison can prevent a lot of wasted work.
- ✦ Check the side
Confirm whether the arm is for the driver or passenger side.
- ✦ Check the ball joint
Make sure the joint, stud, boot, and supplied hardware are undamaged.
- ✦ Check included hardware
Read the part instructions before deciding whether factory hardware should be reused.
Prepare the Pathfinder Safely
Safety comes first when learning **how to install 2008 Nissan Pathfinder upper control arm** components. Park on firm, level ground. Set the parking brake and place wheel chocks where they will prevent unwanted movement.
Loosen the front wheel lug nuts slightly while the tire is still on the ground. Then raise the front of the vehicle at an approved lifting point. Place strong jack stands at approved support points and lower the vehicle onto them.
Never rely on the hydraulic jack alone. Give the vehicle a careful stability check before removing the wheel. Keep your body away from areas where the SUV could fall if a support moved.

- ✦ Park on solid ground
Avoid soft dirt, loose gravel, or a sloped driveway.
- ✦ Chock the wheels
Prevent the Pathfinder from rolling while it is raised.
- ✦ Use jack stands
The floor jack is for lifting, not for supporting the vehicle during repair.
- ✦ Remove the front wheel
With the vehicle safely supported, remove the lug nuts and wheel.
Support the Suspension When Needed
A second jack can be useful under the lower control arm to control suspension position. Apply only enough support to keep the assembly stable. Do not lift the vehicle off its jack stands.
- ✦ Use light support
Raise the lower arm only enough to control its position.
- ✦ Watch brake and ABS lines
Make sure hoses and wires are not pulled tight as the suspension moves.
Remove the Old Upper Control Arm
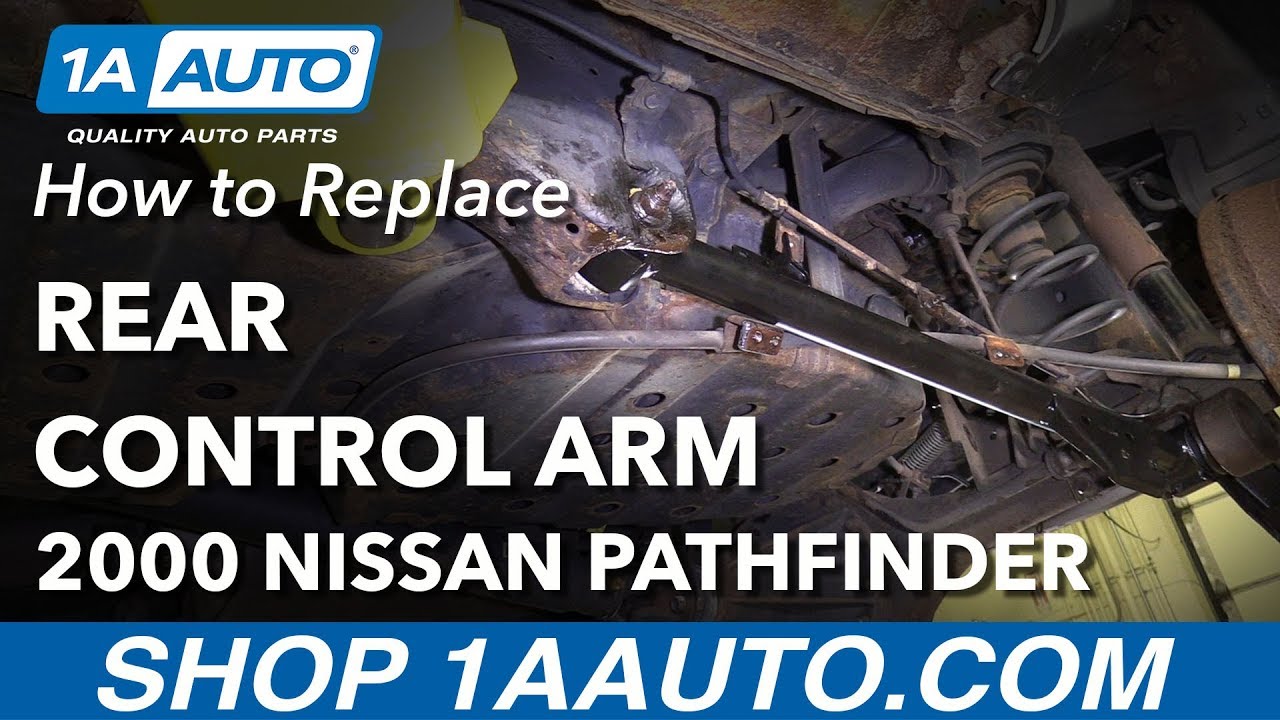
The removal stage is the part of **how to install 2008 Nissan Pathfinder upper control arm** repairs that often takes the most time. Rust can make the ball joint stud and inner bolts difficult to release. Spray rusty fasteners with penetrating oil and allow it time to work.
Before removing anything, look at the routing of nearby brake hoses and ABS wiring. The steering knuckle may move after the upper joint is disconnected. Do not let the knuckle hang in a way that pulls on a hose or wire.
- ✦ Inspect the work area
Find the upper arm, ball joint connection, mounting bolts, brake hose, and ABS wire.
- ✦ Clean exposed threads
Brush heavy rust and dirt away before loosening the ball joint fastener.
- ✦ Support the knuckle
Control the knuckle so it cannot pull hard on the brake hose after separation.
Separate the Upper Ball Joint From the Steering Knuckle
Remove the retaining hardware from the upper ball joint stud as required by the installed design. Use a proper ball joint separator to release the tapered stud from the steering knuckle. Keep your hands clear because the joint can release suddenly.
Avoid striking sensitive components. Do not hammer the threaded end of the ball joint stud if you plan to reuse that joint. On a complete replacement arm, the old joint may be discarded, but damage to the steering knuckle still must be avoided.
- ✦ Use the right separator
Choose a tool that fits without damaging the ball joint boot or steering knuckle.
- ✦ Control the knuckle
Support it as the joint comes free.
Remove the Inner Control Arm Hardware
Once the upper ball joint is free, move to the inner control arm mounting points. Note the direction of bolts, washers, and any alignment-related hardware before removal. Taking a quick photo for your own reference can help during reassembly.
Loosen and remove the inner mounting hardware. Work the old control arm out carefully without forcing nearby lines or components. If clearance is tight, adjust the suspension position slightly with the support jack rather than prying against fragile parts.
- ✦ Keep hardware organized
Place removed nuts, bolts, and washers together so their original order is clear.
- ✦ Do not force the arm
If it will not come out, inspect what is blocking it before using more force.
Install the New 2008 Nissan Pathfinder Upper Control Arm
Now you can begin the installation part of **how to install 2008 Nissan Pathfinder upper control arm** replacement. Compare the new part with the removed arm one more time. Confirm the orientation before inserting any bolts.
Guide the new arm into its mounting position. Start the inner bolts and nuts by hand. Do not cross-thread them, and do not fully tighten the bushing pivots until you have confirmed the tightening procedure for the arm you are using.
Move the steering knuckle into position and guide the new upper ball joint stud into its tapered hole. Install the correct retaining hardware. If the new arm includes special hardware or an adjustable ball joint, follow the manufacturer’s instructions as well as the vehicle service procedure.

- ✦ Position the arm
Place it in the same orientation as the original control arm.
- ✦ Start inner fasteners by hand
Thread the hardware several turns before using a wrench.
- ✦ Insert the ball joint stud
Guide the stud into the steering knuckle without damaging the threads.
- ✦ Install retaining hardware
Use the correct nut and any required locking device supplied for the joint.
Why Bushing Position Matters During Tightening
Rubber suspension bushings can twist when the arm moves. On designs that use bonded rubber bushings, tightening pivot bolts in the wrong position can preload the rubber. That may shorten bushing life or change how the suspension sits.
Use the Nissan service procedure and the instructions for your replacement arm to determine the correct final tightening position. This is especially important when fitting stock-style rubber-bushed arms.
- ✦ Avoid unwanted preload
Follow the specified suspension position for final bushing tightening.
- ✦ Check aftermarket instructions
Some adjustable or performance control arms use a different bushing or joint design.
Torque the Fasteners Correctly
Correct tightening is a critical part of **how to install 2008 Nissan Pathfinder upper control arm** assemblies. Suspension hardware carries high loads. A loose fastener can allow movement, while an overtightened fastener may damage threads or hardware.
Do not guess at torque values. Confirm the specification for the exact vehicle, fastener, and replacement arm you are installing. Use current Nissan service information when using factory-style hardware, and follow the control arm maker’s instructions when the replacement kit supplies different hardware.
Use a calibrated torque wrench for final tightening. Never use an impact wrench as a substitute for measuring final torque.

- ✦ Inner pivot hardware
Tighten using the correct specification and required suspension position.
- ✦ Upper ball joint hardware
Torque the nut as specified and install any required locking device correctly.
- ✦ Wheel lug nuts
Torque them to the vehicle specification after lowering the vehicle.
If the Ball Joint Uses a Cotter Pin
Some replacement joints use a castellated nut and cotter pin. If your part uses this design, follow its instructions for nut alignment and cotter pin installation. Never loosen a correctly torqued nut just to line up a cotter pin unless the service instructions specifically say to do so.
- ✦ Use a new pin
Do not reuse a damaged or badly bent cotter pin.
- ✦ Secure it fully
Make sure the locking pin passes through the stud and nut as intended.
Reinstall the Wheel and Perform a Safety Check
Before reinstalling the wheel, inspect everything you touched. Make sure the upper ball joint is fully seated and all required fasteners are present. Check that the brake hose and ABS wire still follow their original routes.
Install the wheel and tighten the lug nuts in a cross pattern while the vehicle is raised enough to keep the wheel positioned correctly. Lower the Pathfinder safely. Finish tightening the lug nuts to the correct specification with a torque wrench.
Turn the steering wheel from side to side while the vehicle is stationary. Watch and listen for contact, binding, or stretched wiring. If anything looks wrong, correct it before driving.
- ✦ Check all hardware
Verify every nut, bolt, washer, and locking device you removed.
- ✦ Inspect hoses and wiring
Make sure nothing is pinched, twisted, rubbing, or pulled tight.
- ✦ Check ball joint boot
Confirm the boot was not cut or trapped during installation.
- ✦ Check wheel clearance
Turn the steering through its normal range and look for unwanted contact.
First Road Test
Make the first road test short and slow. Listen for clunks, knocks, rubbing, or other new sounds. Stop and inspect the suspension again if the steering feels loose or the vehicle behaves differently than expected.
After the test, inspect the upper control arm area again. Look for shifted hardware, a damaged boot, or anything that is not seated as it should be.
- ✦ Start slowly
Use a quiet road or parking area for the first check.
- ✦ Stop for unusual behavior
Do not continue driving if the steering feels unsafe or you hear a strong suspension knock.
Get a Wheel Alignment After Upper Control Arm Replacement
A professional wheel alignment should follow an upper control arm replacement. The control arm helps locate the steering knuckle, so replacing it can affect wheel alignment. Even small changes can alter tire wear and steering feel.
This is even more important if you installed adjustable upper control arms or if the Pathfinder has a suspension lift. Adjustable arms are often used to gain more alignment correction after ride-height changes.
Tell the alignment shop what parts were replaced. If the new control arms are adjustable, mention that too. The technician can then inspect the setup and adjust the vehicle within the limits of the parts and suspension.
- ✦ Protect tire life
Correct alignment helps prevent rapid or uneven tire wear.
- ✦ Improve steering
Proper alignment helps the Pathfinder track and steer as intended.
- ✦ Check the whole front end
An alignment visit can also reveal worn parts that may prevent accurate adjustment.
What If the Pathfinder Still Will Not Align?
Do not assume the new control arm is faulty. Other worn or bent suspension parts can keep alignment angles out of range. Ride height, lower control arms, tie rods, bushings, wheel bearings, or past collision damage may also matter.
- ✦ Inspect other suspension parts
Check for play or damage before making repeated alignment attempts.
- ✦ Consider ride height
Lifted or modified suspension can change the amount of adjustment available.
Common Upper Control Arm Installation Mistakes
Knowing **how to install 2008 Nissan Pathfinder upper control arm** parts also means knowing what not to do. Many problems happen because a fastener was rushed, a component was allowed to hang, or an alignment was skipped.
Take your time during reassembly. Suspension parts affect steering and vehicle control, so this is not a good place for shortcuts. Stop if a bolt, joint, or replacement part does not fit as expected.
- ✦ Working under a jack only
Always use properly placed jack stands before starting suspension work.
- ✦ Letting the knuckle hang
This can strain the brake hose or ABS wiring.
- ✦ Cross-threading hardware
Always start critical nuts and bolts by hand before using power tools.
- ✦ Guessing torque
Use the correct service or part-manufacturer specification.
- ✦ Damaging the ball joint boot
A torn boot can allow dirt and water into the new joint.
- ✦ Skipping alignment
The vehicle should be aligned after control arm replacement.
- ✦ Installing the wrong-side arm
Compare the new part with the old one before fitting it.
Should You Replace Both Upper Control Arms?
You do not always have to replace both sides at the same time. If only one arm has failed and the other side is still in good condition, a single-arm repair may be reasonable. However, both sides have lived through the same mileage and road conditions, so inspect the opposite arm closely.
If both sides show cracked bushings, loose joints, or similar wear, replacing them together can reduce repeat labor. It can also make the following alignment more worthwhile.
- ✦ Inspect both sides
Do not assume the other arm is good simply because it is quiet.
- ✦ Replace based on condition
Use actual wear and damage to guide the decision.
Stock vs Adjustable Upper Control Arms
A stock-height 2008 Pathfinder will often use a direct replacement upper control arm. This type is designed to restore the factory suspension layout. It is usually the simplest option when the vehicle has no major suspension modification.
A lifted Pathfinder may use an aftermarket adjustable or corrected upper arm. These parts may change ball joint angle or provide additional alignment adjustment. Their installation can differ from a standard factory-style arm.
When researching **how to install 2008 Nissan Pathfinder upper control arm** upgrades, read the instructions for the exact aftermarket part. Do not assume its adjustment or torque procedure matches a stock replacement.
- ✦ OEM-style arm
Best suited to restoring a stock suspension configuration.
- ✦ Adjustable arm
May offer extra alignment correction for modified suspension.
- ✦ Lift-specific arm
May use revised geometry to improve clearance or ball joint operating angle.
Do Not Guess at Adjustable Arm Settings
Adjustable arms should be set according to the manufacturer’s starting point and then checked during a professional alignment. Setting them by eye can create poor alignment or unequal settings from side to side.
- ✦ Use the supplied baseline
Start with the manufacturer’s recommended position.
- ✦ Finish on an alignment rack
Final settings should be based on measured wheel alignment.
How Long Does the Job Take?
The time needed to install an upper control arm depends on rust, tools, experience, and the replacement arm design. A clean vehicle with easy-moving hardware is much faster to work on than a high-mileage Pathfinder with seized suspension bolts.
Plan enough time to work without rushing. Cleaning rusty threads, separating the ball joint, and handling stubborn inner bolts can take longer than fitting the new arm itself.
If the bolts are badly seized, the mounting points are damaged, or you cannot safely support the vehicle, using a repair shop is the better choice. Suspension work must be completed correctly before the SUV returns to normal road use.
- ✦ Rust adds time
Corroded suspension hardware may need soaking, cleaning, or professional removal.
- ✦ Correct tools save time
A suitable ball joint separator and breaker bar can make removal much easier.
- ✦ Alignment adds another step
Plan for a professional alignment after the mechanical work is complete.
When to Let a Professional Handle It
Stop if the vehicle cannot be supported safely, the mounting points look damaged, or the fasteners will not move without extreme force. A technician has access to a lift, specialty tools, and methods for dealing with seized suspension hardware.
- ✦ Seized hardware
Professional equipment may prevent damage to the frame or mounting points.
- ✦ Damaged mounts
Bent, cracked, or heavily corroded mounting areas need more than a normal control arm replacement.