
How to install coilovers g37: A Safe DIY Suspension Setup Guide
Installing coilovers on a G37 can change the car’s ride height, handling, and appearance, but the job is more involved than swapping wheels or brake pads. You will be supporting the vehicle while removing loaded suspension parts, and a mistake with a spring perch, upper mount, or fastener can create a serious safety problem. The work is realistic for a careful home mechanic, provided the car is supported correctly and the coilover manufacturer’s instructions are followed.
This guide explains how to install coilovers g37 owners commonly use on rear-wheel-drive and all-wheel-drive cars, while pointing out where the two versions differ. It covers preparation, removal of the factory struts, assembly and adjustment of the new units, final tightening, and the checks that should happen before the first drive.
You will also learn how to set a sensible starting ride height without confusing spring preload with lowering, how to recognize an installation problem, and why a professional four-wheel alignment is required afterward. Exact torque values and adjustment limits vary by model year and kit, so your factory service information and coilover instructions take priority wherever they disagree with a general procedure.
At a glance
- Support the G37 with sturdy stands under approved points, never under a hydraulic jack alone.
- Set height with the coilover’s threaded body or adjustment system, not by randomly loosening spring collars.
- Do not treat the installation as finished until the hardware is torqued and the car receives an alignment.
How to install coilovers g37 owners can set up safely
The basic process is to measure the original ride height, remove one suspension corner at a time, install the correctly matched coilover, and repeat the process on the other side of the axle. Keep the left and right parts organized, and compare every new component with the factory part before fitting it.
Read the kit’s instructions before lifting the car. Some G37 kits reuse factory upper mounts, while others include new top hats or require a particular orientation. Coupe and sedan parts may differ, and AWD front suspension has different packaging from rear-wheel-drive suspension.
Tools you will need
- Floor jack and four appropriately rated jack stands for lifting and supporting the vehicle
- Wheel chocks to prevent movement while an axle is raised
- Metric socket and wrench set, including deep sockets where needed
- Breaker bar for stubborn factory fasteners
- Torque wrench covering the ranges specified by the service manual and coilover instructions
- Spring compressor only if the kit requires transferring a factory spring or upper assembly; follow its instructions carefully
- Penetrating oil, wire brush, and a rust-safe lubricant for corroded hardware
- Paint marker, tape measure, and notebook for recording ride-height measurements
- Optional: digital angle finder or a simple height gauge for comparing left and right settings
- Optional: replacement suspension nuts and bolts if the service manual identifies any as single-use
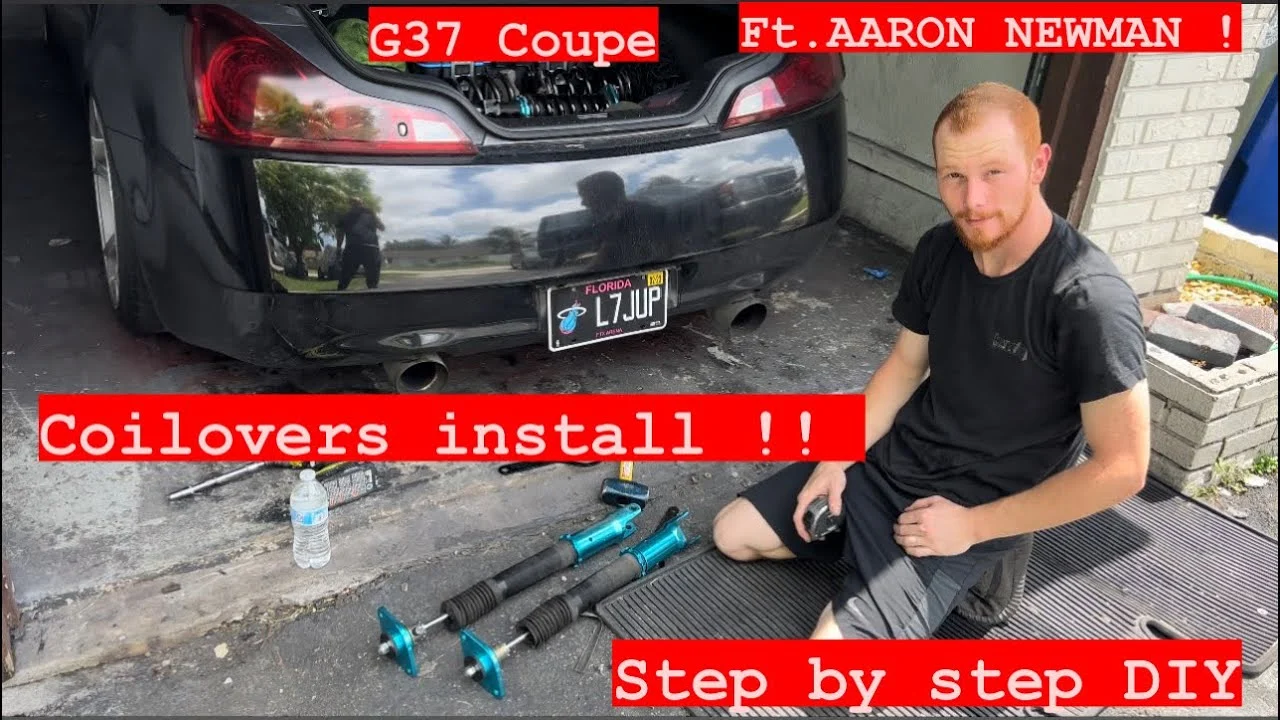
Step 1 Confirm the kit and prepare a level work area
Park on a hard, level surface with enough room to open the doors and move around both sides of the car. Set the parking brake, place chocks at wheels that remain on the ground, and collect the vehicle-specific service information before removing anything.
Verify that the kit is labeled for your exact G37 body style, drivetrain, and suspension configuration. Lay out the front and rear coilovers and compare their length, mounting tabs, bolt spacing, and upper-mount arrangement with the factory assemblies. Do not force a part that does not match; a wrong application can look close enough to install while still interfering with the brake line, axle, or chassis.
Step 2 Measure the original ride height and inspect the suspension
Measure from the center of each wheel hub vertically to a consistent point on the fender or wheel arch. Hub-to-fender measurements are more useful than measurements from the ground because tire pressure and tire size do not affect them. Record all four numbers, along with the amount of exposed thread or the manufacturer’s recommended starting setting if the kit supplies one.
Inspect the shocks, upper mounts, rubber isolators, brake hoses, ABS wiring, ball joints, and control-arm bushings. Replace damaged parts now rather than hiding them under new coilovers. Also note any existing uneven ride height, because a bent component or worn bushing can remain after the installation and be incorrectly blamed on the new suspension.
Step 3 Lift the G37 and remove the wheels
Loosen each wheel’s lug nuts slightly while the tires are still on the ground. Lift the car using the approved jacking points, then place jack stands under solid structural support points identified by the service information. Raise the entire axle when practical so the suspension is not twisted by one side hanging while the other remains loaded.
Gently test each corner by applying light hand pressure to the vehicle after it rests on the stands. The car should remain stable, and the jack should not be the only support. Remove the wheels and keep their original positions labeled if you plan to rotate them later.
Important
Never work beneath a G37 supported only by a floor jack. If a stand cannot sit flat or the support point is questionable, lower the car and choose a safer location before continuing.
Step 4 Disconnect the components attached to the factory strut
Before removing the strut, disconnect any brake-line bracket, ABS sensor wire bracket, and sway-bar end-link connection attached to it. Use a wire or temporary support to keep the brake hose from hanging or being pulled. Do not allow the hub and knuckle assembly to drop and stretch the brake hose or axle.
Apply penetrating oil to rusty fasteners and clean exposed threads with a brush. Hold the fastener on the correct side while loosening it so you do not twist a brake line, damage a sensor wire, or load the sway-bar link unexpectedly. Keep the removed hardware in a labeled container rather than mixing front and rear fasteners.
Step 5 Support the knuckle and remove the factory strut
Place the floor jack under a suitable point of the steering knuckle or lower suspension arm, using a wood block only where the service information permits it. The jack should support the assembly without lifting the car off the stands. Remove the lower strut-to-knuckle bolts, but keep the assembly supported so it cannot swing outward.
Move to the upper mounting nuts in the engine bay or rear interior area, depending on the G37 corner being serviced. Remove the nuts while holding the strut assembly from below, then lower it carefully. Keep one upper nut loosely engaged until you are ready to control the assembly; this prevents an unexpected drop while the final lower fasteners are removed.
Front and rear removal is not identical. Rear shock and spring components may be separate on some G37 configurations, while other coilover kits replace or combine those pieces. Follow the kit’s rear-specific instructions rather than assuming the front strut procedure applies to the back.
Step 6 Prepare the coilover with the correct spring and mount orientation
Set the new coilover beside the removed factory part and identify the upper mount, lower mounting ears, adjustment collars, spring, lock rings, and any helper spring. Confirm that the brake-line bracket and sway-bar tab face the same direction as the original unless the kit instructions specify a different orientation.
Many coilovers have two separate adjustments: spring-collar adjustment and lower-body or threaded-body height adjustment. Spring preload is the compression placed on the spring when the suspension is unloaded; ride height adjustment changes the installed length of the suspension unit. Do not lower the car by simply removing spring tension or leaving the spring loose.
If the kit requires reusing a factory upper mount, use the manufacturer’s spring compressor procedure and keep the spring pointed away from your body. If the kit supplies a complete upper assembly, do not disassemble it unless the instructions require that step. A compressed spring can release enough energy to cause severe injury.
Step 7 Install the front coilovers
Place the front coilover into the upper mounting location and start the upper nuts by hand. Do not fully tighten them yet. Rotate the body so the lower mounting holes and brackets line up naturally with the knuckle, brake hose, and ABS wire.
Raise or lower the supported knuckle with the jack until the lower bolts slide through without hammering. Install the original or supplied lower hardware in the direction specified by the service information. Reconnect the brake-line bracket, sensor wire bracket, and sway-bar end link without bending or twisting anything.
Snug the upper and lower fasteners only enough to hold the assembly while the car is still supported. Final tightening at the wrong suspension position can preload rubber bushings and shorten their life, so reserve the final torque procedure for the manufacturer’s specified loaded or ride-height condition.
Step 8 Install the rear coilovers and preserve suspension clearance
Follow the kit’s rear layout precisely. On a separate-spring rear design, the coilover may replace the shock while a separate adjustable spring seat replaces the original spring. On another design, the coilover may combine spring and damper in one unit.
Confirm which components the kit replaces before removing the factory rear parts. A useful way to approach how to install coilovers g37 is to check your progress after each stage.
Support the rear hub or lower arm as you remove the factory shock and spring components. Install the new spring seat or coilover with its adjusters accessible and its upper and lower mounts aligned. Reconnect any brackets and make sure the tire, axle, brake line, and sway bar have room to move through their range.
With the suspension hanging, inspect for obvious interference. Then raise the hub slowly through approximate bump travel while watching the spring, damper body, brake hose, ABS wire, and tire clearance. Stop if anything contacts another part; clearance problems must be corrected before the car is driven.
Step 9 Set a conservative starting ride height
Adjust both sides of each axle to the same measured coilover setting, then lower the car onto the ground and roll it forward and backward several feet to settle the suspension. Measure hub-to-fender height again on level ground. Adjust in small, equal changes rather than chasing the final number with one corner at a time.
Use the kit’s published minimum and maximum height limits. Never run the threaded body so far out that too little thread remains engaged, and never allow a spring to become loose at full suspension droop unless the manufacturer explicitly designed the system that way. A modest drop is a better starting point than the lowest possible setting because it preserves travel and reduces the chance of contact.
After adjustment, tighten the locking collars against their mating surfaces as directed. A collar that is only hand-tight can move and change the vehicle’s height while driving. Record the final measurements so later changes are easy to identify.
Step 10 Torque the suspension hardware and reinstall the wheels
Use the factory service manual for vehicle fastener torque values and the coilover instructions for kit-specific hardware. A torque wrench is essential because “tight” is not a measurable setting, and over-tightening can damage a stud or deform a bushing. Replace any one-time-use fastener specified by the service information.
Where rubber-bushed joints are involved, tighten them at the ride-height position required by the service manual. Metal spherical joints may have a different procedure. Mark each fastener after torquing if helpful, but treat the mark as a visual check rather than a substitute for the torque wrench.
Reinstall the wheels and tighten the lug nuts in a crisscross pattern. Lower the car until the tires touch the ground, torque the lugs to the vehicle’s specified value, and remove the chocks only when the car is fully supported by the tires.
Step 11 Inspect the completed installation before moving the car
Turn the steering from lock to lock while watching the front brake hoses, sensor wires, coilover bodies, and tires. Nothing should pull tight, rub, or contact a sharp edge. Compare left and right mounting orientations and confirm that every removed bracket has been reattached.
Push down on each corner and listen for clunks, spring movement, or metal-on-metal contact. Check that the springs remain seated in their perches and that no adjustment collar has shifted. If the car sits dramatically unevenly, stop and recheck the spring seating, collar settings, upper-mount orientation, and whether a suspension component is still supported by the jack.
Step 12 Perform a cautious road test and arrange an alignment
Start with a slow roll in a safe area. Apply the brakes gently, steer through a few low-speed turns, and listen for knocking, rubbing, or a change in steering effort. Recheck the wheel torque and inspect for loose hardware after this initial movement.
If the car tracks normally and no problem appears, make a short drive on smooth roads while avoiding hard cornering, high speed, and potholes. Return immediately if the steering wheel is sharply off-center, the car pulls, a tire rubs, or a warning light appears. A professional four-wheel alignment should follow the installation because ride-height changes alter camber and toe, and incorrect toe can quickly wear tires or make the car unstable.
What changes when a G37 receives coilovers
Coilovers combine a spring and damper, or shock absorber, into an adjustable suspension assembly. The threaded section and collars allow ride-height changes, while the damper controls how quickly the suspension moves. Some kits also offer adjustable damping, meaning the resistance to compression or rebound can be changed with a knob.
Lowering the car changes suspension geometry. The G37 may gain more negative camber, alter toe, and lose bump travel as the body moves closer to the suspension’s limits. That is why the installation of coilovers is not complete when the car merely sits at the desired height; alignment and clearance determine whether it is safe and usable.
The exact procedure for how to install coilovers g37 models need can vary by sedan or coupe, rear-wheel drive or AWD, and the design of the kit. Treat the service manual and included instructions as controlling documents, especially for mounting orientation, torque values, minimum thread engagement, and whether a factory component is reused.
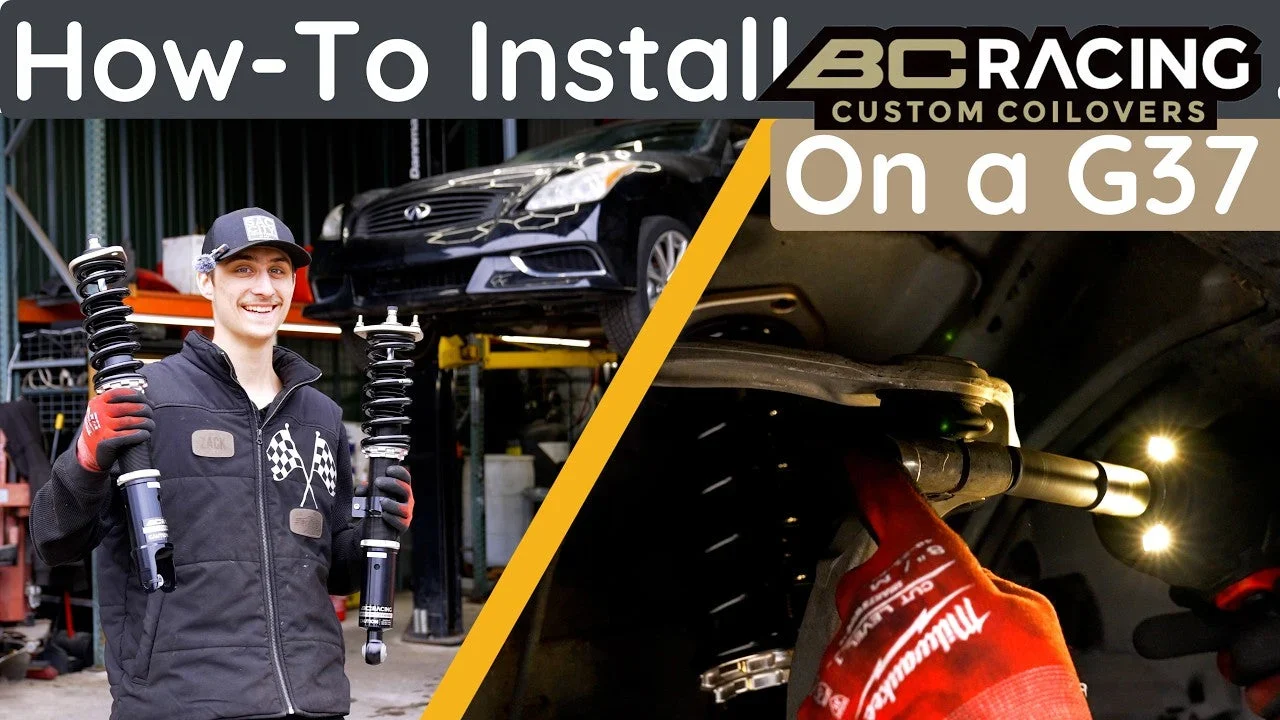
How to verify the setup before regular driving
A successful installation should produce a stable car with equal left-to-right settings, no interference, and predictable steering. Verification is more than looking at the stance from a distance; several checks reveal problems that a visual inspection can miss.
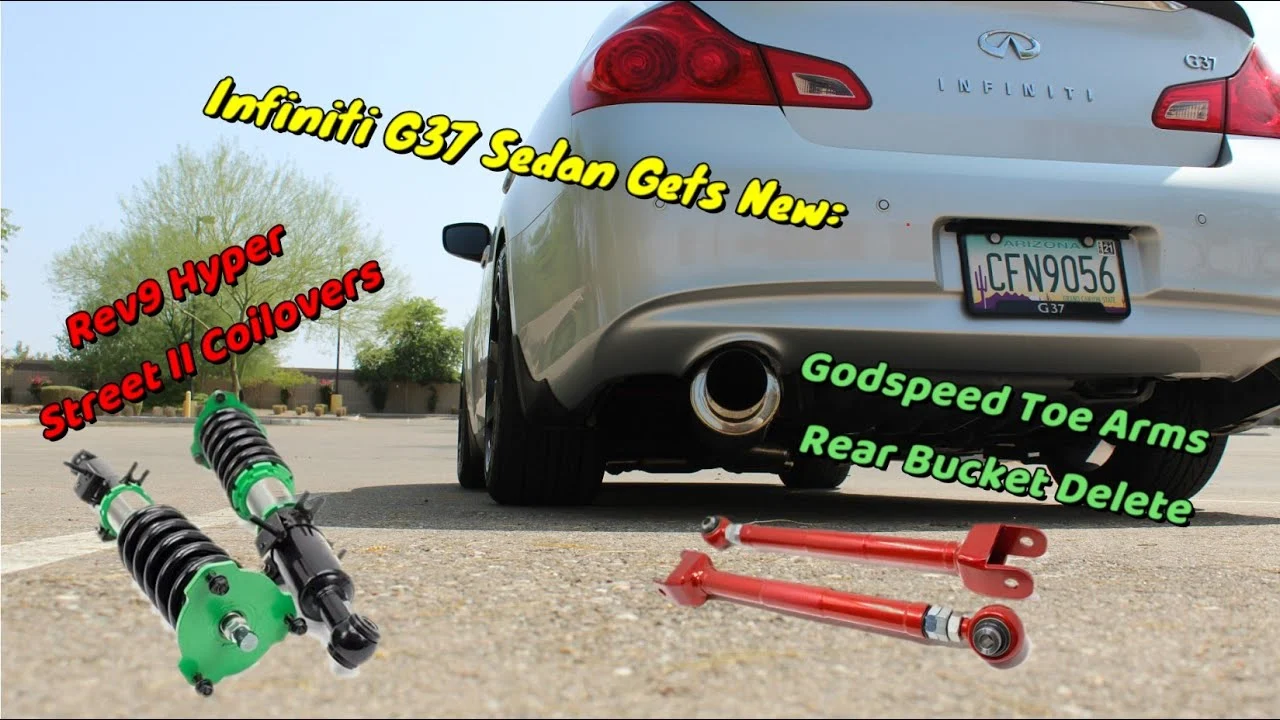
- Measure hub-to-fender height on level ground and compare both sides of each axle.
- Confirm the spring is seated correctly at both ends and cannot move freely when the suspension is unloaded unless the kit allows it.
- Check brake hoses and ABS wires at full steering lock and through suspension movement.
- Look for tire contact on the fender, inner liner, spring, and coilover body.
- Confirm every sway-bar, brake-line, and sensor bracket is installed and not under tension.
- Verify wheel lug torque and mark or record the suspension fasteners checked with a torque wrench.
- Schedule an alignment and request a printout showing the final camber and toe values.
Do not judge alignment by whether the steering wheel looks centered in the driveway. Toe can be incorrect even when the car appears straight, and the steering wheel may be centered temporarily while the tires scrub against the road.
Common installation problems and sensible fixes
Most early problems come from incorrect adjustment, a missed bracket, or hardware tightened in the wrong position. The table below is a quick diagnostic starting point, not a replacement for inspecting the vehicle safely.
| Symptom | Likely areas to inspect | Action |
|---|---|---|
| Clunk over small bumps | Loose upper mount, sway-bar link, lower bolt, or spring collar | Stop driving, support the car, and recheck assembly and torque. |
| One corner sits high | Unequal collar settings, spring not seated, bushing still loaded | Measure both sides, reseat the spring, and reset height evenly. |
| Rubbing during turns | Tire-to-liner, tire-to-spring, or brake-line clearance | Do not compensate only by raising one side; identify and correct the contact. |
| Car pulls after installation | Changed alignment, unequal height, tire issue, or disturbed steering part | Check tire pressures and obtain an alignment; investigate persistent pulling. |
| Spring feels loose when lifted | Incorrect preload or height adjustment | Compare the setting with the kit instructions before lowering or driving. |
When the car should stay parked
Do not drive if a spring is loose, a mounting bolt cannot be torqued, a brake hose is stretched, a tire rubs, or the vehicle makes a sharp metallic knock. Also stop if the coilover does not fit without forcing the knuckle or if you cannot identify the correct mounting hardware.
At that point, take photographs, compare the parts with the application information, and contact the manufacturer or a qualified suspension shop. A professional inspection is the appropriate next step when corrosion, damaged threads, bent suspension parts, or unfamiliar spring-compressor work is involved.
Frequently asked questions
Can I install G37 coilovers without a spring compressor?
Only if the kit is supplied as a complete assembly and does not require transferring a factory spring or upper mount. If a factory spring must be compressed, use a suitable compressor according to its instructions or have a qualified shop perform that portion.
Do coilovers replace the need for an alignment?
No. Changing ride height changes suspension geometry, especially camber and toe. Have the G37 aligned after the suspension settles, and align it again if you make a meaningful ride-height change later.
How low should I set my G37?
Begin with the manufacturer’s recommended setting or a modest drop that preserves suspension travel and tire clearance. The lowest setting is not automatically the best setting for handling, comfort, or reliability.
Should spring preload be used to lower the car?
Usually no. Preload controls how the spring is retained and how the coilover operates, while the kit’s body-length or height adjustment is normally intended to set ride height. Follow the specific instructions because designs differ.
Can AWD and rear-wheel-drive G37 coilovers be exchanged?
Do not assume they are interchangeable. AWD front suspension packaging and component geometry can differ from rear-wheel-drive versions, and a kit must be identified for the correct drivetrain and body style.
Finish the installation with measurement and alignment
Learning how to install coilovers g37 owners can trust means treating the job as a suspension system installation, not just a height adjustment. Support the car securely, verify compatibility, install each assembly without stressing brake or sensor components, and use the correct torque information for every fastener.
Before regular driving, check spring seating, clearance, ride-height symmetry, wheel torque, and steering behavior. Then schedule a four-wheel alignment and keep your recorded measurements and adjustment settings. If any part does not fit, remains loose, or behaves unexpectedly, leave the car parked until the issue is inspected and corrected.


