
How to install coilovers g35: A Careful DIY Suspension Guide
Installing coilovers on a G35 can turn a worn or overly soft suspension into a more controlled, adjustable setup, but the job is not simply a matter of removing the original shocks and tightening new hardware. The Infiniti G35 shares much of its suspension design with the Nissan 350Z, yet sedan, coupe, rear-wheel-drive, and all-wheel-drive versions can differ in parts and fitment.
A careful installation can be completed by a capable home mechanic with safe support equipment, basic hand tools, and the exact instructions for the coilover kit. The difficult parts are usually freeing old fasteners, supporting suspension components correctly, setting a sensible ride height, and recognizing when a bolt, mount, or replacement part is not compatible.
This guide explains how to install coilovers g35 owners commonly use, from confirming fitment through final checks and alignment. It does not replace the kit manufacturer’s instructions or the factory service manual: use their torque specifications, tightening sequence, and model-specific cautions whenever they differ from general guidance here.
At a glance
- Confirm the coilover kit matches your exact G35 body style and drivetrain before disassembling anything.
- Support the car with jack stands and support the suspension separately whenever a loaded arm or knuckle is being unbolted.
- Settle the suspension, check for interference, and get a professional four-wheel alignment before normal driving.
How to install coilovers g35 safely and correctly
The most reliable approach is to work on one axle at a time, photograph the original suspension, and keep the left and right hardware organized. A coilover replaces the factory spring and shock assembly with a threaded adjustable unit; ride height is changed with the threaded collars, while damping is adjusted separately if the kit provides that feature.
Read the complete coilover instructions before lifting the vehicle. Some kits reuse factory upper mounts, some include their own camber plates or pillow-ball mounts, and some require different installation hardware. Never assume that a part fits because it is advertised for a “G35” without checking sedan versus coupe and RWD versus AWD application.
Tools you will need
- Floor jack and four appropriately rated jack stands for lifting and supporting the vehicle
- Wheel chocks for the wheels that remain on the ground
- Complete metric socket and wrench set, including extensions and a breaker bar
- Torque wrench that covers the fastener ranges specified by the factory manual and coilover instructions
- Penetrating oil and a wire brush for corroded suspension fasteners
- Spring compressor only if the manufacturer requires transferring the factory spring or mount; follow its instructions carefully
- Paint marker, measuring tape, camera, and bags or labels for recording locations and hardware
- Optional: impact wrench for removal only, used cautiously so delicate studs and threads are not damaged
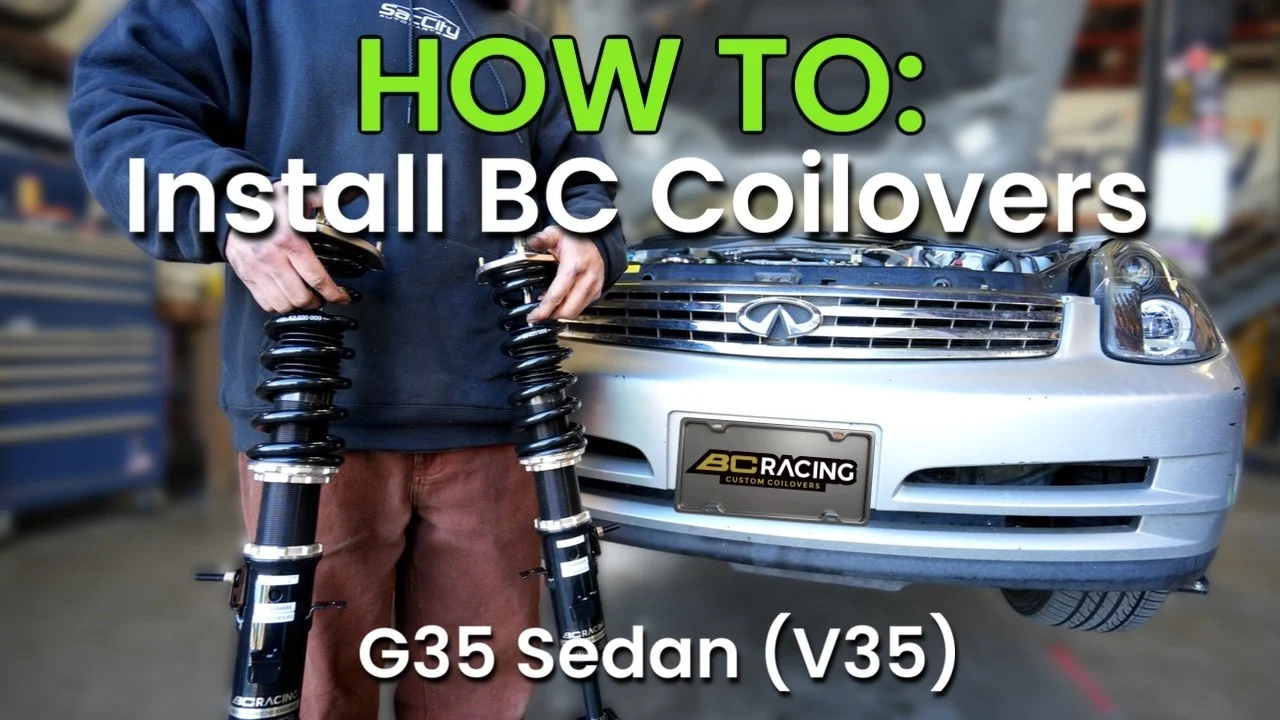
Step 1 Confirm the kit, parts, and installation plan
Park on a solid, level surface and compare every coilover with the kit’s parts list. Look for four complete assemblies, adjustment spanners, locking collars, replacement nuts or washers, and any brackets or spacers shown in the instructions. Check that the threaded bodies, spring seats, and mounting studs are undamaged and that the adjustment knobs are accessible after installation.
Verify the application against the vehicle identification information, body style, drivetrain, and intended use. An AWD G35 may use suspension components that are not interchangeable with a rear-wheel-drive car, and front and rear assemblies are not interchangeable simply because they look similar.
Measure the current ride height from the center of each wheel hub to the fender lip, and record the measurement with the car on level ground. Photograph brake-line brackets, ABS wire routing, sway bar links, and the orientation of each factory assembly; these references are valuable when the new parts do not look exactly like the old ones.
Important
Stop before disassembly if the kit is missing hardware, the application is uncertain, or a coilover has damaged threads, leaking fluid, a bent shaft, or a loose mount. Contact the manufacturer or a qualified suspension shop rather than improvising a critical fastener or spacer.
Step 2 Lift the G35 and remove the wheels
Loosen each wheel’s lug nuts slightly while the tires are still on the ground. Chock the wheels that will remain on the ground, use the factory-approved lifting points or another solid structural point, and raise the vehicle high enough for the suspension to move without resting on the jack.
Place jack stands under strong structural support points identified by the service information. Lower the car onto the stands, then gently test stability by pushing the body at a solid area. Keep the floor jack available as a secondary support for a control arm or knuckle, but never treat a hydraulic jack as a substitute for a stand.
Remove the wheels and place them out of the work area. If the car cannot be supported securely on a level surface, stop; suspension work under an unstable vehicle is not a reasonable beginner task.
Step 3 Free brackets and prepare the factory assembly
Begin at one corner and clean exposed threads with a wire brush. Apply penetrating oil to stubborn nuts, but keep it away from brake pads, rotors, and rubber components. Identify the brake hose bracket and ABS sensor wire bracket attached to the shock or nearby arm; these must be released or carefully transferred so the lines are not stretched.
Support the lower control arm or steering knuckle with a floor jack before removing a bolt that allows it to move. This prevents the assembly from dropping suddenly and reduces load on the fastener. Do not place the jack under a thin dust shield, brake rotor, or other part that can bend.
Before separating a sway bar end link or lower shock bolt, observe how the suspension reacts as the jack rises or lowers. If the bar or arm is under heavy tension, reposition the jack and work slowly. A loaded link can release unexpectedly when its nut is removed.
Step 4 Remove the front factory strut assemblies
At the top of the front wheel well or engine-bay area, locate the factory upper mounting nuts. Loosen them while leaving one nut engaged by a few threads until the lower attachment is free; this keeps the assembly from falling. Do not remove a center shaft nut on a factory spring assembly unless the spring is safely restrained with an appropriate compressor or the complete unit is being handled exactly as the service manual directs.
Remove the lower shock-to-knuckle fasteners and any attached brackets according to the factory procedure. Lower the jack gradually while holding the assembly, then remove the remaining upper nut and guide the strut out through the wheel opening.
Keep the left and right assemblies separate and note which hardware is reused. If a bolt is heavily corroded, rounded, or bent, replace it with the correct grade and specification rather than forcing it back into service.
Step 5 Remove the rear factory spring and shock components
The G35 rear suspension normally separates the spring and damper functions more than the front strut does, so identify which coilover components replace each factory part. Support the relevant lower control arm before removing the rear shock’s lower bolt and the fasteners at its upper mount.
Lower the arm slowly until the factory spring is no longer compressed. Keep your hands clear of the spring seats while lowering it, and remove the spring only when it is loose and stable. If it remains trapped or visibly loaded, raise the arm slightly and reassess rather than prying it out.
Remove the rear shock assembly and inspect the upper and lower rubber mounts, spring isolators, and hardware. Some coilover kits reuse one or more of these pieces, while others replace them; follow the kit diagram instead of transferring parts automatically. A useful way to approach how to install coilovers g35 is to check your progress after each stage.
Step 6 Prepare and set the coilovers before installation
Place the new assemblies beside the factory parts and compare overall length, mounting holes, brackets, and stud spacing. Confirm that the threaded collars turn smoothly and that the locking collars can be tightened with the supplied spanners. Lightly clean exposed threads if necessary, but do not coat them with a lubricant unless the manufacturer permits it.
Set an initial ride height close to the factory measurement or the manufacturer’s recommended baseline. Use the coilover’s intended adjustment method: many designs change height by moving the lower mount on the threaded body, while others use the spring perch. Do not obtain extra lowering by loosening the spring until it can move freely when the suspension is unloaded.
Spring preload is the amount of compression applied to the spring when the suspension is at full droop. Unless the instructions specify another setup, the spring should remain properly seated with the suspension unloaded and should not be loose enough to rattle. Excessive preload or extreme lowering can reduce travel and create harshness, bottoming, or unsafe geometry.
Helpful tip
Record the number of exposed threads or the distance from a fixed reference to each collar. Matching left and right settings is a useful starting point, but the final ride height may still require small adjustments after the car settles.
Step 7 Install the front coilovers and reconnect the hardware
Guide the front coilover into the wheel well and start the upper nuts by hand. Do not fully tighten them yet. Align the lower mount with the steering knuckle and install the lower bolts and nuts in the orientation specified by the kit or factory manual.
Reconnect the brake hose bracket and ABS wire bracket exactly as they were routed. Turn the steering from lock to lock by hand and check that the hose and wire do not pull tight, rub on the spring, or pass inside the tire’s path. If the kit includes an adjustable camber plate, keep its initial setting centered unless the instructions provide a different baseline.
Use the floor jack to support the knuckle or lower arm at approximately normal ride height before final-torqueing any bushing-mounted fastener. Rubber bushings can be twisted and prematurely damaged if their inner sleeves are clamped while the suspension hangs at full droop. Follow the factory torque sequence and values rather than relying on feel.
Step 8 Install the rear coilovers and reconnect the suspension
Position the rear coilover or separate rear spring and damper components according to the supplied diagram. Make sure the spring ends sit fully against their upper and lower seats, and confirm that any isolators are installed in the correct orientation.
Start all upper and lower fasteners by hand before tightening any one connection. Raise the lower control arm with the jack to align the bolt holes, but do not use the jack to force a misaligned part into place. A mismatch can indicate an incorrect side, an unseated bushing, or a coilover set for another chassis.
Reattach sway bar links, brake-line brackets, and ABS wiring. Check that the rear spring, damper body, and adjustment hardware clear the control arms and axle components through the available travel. Torque the fasteners only to the applicable factory or manufacturer specification.
Step 9 Set equal initial height and tighten the locking collars
With all four coilovers installed and the wheels still off, compare left-to-right collar positions using a tape measure or thread count. The measurements do not need to match a factory reference perfectly, but the two sides of the same axle should begin close to equal unless the manufacturer specifies otherwise.
Make sure each adjustment collar is fully seated against its mating surface and tighten the lock collar with the supplied spanner. Do not strike the collar with a hammer or chisel; damaged threads can prevent reliable adjustment and may make later service impossible.
Leave damping adjusters at the manufacturer’s recommended middle or baseline setting if the kit has them. Damping changes how quickly the suspension moves; it does not correct a coilover that is installed at the wrong height or has inadequate clearance.
Step 10 Reinstall the wheels and lower the car carefully
Reinstall each wheel and start the lug nuts by hand to avoid cross-threading. Snug them in a crisscross pattern while the vehicle is still supported, then lower the car until the tires touch the ground and torque the lugs to the vehicle’s specified value.
Remove the stands only after checking that no jack, tool, or loose part remains beneath the car. Lower the G35 completely and roll it forward and backward a short distance, or gently bounce each corner, to help the suspension settle into its seats.
Measure hub-center-to-fender height again at all four corners. If a side is substantially different, check for an unseated spring, incorrect collar position, mismatched components, or a suspension arm that was not properly supported during assembly.
Step 11 Inspect clearance and perform a slow initial check
With the car on the ground, turn the steering from full left to full right while watching the front tires, springs, brake hoses, ABS wires, and adjustment hardware. Inspect the rear suspension as well, looking for contact with the tire, inner fender, control arm, sway bar, axle, or damper body.
Check clearance again with the suspension compressed as far as practical without placing yourself under an unsupported vehicle. A helper can slowly move the steering while you watch, but no one should put hands near a moving tire or loaded suspension joint. Understanding how to install coilovers g35 also means recognizing the limits of the method.
Start the engine and listen while moving the car a few feet. Clunks, grinding, tire scraping, or a steering wheel that does not return normally are reasons to stop immediately and recheck the installation.
Step 12 Complete the installation with an alignment and final torque check
Drive only slowly around the driveway or shop area for the first movement, then recheck accessible fasteners and look for anything shifting or leaking. If the car pulls sharply, the steering wheel is dramatically off-center, or a tire rubs, do not continue to a normal road test.
Schedule a professional four-wheel alignment after the ride height is finalized. Changing ride height changes camber, toe, and suspension geometry; toe that is far out of specification can damage tires quickly and make the car unstable. Tell the alignment technician the target ride height and whether the coilovers include adjustable camber plates.
After the alignment, perform a short, low-speed road test on a familiar road. Gradually check braking, steering response, bumps, and turning clearance. Return to the shop or driveway for another inspection and recheck wheel lug torque after the first drive and again according to the wheel manufacturer’s guidance.
What changes when you install G35 coilovers?
Coilovers combine a spring and damper in an adjustable assembly. The threaded body or perch allows ride-height changes, while the damper controls suspension movement. Lowering the car can reduce body roll visually and may change handling, but it also reduces ground clearance and available bump travel.
On a G35, ride height affects alignment more than many beginners expect. Lowering usually changes rear and front camber and can alter toe, steering-arm angles, and the relationship between the sway bars and control arms. That is why an alignment is part of the installation, not an optional cosmetic finish.
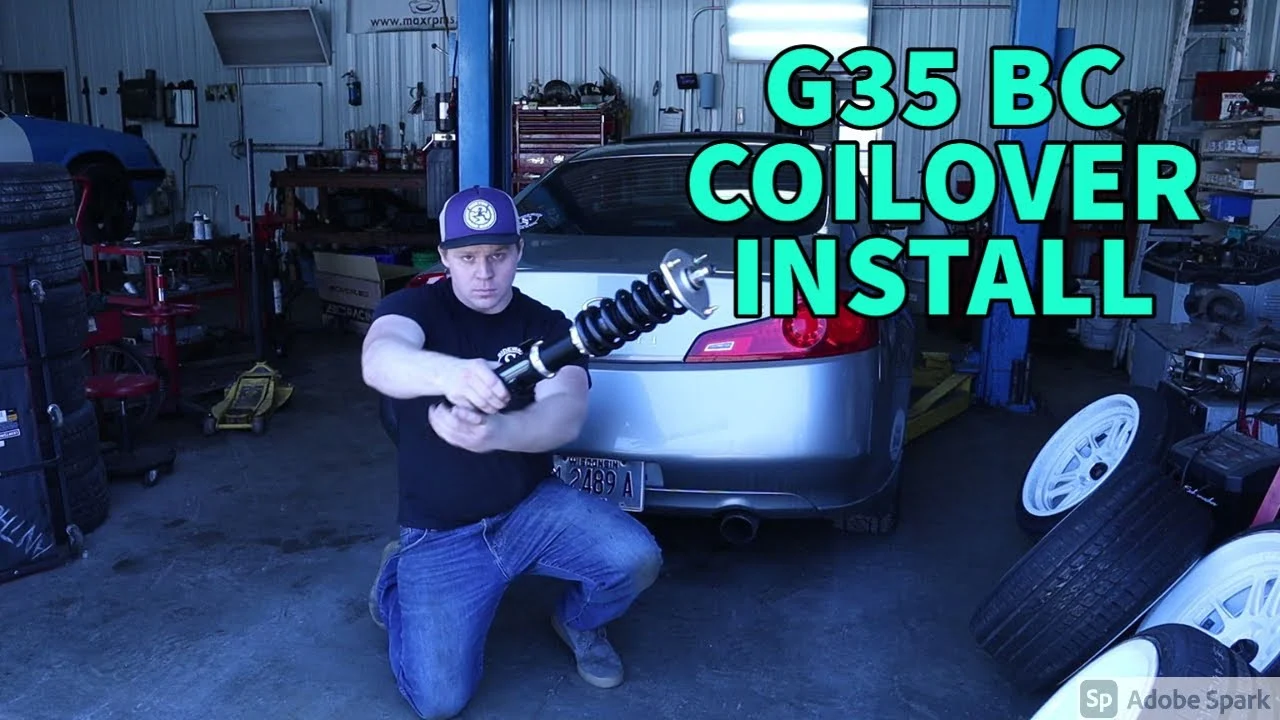
Factory mounts, camber plates, and replacement hardware
Some kits are designed to use factory rubber mounts, which generally preserve more noise isolation. Others use pillow-ball top mounts or camber plates that provide adjustment but can transmit more road noise and vibration into the cabin.
Never mix a factory upper mount, spacer, washer, and supplied top nut unless the instructions specifically show that combination. The wrong stack height can preload a bearing, leave insufficient thread engagement, or allow the mount to loosen.
Why an extremely low setting can hurt handling
A G35 that is lowered too far may ride on bump stops, rub the tires, lose suspension travel, or develop poor roll-center and bump-steer behavior. A car can look level while performing worse because the dampers have very little usable movement.
Start near the manufacturer’s recommended height and make small changes only after confirming alignment and clearance. If the car is used on public roads, maintain enough clearance for speed bumps, driveways, emergency braking, and normal suspension compression.
How to verify the installation before regular driving
A successful installation is more than four coilovers bolted into place. The car should sit evenly, steer without binding, clear the tires and brake lines, and have alignment readings appropriate for the intended use.

- All upper and lower fasteners are tightened to the correct factory or kit specifications.
- Wheel lug nuts are torqued correctly, and no stud or nut is cross-threaded.
- Brake hoses and ABS wires follow their original safe route without tension or rubbing.
- Springs remain seated at full droop and at normal ride height.
- Left and right ride heights are reasonably close before final adjustment.
- No tire, wheel, spring, damper, sway bar, or control arm contacts another component.
- The steering turns freely from lock to lock with the front end on the ground.
- A professional alignment has been completed after the final ride height is chosen.
Check your result
After the first cautious drive, park on a level surface and compare the recorded hub-to-fender measurements, inspect every corner for fresh contact marks, and listen for new clunks while turning the steering at low speed.
Common G35 coilover installation problems
Most problems can be traced to incorrect fitment, an unseated spring, a loose fastener, or a ride height that leaves too little travel. The table below helps separate symptoms that require an immediate stop from those that can be investigated during setup.
| Symptom | First checks |
|---|---|
| Clunk over small bumps | Check upper mounts, lower bolts, sway bar links, spring seating, and whether a lock collar is loose. Do not assume the noise is normal. |
| One corner sits high or low | Confirm left/right collar measurements, spring seating, correct component placement, and that the car has settled on level ground. |
| Tire or spring rubs | Inspect wheel offset, tire size, ride height, steering lock, brake-line routing, and clearance through compression. |
| Car pulls or steering wheel is crooked | Check tire pressures and installation first, then obtain an alignment. Do not correct a serious pull only by changing ride height. |
| Harsh ride or frequent bottoming | Check damper setting, spring preload, bump stops, ride height, and remaining suspension travel. |
When noise is not a harmless settling sound
A brief movement noise while a newly installed spring settles can occur, but repeated metallic knocking, a sharp pop during steering, or a sound that grows with speed deserves inspection. Loose upper hardware, a poorly seated spring, or contact between the damper and suspension can become a safety problem.
Raise the car safely and inspect only after the suspension is supported correctly. If you cannot identify the source without placing yourself near a loaded spring or unsupported vehicle, have a qualified technician examine it.
When the car feels unstable after lowering
Check alignment before changing damper settings. Excessive toe change, mismatched ride height, tire contact, or a loose control-arm fastener can cause instability, while a very stiff damper setting can make the tires skip over rough pavement.
Return the coilovers to the manufacturer’s baseline settings and confirm that the final ride height still leaves usable travel. If alignment cannot be brought within a sensible range with the available adjustment, the height or suspension geometry may need correction rather than more adjustment.
G35 coilover installation FAQs
Can I install coilovers without a spring compressor?
Usually, a complete coilover kit does not require compressing the factory springs because it replaces the spring and shock assembly. A spring compressor may still be required if the kit reuses a factory mount or if the manufacturer instructs you to transfer parts. Never loosen a compressed factory spring without a suitable compressor and a safe procedure.
Should I lower the G35 before or after the alignment?
Set the final ride height before the alignment. Any meaningful height change can alter camber and toe, so aligning the car first may require repeating the work.
Do coilovers need to be adjusted to the same number of threads on every corner?
No. The front and rear assemblies can have different baseline dimensions, and the correct setting depends on the kit and desired height. Start with the manufacturer’s measurements and keep left-to-right settings close, then verify actual ride height and clearance.
Why does my G35 sit higher after installation?
The springs may not have settled, the collars may be set high, or a spring may not be seated correctly. Confirm that the car is on level ground, roll it a short distance, remeasure from hub center to fender, and compare the collar positions with the kit instructions.
Can I drive to an alignment shop immediately after installing coilovers?
Only if the car passes a careful stationary inspection and a very slow local check. Verify wheel torque, steering operation, brake and ABS wire routing, tire clearance, and the absence of clunks first. If anything is uncertain, transport the car or have the installation inspected on site.
Finish the job with alignment and inspection
Learning how to install coilovers g35 owners can adjust safely comes down to controlled disassembly, correct support, exact hardware, and conservative setup. Confirm the application, preserve brake and ABS routing, keep the springs seated, and use the manufacturer’s torque and adjustment instructions rather than guessing.
Once the car is assembled, do not treat the first drive as the final test. Settle and measure the suspension, inspect for contact, complete a professional four-wheel alignment, and recheck the hardware after an initial cautious drive. If a fastener, mount, spring, or fitment detail remains uncertain, stop and have a qualified suspension technician verify it before regular road use.


