
How to Install Coilovers on Honda Accord: Key Facts and Guidance
Lowering a Honda Accord can improve its stance and give you more control over ride height, but the installation is more involved than swapping wheels or brake pads. Coilovers replace the factory springs and dampers with adjustable suspension units, so a small mistake in support, assembly, or tightening can affect steering, braking, and tire wear.
The good news is that how to install coilovers on Honda Accord is a manageable project when the kit matches your generation and the work is done methodically. Most complete kits are designed to replace the factory strut assemblies in front and the separate rear springs and shocks at the back. Exact hardware and access points vary by model year, drivetrain, and kit design.
This guide explains how to prepare the car, remove the original suspension, install adjustable units, set a sensible initial height, and check the result before driving normally. It also points out where factory service-manual torque values matter and when the safe choice is to stop and use a qualified suspension shop.
At a glance
- Confirm the coilover kit fits your Accord generation, body style, and drivetrain before removing anything.
- Support the car and suspension components independently; never rely on a jack while working underneath.
- Plan for a professional four-wheel alignment after the height settles and after any major ride-height change.
How to install coilovers on Honda Accord safely and correctly
A coilover installation is easiest to understand as four connected jobs: safely lifting the car, removing the factory suspension, fitting the adjustable assemblies, and setting up the car for alignment. Work on one axle at a time, keep removed hardware organized, and compare every new part with the original before tightening anything.
This procedure assumes a complete, vehicle-specific coilover kit with front assemblies and rear components. Do not reuse factory upper mounts, isolators, or sleeves unless the kit instructions explicitly require them. Some kits also use separate rear springs and shocks, while others use a combined rear coilover unit, so the supplied instructions take priority over a generic layout.
Tools you will need
- Vehicle-specific coilover kit and its installation instructions
- Floor jack and four appropriately rated jack stands for lifting and supporting the Accord
- Wheel chocks to prevent movement while one end of the car is raised
- Metric socket and wrench set, including sockets that fit the factory suspension fasteners
- Torque wrench capable of covering the vehicle’s specified tightening ranges
- Breaker bar or penetrating oil for stubborn fasteners
- Hex or Torx bits for holding some sway-bar or damper studs while loosening their nuts
- Dead-blow hammer or suitable trim tool for freeing parts without damaging them
- Ruler or tape measure for recording ride height at all four corners
- Paint marker, bags, and labels for identifying removed hardware
- Optional: digital angle gauge or the coilover manufacturer’s adjustment tool for repeatable height settings
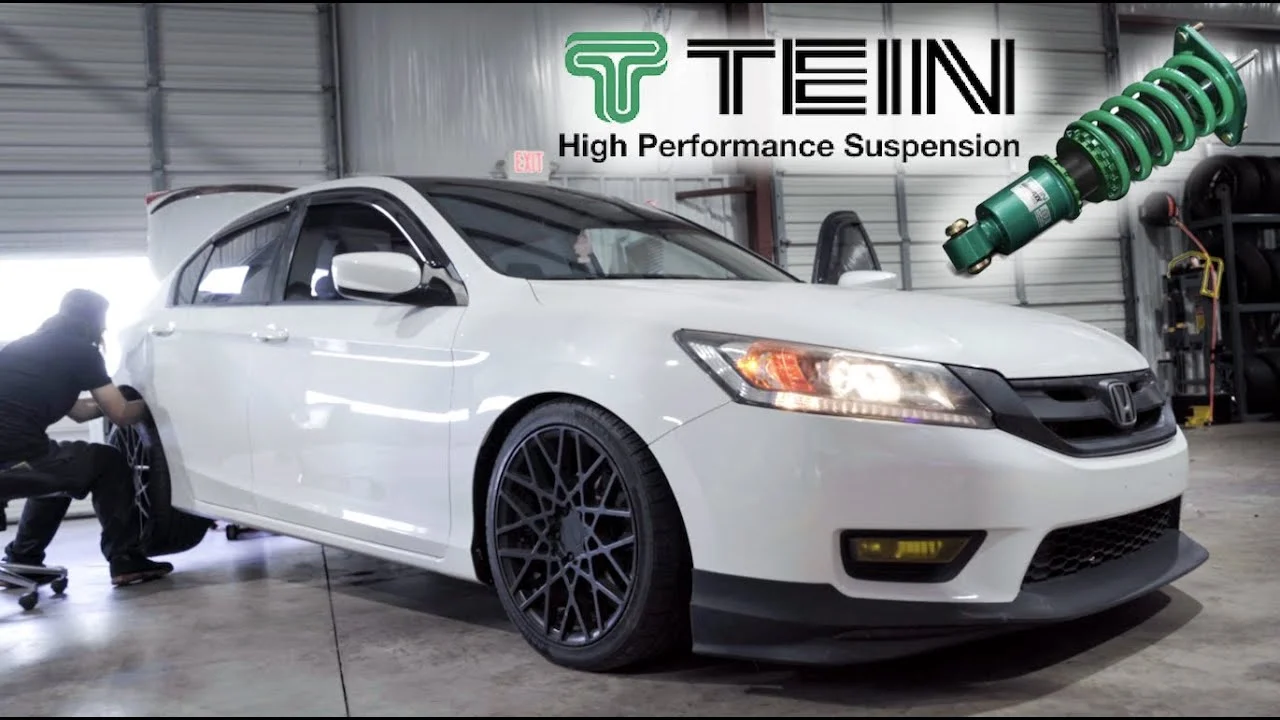
Step 1 Verify the kit and prepare the work area
Read the kit instructions before lifting the Accord. Confirm the part number, front and rear layout, included brackets, adjustment tools, and any required reuse of factory nuts or mounts. Look for differences between sedan, coupe, hybrid, V6, four-cylinder, and all-wheel-drive applications; a component that looks close can still have the wrong mounting points or spring rate.
Choose a hard, level surface with enough room to open the doors and move around both sides of the vehicle. Put the transmission in Park or in gear, apply the parking brake, and place wheel chocks at the wheels that will remain on the ground. Photograph the factory suspension and measure the current ride height from the center of each wheel hub vertically to the fender edge.
These measurements give you a baseline. Measuring from the ground to the fender can hide changes caused by tire pressure or an uneven floor, while the hub-to-fender measurement is more useful when comparing the final setup.
Step 2 Loosen the wheel nuts and lift the Accord securely
Before raising the car, loosen each wheel’s lug nuts slightly while the tires are still touching the ground. Do not remove them yet. Raise the front or rear according to the service-manual lift points, then place jack stands under solid structural points approved for supporting the vehicle.
Raise the opposite end if the kit requires access to both axles, and make sure the car is stable before crawling underneath. Give the body a careful push at a strong corner; the Accord should remain planted on the stands without rocking. Keep the floor jack available to support a control arm or hub when a suspension fastener is removed, but never use that jack as the only support.
Important
Never work under an Accord supported only by a hydraulic jack. Do not place a stand under a thin floor panel, plastic cover, suspension arm that must move freely, or another point not approved for vehicle support.
Step 3 Remove the wheels and document the factory routing
Remove the wheels and slide them under a solid portion of the chassis as a secondary safety measure. This does not replace jack stands, but it can reduce the drop distance if a support shifts. Keep left-side and right-side hardware separate, especially if the fasteners have different lengths.
Inspect how the brake hose, ABS sensor wire, and sway-bar end-link hardware are routed around each factory strut or shock. Take close photographs before disconnecting anything. A coilover can fit physically while still pinching a brake line or leaving an ABS wire stretched through suspension travel.
Step 4 Disconnect the front strut attachments
Start at one front corner. Depending on the Accord generation, you may need to detach the brake-line bracket and ABS wire bracket from the strut, disconnect the sway-bar end link from the strut or control arm, and loosen the lower strut-to-knuckle bolts. Support the steering knuckle with the floor jack before removing the final lower fastener so the knuckle does not drop and pull on the axle or brake hose.
Inside the engine compartment, locate the upper strut mount nuts. Remove only the nuts that secure the strut assembly to the body; do not loosen the large center nut on the factory strut unless the service procedure specifically calls for it. That center nut can retain compressed spring energy, and a complete coilover kit normally avoids the need to disassemble the original spring and damper.
Remove the lower hardware while controlling the strut, then remove the upper nuts and guide the factory assembly out. If a bolt is seized, use penetrating oil and controlled force rather than hammering directly on a threaded end or damaging the knuckle.
Step 5 Install and loosely secure the front coilovers
Compare the new front coilover with the removed strut. The lower mounting ears, upper studs, brake-line tab, and sway-bar attachment should align with the vehicle and the other side. Adjust the unit only as directed by the manufacturer; changing the threaded body length, spring perch, or preload collar in the wrong order can reduce usable suspension travel.
Guide the upper studs through the body while a helper supports the assembly, or support the assembly carefully with the jack. Install the upper nuts by hand, then align the lower mounting holes and insert the original or supplied lower bolts. Tighten all fasteners only enough to hold the part in place.
Reconnect the brake hose and ABS wire using the supplied brackets. Turn the steering from lock to lock by hand and inspect the clearance. The hose and wire should not rub the spring, threaded body, tire, or control arm, and they should not become taut at either steering lock.
Step 6 Remove the rear springs and shocks according to the Accord layout
The rear suspension may use a separate spring and shock, which is common on many Accord generations. Support the rear control arm or knuckle with the floor jack, remove the lower shock fastener, and then lower the arm gradually to release spring pressure. Keep your hands clear of the spring’s ends and pockets as the arm moves.
Remove the upper shock fasteners from inside the trunk or rear cabin area as applicable, then take out the factory shock. Remove the original spring, upper and lower rubber seats, and any separate hardware that the coilover instructions say to replace. Some kits reuse a factory spring seat; others replace it with an adjustable perch, so do not assume the original arrangement applies.
On a separate rear spring and shock system, never force the spring out while the control arm is still carrying its full load. Lower the arm slowly and confirm that the spring is fully relaxed before removing it.
Step 7 Fit the rear coilover components and check their orientation
Install the rear spring, perch, and shock or rear coilover assembly in the order shown by the kit instructions. Make sure the spring ends sit fully in their seats and that any rubber isolators are correctly positioned. If the spring has a tapered or tightly wound end, its orientation can matter.
Install the upper and lower shock hardware by hand, then raise or lower the control arm with the jack until the fastener passes through without forcing it. Confirm that the damper body, adjustment knobs, and springs have clearance from the chassis, brake lines, axle, and sway bar.
Do not fully torque rubber-bushed suspension fasteners while the suspension hangs at full droop unless the service procedure specifically allows it. Tightening a bonded rubber bushing at the wrong position can preload the bushing and shorten its life. Follow the factory procedure for the final ride-height position of those bolts.
Step 8 Set a conservative initial ride height and preload
Before lowering the car, set both sides of each axle to matching measurements. A useful starting point is the manufacturer’s recommended baseline, not the lowest possible setting. The lowest height may reduce bump travel, increase scraping, and place suspension geometry outside a useful range.
On most threaded-body coilovers, ride height is adjusted by changing the position of the lower mount on the threaded body rather than by heavily compressing the spring. Spring preload is the amount of compression applied to the spring when the suspension is unloaded; it is not the same thing as lowering the vehicle. Follow the kit’s instructions for locking collars and minimum thread engagement.
A useful way to approach how to install coilovers on honda accord is to check your progress after each stage.
Count exposed threads or measure from a repeatable point so the left and right units match. Make sure each locking collar is firmly seated against its mating collar and that the adjustment wrench is not left near the suspension.
Step 9 Torque the suspension hardware at the correct position
With the suspension supported as required by the factory procedure, torque the upper mounts, lower strut or shock bolts, sway-bar end links, brake-line brackets, and any other fasteners to the vehicle’s service-manual values or the coilover manufacturer’s specified values. Use the correct torque value for the exact fastener and location; a general internet torque chart is not a safe substitute.
Replace one-time-use nuts or damaged hardware when the service information calls for it. Hold the bolt head or damper shaft with the proper bit if necessary instead of allowing the shaft to spin. Mark each torqued fastener with a paint stripe if you want a quick visual check during the first inspection.
Step 10 Reinstall the wheels and lower the car gradually
Reinstall the wheels and thread the lug nuts by hand to prevent cross-threading. Snug them in a crisscross pattern while the car is still supported, remove the wheels stored beneath the chassis, and lower the Accord until the tires touch the ground.
Torque the lug nuts in the vehicle’s specified star pattern and to the specified value. Lower the car completely, remove the stands and chocks only when appropriate, and roll it forward and backward a short distance to let the suspension settle. Do not make final height comparisons while one corner is still hanging or while the steering is turned.
Step 11 Settle the suspension and make equal height adjustments
On level ground, measure from the wheel hub center to the fender edge at all four corners. Compare those measurements with your baseline and with the intended height. A small left-to-right difference can come from fuel load, driver weight, surface slope, or factory tolerances, so correct only meaningful differences.
If an adjustment is needed, raise and support the car again, clean the threaded section, loosen the locking collar, make the same measured change on both sides of an axle, and retighten the collar. Recheck that the spring remains seated and that there is adequate thread engagement. Never adjust a loaded collar with your fingers near the spring or use an improvised tool that can slip.
Step 12 Perform the final stationary safety inspection
Turn the steering fully left and right while watching the front suspension. Check that the tire does not contact the spring, coilover body, brake hose, ABS wire, fender liner, or sway bar. At the rear, inspect clearance around the spring, shock, tire, and body with the suspension at normal ride height.
Check that every brake hose and sensor wire is clipped into its intended position, every coil spring is seated, and no tool or loose hardware remains in the engine bay, trunk, or wheel wells. Press down on each corner and listen for movement. A slight suspension settling noise can occur, but a sharp metallic clunk, binding sound, or visible shift requires investigation before driving.
Step 13 Complete a cautious test drive and arrange alignment
Begin with a slow drive in a safe area. Apply the brakes gently, turn at low speed, and listen for clunks, rubbing, clicking, or a change in steering feel. The car should track predictably, return toward center after a turn, and stop without pulling sharply.
If the steering wheel is crooked, the vehicle pulls, a tire rubs, or the suspension makes a persistent noise, stop and inspect the installation rather than continuing. Once the ride height has settled and the hardware has been rechecked, schedule a professional four-wheel alignment. Lowering changes toe, camber, and other suspension angles, and correct alignment protects the tires and restores predictable handling.
What changes when coilovers replace the factory suspension?
Coilovers combine a coil spring with a damper, which controls how quickly the suspension compresses and rebounds. The threaded adjustment allows ride-height changes, while some kits also offer damping adjustment through a knob. Damping adjustment changes the shock’s resistance; it does not correct a wrong spring installation or replace an alignment.
The factory suspension is usually designed around a particular range of ride height, comfort, and suspension travel. Lowering the Accord reduces available bump travel and changes the angles of the control arms and steering links. That is why a very low setting can ride worse, bottom out more often, or wear tires even when every fastener is tight.
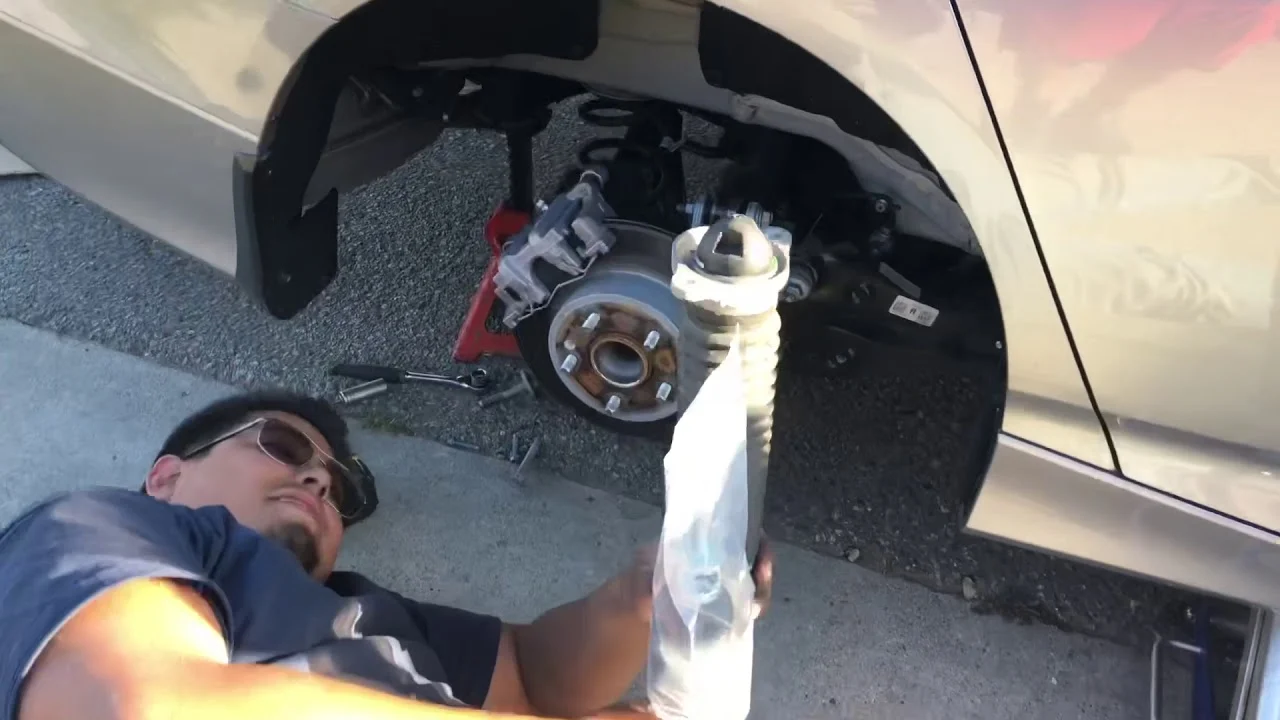
Complete assemblies versus reused factory parts
A complete front coilover assembly generally lets you remove the factory strut without compressing its spring. A spring compressor may still be required for some conversion kits, replacement top hats, or kits that reuse the original upper mount. If compressed-spring work is necessary and you do not have the correct compressor or experience, have a suspension shop handle that portion.
Rear designs vary more than many beginners expect. Some Accords use a separate rear spring and shock, while a kit may supply an adjustable spring perch and a separate damper. Read the diagram for your exact kit rather than copying the front installation approach at the rear.
Why alignment is part of the installation
Ride height directly affects suspension geometry. Toe is the direction each tire points relative to the vehicle centerline, while camber describes how much the wheel leans inward or outward when viewed from the front. Either can change when coilovers lower the car, and toe errors can rapidly damage tires.
For that reason, how to install coilovers on Honda Accord models cannot be considered complete when the last lug nut is tightened. The installation is finished only after the car passes the stationary inspection, the hardware is rechecked, and the alignment is measured and corrected.
How to check the finished installation
A good final inspection combines measurements, visual checks, and driving behavior. Do not judge the setup only by appearance; a level-looking car can still have incorrect toe, a loose mount, or a trapped brake hose.
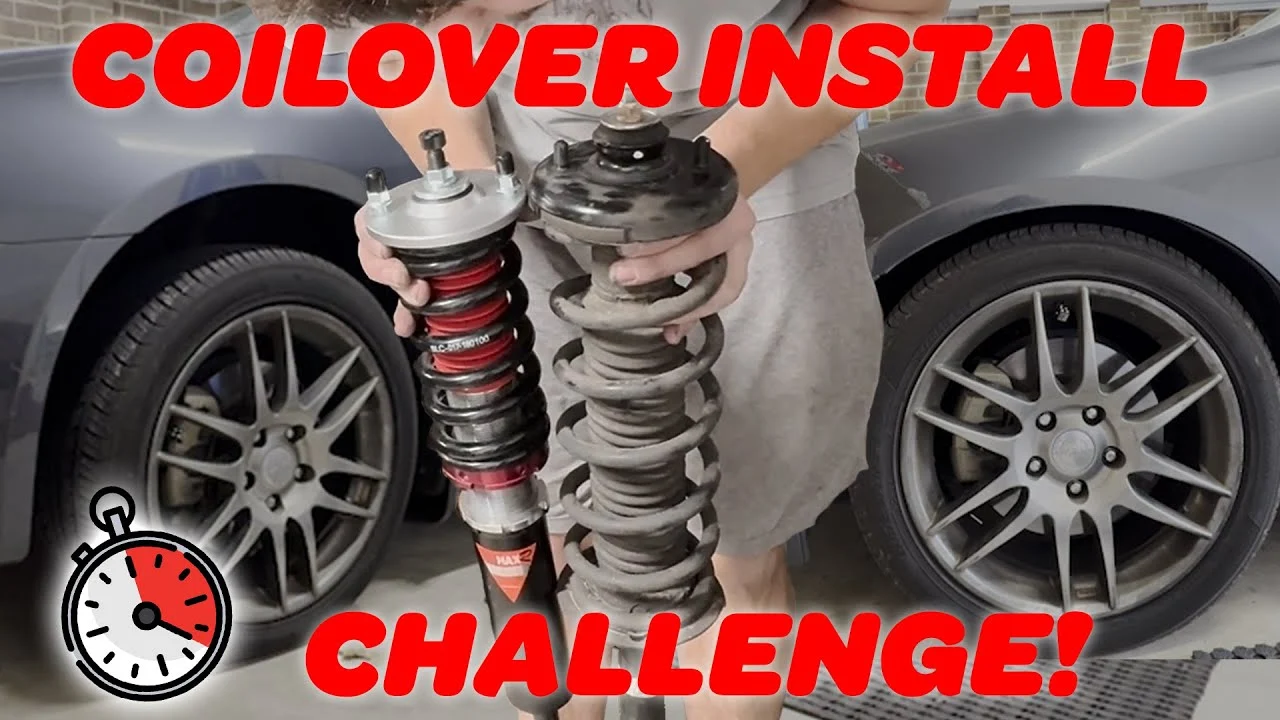
Use this post-installation checklist
- Compare hub-to-fender measurements from side to side and record the final values.
- Confirm the coilover locking collars are tight and the spring ends are seated.
- Verify that all brake hoses and ABS wires have full steering and suspension movement.
- Look for tire contact on the spring, damper body, fender liner, and inner fender.
- Check that the steering wheel turns smoothly from lock to lock without binding.
- Confirm the lug nuts and suspension fasteners were torqued with the correct specifications.
- Listen for clunks over a small, controlled bump at low speed.
- Have a shop measure and adjust all four wheel alignment angles.
Check your result
A successful first check is quiet, repeatable movement: the car sits evenly, the steering turns freely, the brakes feel normal, and nothing rubs or shifts during a slow test drive.
Common coilover installation problems
Most problems after installation come from incorrect height adjustment, a missed bracket, a loose fastener, or a component that was tightened while the suspension was in the wrong position. Stop driving if the issue affects steering, braking, tire clearance, or structural attachment.
| Symptom | First checks | When to stop |
|---|---|---|
| Clunk over bumps | Inspect upper and lower mounts, sway-bar end links, spring seating, and loose tools or brackets. | Stop if the clunk is heavy, repeats with steering input, or a mount visibly moves. |
| Vehicle pulls or steering wheel is off-center | Check tire pressures, ride-height equality, and alignment. | Stop if braking causes a strong pull or steering feels unstable. |
| Tire or brake-line rubbing | Inspect at full steering lock and through suspension movement; verify bracket routing and ride height. | Do not drive normally until contact is eliminated. |
| One corner sits much lower | Confirm collar positions, spring seating, correct part orientation, and that the suspension is fully settled. | Stop if a spring is loose at full droop or a threaded collar will not lock. |
| Harsh ride or frequent bottoming | Check ride height, bump travel, preload, damping setting, and tire pressure. | Seek kit-specific help if the setup is below the manufacturer’s minimum height. |
When a noise may be harmless—and when it is not
A new suspension can make a light settling sound during the first few movements, particularly if a spring or bushing is finding its seat. A repeated metallic knock, grinding sound, spring movement, or noise that changes when the steering is turned is not something to dismiss.
Recheck the installation with the car safely supported and the suspension unloaded where appropriate. If you cannot identify the source, do not guess by tightening random fasteners; use the kit manufacturer’s support or a qualified suspension technician.
What to do if the car sits unevenly
First place the Accord on a level surface, confirm equal tire pressures, remove unusual cargo, and roll the car forward and backward to release suspension bind. Measure at the hub rather than relying on the fender visually. If the difference remains, compare the collar positions and make sure the spring is seated in both perches.
Do not compensate for a bent component, damaged mount, or incorrect spring by forcing one side dramatically higher. Uneven height after a careful adjustment can indicate a worn or damaged part that needs diagnosis.
Beginner FAQs about Honda Accord coilovers
These answers cover common decisions that affect safety and the final result, but your vehicle’s service manual and coilover instructions remain the controlling references.
Do I need a spring compressor to install Accord coilovers?
Not usually when the kit includes complete front coilover assemblies. You may need one for a conversion kit or any design that reuses and disassembles a factory spring and upper mount. Never loosen a factory strut’s center nut without controlling the spring with the correct equipment.
Can I install coilovers without getting an alignment?
You can physically install them, but you should not treat the car as finished without an alignment. Ride-height changes can alter toe and camber, and incorrect toe can cause rapid tire wear and unstable handling.
How low should I set my Honda Accord?
Use the kit maker’s recommended starting height and keep enough bump travel and ground clearance for normal roads. Set both sides of an axle evenly, then adjust only after checking tire clearance, suspension travel, and alignment.
Should I adjust damping before or after installation?
Set damping to the manufacturer’s baseline before driving, then make small, documented changes after the car is aligned and you understand its behavior. Damping adjustment cannot fix incorrect ride height, a loose mount, tire rubbing, or poor alignment.
Can I reuse the factory suspension bolts and nuts?
Reuse them only when the service manual and coilover instructions permit it and the threads, shoulders, and locking features are undamaged. Replace one-time-use fasteners or damaged hardware as specified, and always use the correct torque value for that location.
Finish the installation with alignment and careful checks
Learning how to install coilovers on Honda Accord models is mainly an exercise in preparation and control: use a compatible kit, support the car correctly, keep brake and sensor wiring clear, and set the threaded hardware according to the instructions. A conservative ride height is usually a better starting point than chasing the lowest possible stance.
After the car is reassembled, verify the measurements, torque, clearances, and steering behavior before normal driving. Recheck the setup after the initial settling period and get a four-wheel alignment. If a spring, mount, fastener, or steering component remains uncertain, stop and have a qualified technician inspect it before the Accord returns to the road.


