
How to Install Rear Coilovers: Safe Setup and Final Checks Guide
Replacing rear shocks and springs with adjustable coilovers can make a car’s suspension easier to tune, but the job is not simply a matter of swapping one part for another. The rear suspension must be supported in the right places, the coilover must match the vehicle, and every fastener must be tightened according to the manufacturer’s instructions. A small installation mistake can create noise, poor handling, or a dangerous loss of control.
For most independent rear suspensions, how to install rear coilovers comes down to safely unloading the original spring, removing the factory damper and spring, fitting the new assemblies in the correct orientation, and setting an initial ride height. Some cars use a separate rear spring and shock, while others use a complete coilover unit, so the exact hardware varies.
This guide explains a cautious, beginner-friendly method that works as a framework rather than a substitute for the vehicle service manual or coilover instructions. You will learn what to inspect before starting, how to support the suspension, how to avoid common adjustment mistakes, and how to verify the result before normal driving.
At a glance
- Confirm the coilovers and hardware are designed for your exact vehicle and suspension layout.
- Support the car with properly placed jack stands and control the rear spring before removing it.
- After installation, check clearance, measure ride height, retorque accessible fasteners, and arrange a wheel alignment.
How to install rear coilovers safely and verify the setup
The procedure below assumes a conventional rear suspension with separate or integrated coilover components. Read the supplied instructions first: some kits replace a separate spring and shock, some use a threaded shock body, and some require reuse of factory upper mounts or hardware. If the instructions conflict with a general step here, follow the kit and vehicle-specific instructions.
Tools you will need
- Vehicle service manual or coilover installation instructions for torque values, orientation, and adjustment limits
- Floor jack and four properly rated jack stands for lifting and supporting the vehicle
- Wheel chocks to prevent movement of the wheels that remain on the ground
- Socket set, ratchet, combination wrenches, and breaker bar for suspension fasteners
- Torque wrench capable of covering the specified fastener range
- Spring compressor only if the vehicle or kit instructions specifically require one; use a suitable, correctly rated type
- Penetrating oil, paint marker, measuring tape, and a work light for preparation and reference marks
- Optional: second floor jack to support and lower the rear suspension arm in a controlled way
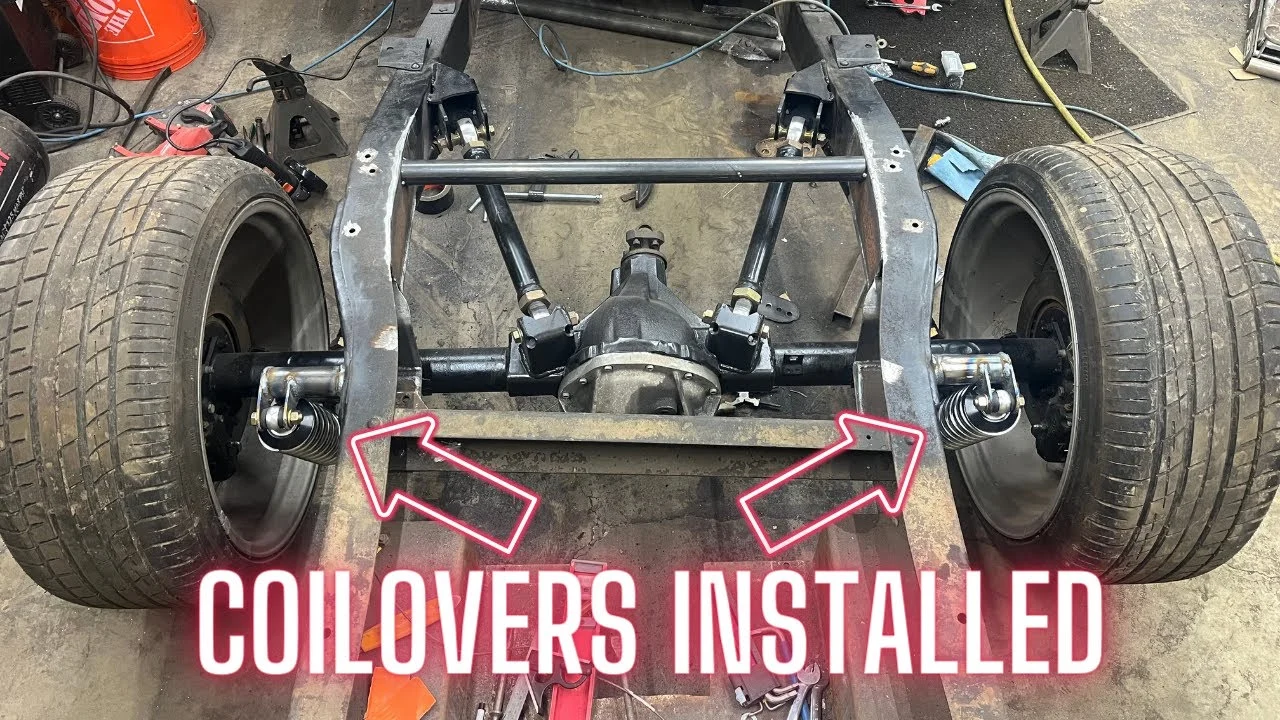
Step 1 Confirm compatibility and record the original setup
Park on a firm, level surface and compare the kit with the vehicle before lifting anything. Check the make, model, chassis generation, drivetrain, body style, and any listed brake or suspension differences. Rear coilovers that fit one version of a car may not fit another, even when the vehicles look nearly identical.
Read the adjustment instructions and identify the upper and lower mounts, spring seats, locking collars, spacers, bushings, washers, and any replacement hardware. Photograph the factory arrangement from several angles. Also measure from the center of each rear wheel to the fender lip, recording the left and right sides separately; this gives you a useful baseline after installation.
Look for seized, damaged, or heavily corroded fasteners before beginning. If a mounting point is cracked, a threaded hole is damaged, a brake line is corroded, or the spring cannot be controlled safely, stop and address that problem rather than forcing the installation.
Step 2 Loosen the wheel fasteners and lift the rear of the vehicle
With the car still on the ground, loosen the rear wheel lug nuts slightly without removing them. Chock the front wheels, place the transmission in park or in gear as appropriate, and release the parking brake only if the suspension design requires it; follow the service manual when in doubt.
Use the approved rear lifting point, then place jack stands under the manufacturer-designated structural support points. Lower the vehicle gently onto the stands and shake the body lightly to confirm it is stable before working underneath. Keep the floor jack available to support a suspension arm, but never use a jack alone as your support.
Remove the rear wheels and place them beneath a strong part of the vehicle as an additional precaution. They are not a replacement for jack stands, but they can help provide space between the car and the floor if the vehicle shifts.
Important
Never work under a vehicle supported only by a floor jack. Do not place a jack stand under a thin floor panel, plastic cover, brake component, or suspension arm unless the service instructions specifically identify that point as a support location.
Step 3 Support the rear suspension before disconnecting the original parts
Place the optional second floor jack under the rear control arm, hub carrier, or other approved suspension support point. The goal is to carry the spring’s load and prevent the arm from dropping suddenly when the shock or spring retainer is removed.
Raise the jack only until it lightly supports the suspension; do not lift the car off the stands. Inspect the spring’s position, upper and lower seats, brake hose, ABS wire, and any sway-bar links. The suspension should remain aligned with no hose or wire stretched tight.
This is also the point to identify whether the rear spring is trapped by the shock, a separate spring perch, or a suspension arm. A separate spring may require the arm to move downward, while an integrated rear coilover may come out after the upper and lower mounts are disconnected.
Step 4 Remove the factory rear shock and spring
Remove any plastic shields or trim that block access to the upper shock mount, keeping clips and fasteners organized. Loosen the upper and lower shock fasteners, but keep the suspension supported so the shock is not carrying unexpected load. Remove the shock only when its weight and the suspension position are controlled.
For a separate rear spring, lower the supporting jack slowly until the spring becomes loose in its seats. Never assume it is unloaded because the vehicle is raised; a spring can still store substantial energy. Remove the spring, rubber isolators, and retainers, and note which way each piece faces.
If the spring remains compressed or trapped, stop and use the method specified by the vehicle manual. Do not cut the spring, pry against a brake line, or improvise a spring compressor. A spring that releases unexpectedly can cause severe injury.
Clean dirt and rust from the mounting surfaces and inspect the upper mount, lower bracket, bushings, isolators, and nearby brake and ABS components. Replacement coilovers cannot correct a cracked bracket or a worn mounting hole.
Step 5 Set the coilover’s initial length and spring adjustment
Before placing the new parts on the vehicle, identify which collar controls ride height and which collar locks the setting. On many threaded-body designs, ride height is changed by altering the assembled shock-body length or lower mount position, not by heavily compressing the spring. On other designs, the spring perch affects both spring preload and height.
Use the supplied instructions instead of guessing. A useful way to approach how to install rear coilovers is to check your progress after each stage.
Set both rear coilovers to the manufacturer’s recommended starting position. If no starting dimension is supplied, use the kit’s documented measurement method rather than copying a random internet setting. Measure from a defined point on each assembly and make the left and right settings equal before installation.
Threaded collars should move smoothly by hand after the threads are clean. Apply only the lubricant specified by the manufacturer, and do not use an impact gun on adjustment collars. Tighten locking collars with the supplied tool and the specified method after the final height is chosen.
Step 6 Install the rear coilovers in the correct orientation
Place each coilover into its upper and lower mounts, matching the side markings and the orientation shown in the instructions. Reinstall any factory upper mount, isolator, spacer, washer, or sleeve in the same order unless the kit specifically replaces it.
Start all fasteners by hand. This confirms that the parts are aligned and prevents cross-threading. If a bolt will not pass through easily, do not draw the suspension into position with the fastener; adjust the supporting jack slightly until the mounting holes line up naturally.
For a separate spring and shock arrangement, install the supplied rear spring with its ends seated against the stops in the upper and lower perches. Make sure rubber isolators are present and correctly oriented. The spring should sit squarely, with no coil touching a nearby bracket, hose, or body panel.
Snug the mounts while the suspension is still hanging only if the instructions permit it. Final tightening of rubber-bushed mounts usually needs to occur at normal ride height so the bushings are not permanently twisted. Spherical bearings and other rigid joints may have different requirements.
Step 7 Reconnect related components and torque the mounts
Before tightening anything fully, reconnect components that were moved or disconnected, including sway-bar links, brake-line brackets, ABS wire clips, and bump-stop or dust-shield parts. Compare both sides of the car so a displaced wire or bracket does not go unnoticed.
Use the vehicle or kit torque specifications for every suspension fastener. Torque values are not interchangeable between cars, and a general number can be unsafe. If a factory nut is a one-time-use, prevailing-torque, or self-locking type, replace it when the service information requires replacement.
When a bushing-mounted fastener must be tightened at ride height, support the suspension at the approximate normal ride position with a jack. Keep the body supported by the stands, and ensure the jack cannot slip while you work. Tighten the fastener with the suspension in the required position, then remove the jack only after the area is clear.
Helpful tip
Mark each torqued fastener with a small paint stripe. The mark is not a substitute for a torque wrench, but it makes a later visual inspection easier and helps distinguish tightened hardware from hardware that was only started.
Step 8 Reinstall the wheels and lower the car carefully
Check that no tools, loose hardware, or jack stands are in the path of the suspension. Reinstall the wheels, tighten the lug nuts by hand, and lower the vehicle gradually. Once the tires touch the ground, torque the lug nuts in the vehicle’s specified pattern and to its specified value.
Roll the car a short distance forward and backward on level ground, then turn the steering wheel from side to side if the vehicle’s front wheels remain on the ground. This lets the suspension settle without relying on a single compressed position. Do not use aggressive bouncing as a substitute for proper settling.
Measure the rear ride height again using the same wheel-center-to-fender points used before removal. Compare left to right and compare the result with the intended setting. A small difference can come from uneven ground or unsettled bushings, but a large or sudden difference indicates that a spring, mount, spacer, or adjustment collar may not be seated correctly.
Step 9 Inspect clearances and perform a cautious initial test
With the car on the ground, look around both rear assemblies. Check that the springs remain seated, locking collars are tight, and the shock bodies, brake hoses, ABS wires, sway-bar links, and tires have clearance. Turn or move the suspension through its usable range only as the service information allows; do not force the suspension against a bump stop.
Push down on each rear corner and listen for clunks, scraping, spring movement, or metal-to-metal contact. The car should return smoothly without continuing to bounce excessively. Some new suspension components may feel firmer, but a sharp knock or visible movement at a mount is not a normal break-in characteristic.
Understanding how to install rear coilovers also means recognizing the limits of the method.
For the first drive, use a quiet, low-speed route without heavy traffic. Test braking, gentle turns, and small road imperfections while listening for changes. Stop immediately if the car pulls sharply, the steering feels unstable, a wheel rubs, a warning light appears, or a suspension noise becomes pronounced.
Step 10 Recheck the installation after the initial drive
Park on level ground and inspect the same areas again after the short test. Look for shifted springs, loose collars, fresh contact marks, leaking dampers, stretched wires, and fasteners that have visibly moved. Do not crawl beneath a hot or unsupported vehicle.
Retorque any fastener that the kit or vehicle instructions identify for a post-installation check. Recheck wheel lug torque as well. If the ride height has changed noticeably or the car now sits unevenly, find the cause before continuing to drive.
Schedule a four-wheel alignment before normal driving, especially if the coilovers changed ride height. Altering suspension height changes alignment angles such as camber and toe. A car can feel acceptable while still wearing tires quickly or behaving unpredictably under braking.
What changes when rear coilovers replace factory suspension?
A coilover combines a spring and damper in an adjustable assembly, although some rear systems still use a separate spring and shock. The spring supports the vehicle, while the damper controls how quickly the suspension compresses and extends. Ride-height adjustment changes the vehicle’s resting position, but it does not automatically create a correct alignment or improve every handling characteristic.
Preload is the amount of spring compression in the unloaded assembly. It is not always the same thing as ride-height adjustment. On a height-adjustable shock body, the manufacturer may want the spring kept within a particular preload range while the lower mount changes the installed length.
Excessive adjustment outside that range can reduce suspension travel or allow the spring to become loose at full droop.
Suspension travel is the room available for the wheel to move upward and downward. Lowering the car too far can leave insufficient bump travel, causing the suspension to hit its bump stop over ordinary pavement. Raising it excessively can create clearance or geometry problems.
A sensible initial setting keeps the spring seated and preserves usable travel rather than aiming for the lowest possible body height.
Damper adjustment is separate from ride height on many kits. If the coilovers include compression or rebound settings, begin at the manufacturer’s recommended baseline and change only one setting at a time. A very stiff setting can reduce grip on uneven pavement rather than automatically making the car more controlled.

How to tell whether the installation is correct
A correct installation is more than a car that sits at the desired height. The hardware should be tight, the springs should remain seated, the suspension should move without interference, and the alignment should be appropriate for the new geometry.
Use the following checks after the car has settled on level ground:
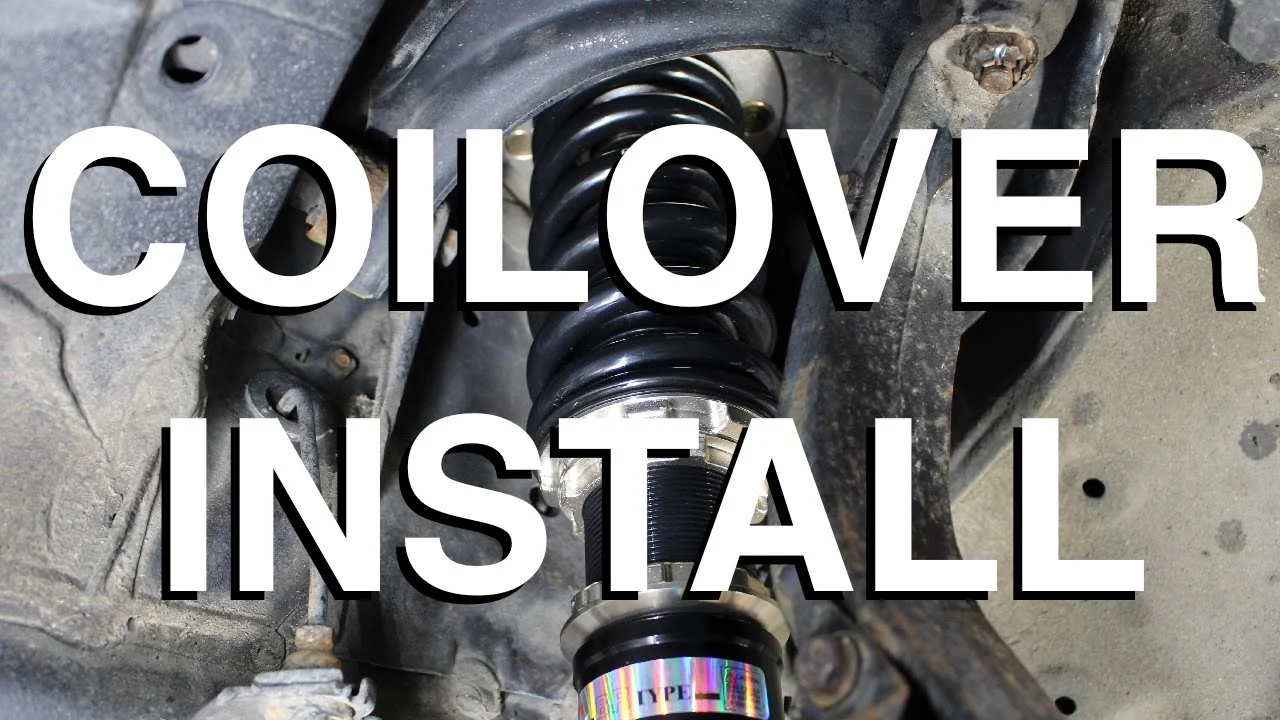
- Left and right rear ride heights are measured from identical reference points.
- Both springs are fully seated in their isolators or perches.
- Adjustment collars and lock rings are tight and within the documented adjustment range.
- Brake hoses and ABS wires have slack through suspension movement and cannot rub the tire or spring.
- The tire clears the spring, shock body, inner fender, and nearby brackets.
- There are no clunks, scraping sounds, fluid leaks, or visible shifts during a gentle suspension movement.
- Wheel lug nuts and suspension fasteners have the specified torque.
- A professional alignment is completed before hard cornering or extended highway driving.
Keep the original measurements, final ride-height measurements, alignment printout, and adjustment settings together. This record makes future changes more controlled and helps reveal whether a corner is settling or moving unexpectedly.
Common problems after rear coilover installation
Most post-installation problems come from a spring that is not seated, a bushing tightened at the wrong suspension position, incorrect hardware order, or an adjustment made beyond the kit’s intended range. The symptom can point toward the area that needs inspection, but do not rely on sound alone.
| Symptom | Likely areas to inspect |
|---|---|
| Clunk over small bumps | Loose mount, incorrect spacer order, sway-bar link, spring seating, or play in a worn factory component |
| Scraping or rubbing | Tire clearance, brake hose or ABS wire routing, spring position, dust shield, or insufficient clearance at the shock body |
| One side sits higher | Unequal adjustment, unsettled suspension, incorrect spring seat, bent component, or a different factory load on the vehicle |
| Harsh ride or frequent bottoming | Insufficient suspension travel, unsuitable damper setting, excessive lowering, or an incorrect spring arrangement |
| Pulling or unstable handling | Alignment change, unequal ride height, loose hardware, tire issue, or another suspension problem |
If a noise remains after checking torque and seating, do not simply turn up the damper stiffness or lower the car further. Raise the vehicle safely, inspect the installation against the instructions, and have a qualified technician examine it if the source is not obvious.
Rear coilover installation FAQs
Can I install rear coilovers without a spring compressor?
Sometimes. Many rear kits use a separate spring and allow the factory spring to unload by lowering a supported suspension arm, while some assemblies are supplied preassembled. If the spring remains compressed or trapped, use only the compressor and method specified for that vehicle and spring; never improvise.
Should I lower the car as far as the adjustment allows?
No. The lowest setting may reduce bump travel, cause tire or suspension contact, and create poor alignment angles. Start with the manufacturer’s recommended setting, then confirm spring seating, clearance, and alignment before making small changes.
Do I need an alignment after installing rear coilovers?
Yes, an alignment is strongly recommended whenever ride height or suspension mounting position changes. Rear toe and camber can affect straight-line stability and tire wear even when the steering wheel appears centered.
Why is one rear corner higher after installation?
First confirm that the car is on level ground and that the suspension has settled. Then compare adjustment measurements, spring seating, isolators, and the vehicle’s fuel and cargo load. Do not compensate for a bent part or incorrect assembly by making a large collar adjustment.
Can I tighten every suspension bolt while the wheels are hanging?
Not always. Fasteners passing through rubber bushings often need final torque at normal ride height to prevent bushing wind-up. Follow the vehicle service manual and coilover instructions for the correct tightening position.
When should I stop and seek professional help?
Stop if a spring cannot be safely unloaded, a mounting point is damaged, a fastener is seized or cross-threaded, the car is unstable on its supports, or you cannot confirm the correct hardware and torque values. Suspension components are safety-critical, so uncertainty is a valid reason to have the work inspected.
Finish the installation with measured checks, not guesswork
Learning how to install rear coilovers is mainly an exercise in controlled support, correct hardware placement, and careful verification. Confirm compatibility, unload the original suspension safely, follow the kit’s adjustment limits, torque the mounts correctly, and inspect every nearby brake, tire, and ABS component before driving.
After the initial low-speed test, recheck the installation and arrange a wheel alignment. Keep your measurements and adjustment settings so later changes are deliberate. If the suspension makes an unexplained noise, the car sits unevenly, or the handling feels wrong, stop driving and resolve the cause before treating the installation as complete.


