
How to Know What Coilovers Fit Your Car: Key Facts and Guidance
Buying coilovers is rarely as simple as matching a car’s make, model, and year. The same model name can cover several generations, body styles, drivetrains, brake packages, and suspension layouts. A kit that bolts onto one version may be unsuitable for another, even when the cars look nearly identical in a catalog photo.
The good news is that fitment can be checked systematically before you spend money or remove a single suspension part. The key is to identify the exact vehicle configuration, compare the manufacturer’s application notes, and confirm the physical clearances and features that matter for your intended use.
This guide explains how to know what coilovers fit your car, how to read a product listing, and how to catch common compatibility problems. You will finish with a documented fitment check rather than relying on a vague “fits most models” statement.
At a glance
- Match the exact chassis, body style, drivetrain, suspension type, and production range.
- Confirm exclusions such as electronic dampers, special brakes, adaptive suspension, or separate rear springs.
- Check the manufacturer’s installation instructions and verify alignment, clearance, and ride height after installation.
How to know what coilovers fit your car before buying
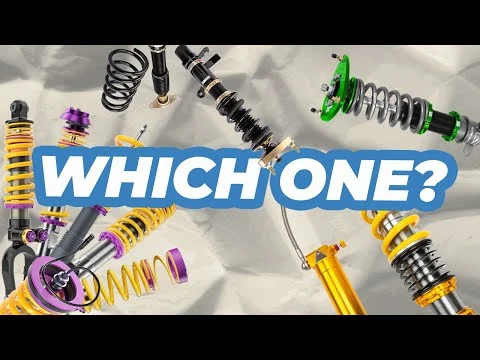
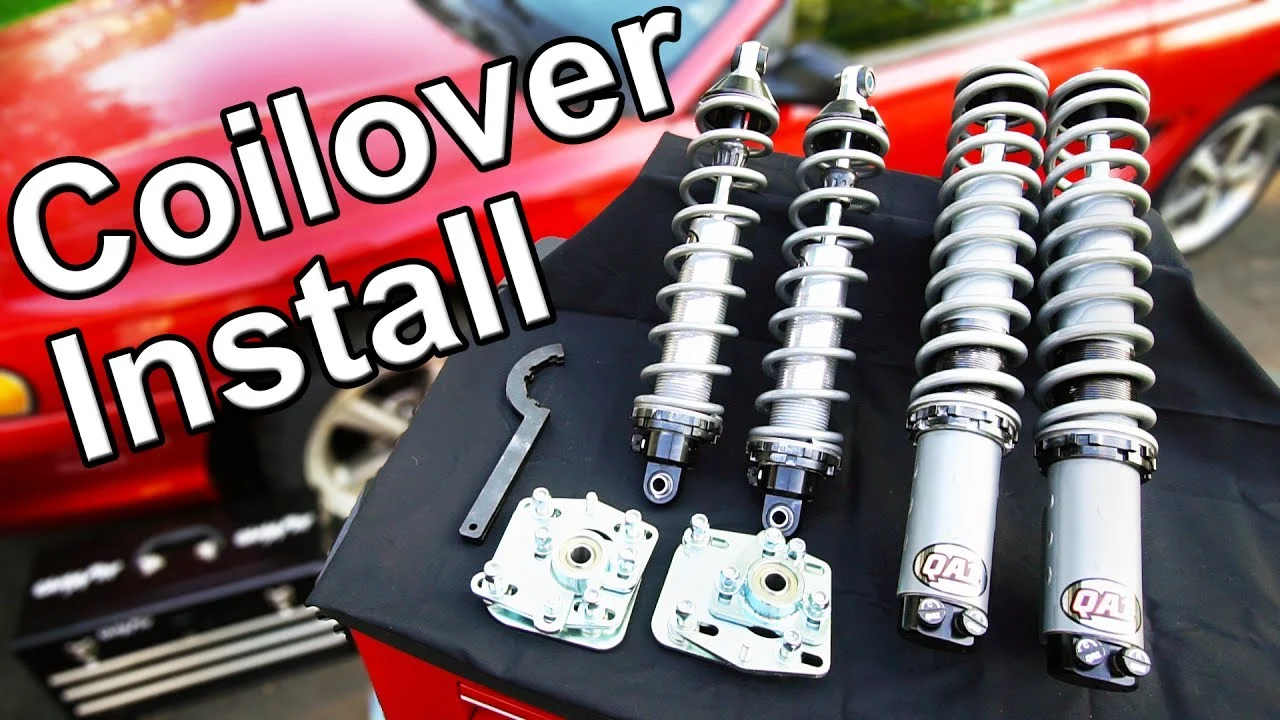
Coilovers combine a coil spring and shock absorber in one adjustable suspension assembly. For a safe fit, the assembly must attach to the vehicle’s mounting points, work with its suspension geometry, clear nearby components, and provide a usable range of ride height and damping for that specific application.
Do not treat “coilover” as a universal part category. Some kits are designed for a particular chassis, while others are altered versions for a related model. Follow the sequence below and save the evidence you use, including the product part number and any application notes.
Tools you will need
- Vehicle registration, owner’s manual, or VIN information to identify the exact car
- Tape measure for recording current ride height and checking available clearance
- Manufacturer fitment catalog or installation instructions for the specific coilover kit
- Optional: flashlight and photographs of the current suspension and brake-line routing
Step 1 Record the exact identity of your car
Start with more than the badge on the trunk. Write down the make, model, model year, body style, engine, drivetrain, and approximate production date. If available, also record the vehicle’s chassis code, trim level, and VIN.
The chassis code is especially useful because manufacturers often group fitment by an internal platform identifier rather than by the public model name. A 2014 model may use a different chassis or rear suspension arrangement from a 2013 model, and a sedan may not share suspension parts with a hatchback, coupe, wagon, or convertible.
Check the VIN plate, registration documents, owner’s manual, or a reliable parts catalog for this information. A successful result at this stage is a specific description such as “2018 compact sedan, front-wheel drive, standard suspension,” not merely “2018 compact car.”
Helpful tip
Photograph the VIN and the suspension identification label before searching. This reduces the chance of selecting a kit for a similar-looking generation or a different regional version.
Step 2 Identify the factory suspension configuration
Find out what suspension your car has now. Look for terms such as MacPherson strut front suspension, double-wishbone front suspension, multilink rear suspension, torsion beam, separate rear spring and shock, or factory air suspension.
This matters because coilover kits are designed around the original mounting points. On a typical MacPherson strut front suspension, the front coilover replaces the factory strut and spring as one unit. On some rear suspensions, the spring and shock are mounted separately, so the rear kit may use an adjustable spring perch and a separate shock rather than a single threaded body.
Also check whether the car has adaptive or electronically controlled dampers. Some vehicles use wiring, sensors, or computer-controlled shocks that require cancellation modules, resistors, coding, or a kit specifically intended for that system. A standard passive-damper coilover may physically install but still trigger warning lights or disable related functions.
Use the factory service information or the coilover manufacturer’s application notes rather than guessing from photographs. You have identified this item correctly when you can explain how each front and rear coilover will attach to the car.
Step 3 Search the manufacturer’s fitment catalog by application
Use the coilover manufacturer’s own catalog when possible. Enter the car’s complete details, then note the exact kit name, part number, supported production range, body styles, drivetrain, and suspension exclusions.
Fitment information may appear in a PDF, online selector, installation manual, or application chart. Read the notes below the main listing because important limits are often placed there. Examples include “not for electronic suspension,” “not for models with factory self-leveling,” “requires modification of the rear upper mount,” or “does not fit models with a specific brake package.”
When a retailer and manufacturer disagree, pause the purchase and ask the manufacturer to confirm the part number using your VIN and configuration. A retailer’s automated selector can contain copied or incomplete information. The manufacturer’s current application data and installation instructions are the stronger reference.
For this check, “fits the model” is not enough. The product page should identify your exact chassis or a clearly matching application range, and the manufacturer should not list an exclusion that applies to your vehicle.
Step 4 Compare the mounting points and included hardware
Open the installation instructions or technical specifications and compare the kit with the parts on your car. Look for the upper mount style, lower mounting bracket, bolt spacing, shock-body diameter, rear spring arrangement, and included hardware.
Some kits reuse the factory upper mounts; others include fixed or adjustable camber plates. A camber plate replaces or changes the upper mount position to allow additional wheel alignment adjustment. It must match the vehicle’s tower shape and hardware, and it can affect noise, clearance, and alignment range.
Check whether the kit includes new top hats, dust boots, bump stops, helper springs, sway-bar brackets, brake-line brackets, and rear adjusters. “Complete coilover kit” does not always mean every factory attachment or replacement wear item is included. Some applications require the original upper mounts or separate replacement hardware.
Compare the number and location of mounting holes rather than assuming parts are interchangeable. If the supplied lower bracket does not match the factory knuckle or hub carrier, stop and request confirmation. Do not drill, slot, bend, or weld a structural suspension component to force a mismatch unless the manufacturer expressly provides an approved procedure and a qualified installer performs it.
Step 5 Check brake, wheel, tire, and body clearance
A coilover can attach correctly and still create a clearance problem. Before buying, review the manufacturer’s minimum wheel diameter, wheel-width or offset guidance, and any notes about big-brake kits. The threaded shock body, lower bracket, spring, or camber plate may occupy space that the factory strut did not.
A useful way to approach how to know what coilovers fit your car is to check your progress after each stage.
Inspect the current suspension with the wheels turned from lock to lock. Look at the brake hose, ABS sensor wire, sway-bar link, tire sidewall, and inner wheel barrel. A vehicle-specific kit often includes revised brackets to route the brake hose and sensor wire safely, but the part number must match the application.
Wheel fitment is affected by more than diameter. Wheel width, offset, tire size, camber, and ride height all change the available space. A wheel that clears the factory strut may contact a wider coilover spring or an adjustable camber plate.
Conversely, a low-offset wheel may contact the fender after lowering.
Use the manufacturer’s clearance statement as a starting point, not a guarantee for every wheel setup. If your car has aftermarket wheels, large brakes, spacers, or unusual tires, provide those details when requesting fitment confirmation.
Step 6 Match the kit’s adjustment range to your intended use
Decide what you want the suspension to do before comparing brands. A street-driven car, autocross car, track car, and show car may use different spring rates, damping ranges, top mounts, and ride-height targets even when the basic chassis fitment is identical.
Ride height is the distance between the vehicle and the ground or a reference point on the body. Many coilovers adjust height by moving the lower mount on the threaded body, which can preserve more usable shock travel than simply compressing the spring. Others use a different design, so read the instructions carefully.
Damping adjustment changes how strongly the shock controls spring movement. More adjustment is not automatically better; a street car with excessively stiff springs or harsh damping can lose grip over uneven pavement. Spring rates, stated in units such as pounds per inch or newtons per millimeter, indicate how much force is needed to compress a spring and should suit the vehicle and intended use.
Check the manufacturer’s stated lowering range and minimum operating height. A kit may physically fit but be unsuitable if its lowest setting places the shock near the end of its travel, causes frequent bottoming, or leaves inadequate ground clearance. Do not select a kit solely because it offers the lowest advertised number.
Step 7 Confirm electronic, regional, and special-equipment compatibility
Review the less obvious exclusions before placing the order. The same model can have different equipment across regions, including steering systems, brake packages, ride-height sensors, engine options, and suspension tuning.
Pay particular attention to these possibilities:
- Factory adaptive dampers or electronically controlled shocks
- Air suspension, hydraulic leveling, or load-leveling systems
- Performance packages with larger brakes or different sway bars
- All-wheel-drive versions with different front or rear suspension geometry
- Convertible, wagon, or long-wheelbase bodies with different weight distribution
- Special-edition models with unique upper mounts or knuckles
- Ride-height sensors connected to headlight leveling or driver-assistance systems
If the kit requires an electronic cancellation device, confirm whether it is included and whether the vehicle needs coding after installation. If the product listing says “not compatible” with your equipment, treat that as a hard stop unless the manufacturer supplies a specific alternative.
Step 8 Ask for written confirmation when any detail is uncertain
Contact the manufacturer or a suspension specialist with a concise fitment request. Include the VIN or chassis code, model year, body style, drivetrain, trim, factory suspension type, brake package, wheel and tire setup, and the exact coilover part number.
Ask specific questions: Will the kit bolt to this chassis without structural modification? Does it work with the factory upper mount? Does it support the vehicle’s electronic suspension?
Are brake-line or ABS-wire brackets included? What wheel and tire clearance is required? Does the rear use a separate spring and shock?
Keep the reply with your order records. A written confirmation is useful if the catalog is ambiguous, but it does not replace reading the installation instructions or checking the parts when they arrive. The successful outcome is a clear yes tied to the exact part number and vehicle configuration.
Step 9 Inspect the delivered kit before installation
When the box arrives, compare the label and part number with the confirmation you received. Open the packaging carefully and verify that the front and rear units, springs, adjusters, top mounts, brackets, hardware, and instructions match the listed application.
Look for bent brackets, damaged threads, leaking dampers, missing lock rings, incorrect springs, or hardware that appears to belong to another model. Do not install a questionable component and hope the issue will resolve during assembly. Photograph the parts and contact the seller or manufacturer before altering them.
Lay out the parts by corner of the car and compare them with the diagrams. This is also the time to check whether factory parts must be transferred, such as upper mounts, bearings, bump stops, or dust covers. Missing transfer parts can turn an apparently complete kit into an incomplete installation.
Step 10 Verify fitment, setup, and alignment after installation
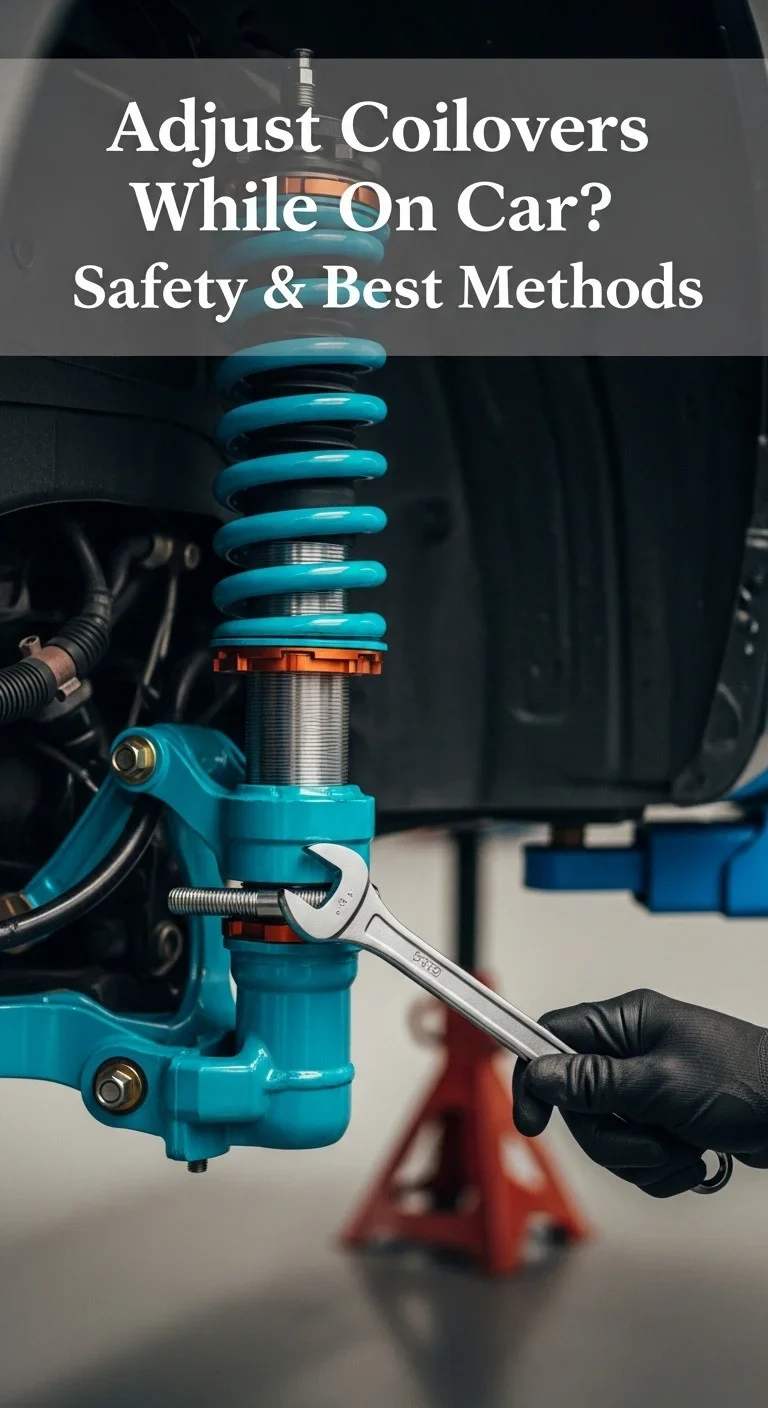
Installation should be performed on a stable lift or properly supported jack stands, with the vehicle secured according to the service manual. Suspension components are safety-critical, and spring energy, vehicle support, brake hoses, and fastener torque all deserve professional attention if you are not equipped or experienced.
After installation, confirm that every fastener is torqued to the vehicle or kit manufacturer’s specification. Check that brake hoses and ABS wires are clipped securely, sway-bar links move without binding, springs remain seated, and the tires clear the suspension through steering movement. Inspect at normal ride height and, where appropriate, through the suspension’s usable travel.
Understanding how to know what coilovers fit your car also means recognizing the limits of the method.
Set the ride height evenly using the manufacturer’s procedure rather than counting exposed threads alone. Measure from the same point on each side, then perform a professional four-wheel alignment. Lowering changes toe, camber, and sometimes caster; driving without correcting the alignment can cause poor handling and rapid tire wear.
Begin with a slow, controlled test in a safe area. Listen for clunks, rubbing, spring movement, or clicking, and watch for warning lights. Recheck ride height, fasteners, clearance, and alignment after the initial use according to the installation instructions.
Important
Do not drive the car if a spring is loose, a tire or brake hose rubs, a damper leaks, a warning light appears after an electronic-suspension conversion, or a mounting fastener cannot be torqued correctly. Have the installation inspected before continuing.
What determines whether a coilover kit fits?
Fitment is the interaction of physical attachment, suspension geometry, vehicle electronics, and surrounding clearance. Understanding these categories makes product listings easier to evaluate and helps explain why two cars with the same model badge can require different kits.
Chassis and generation
A chassis is the underlying vehicle platform and structural arrangement used by a particular generation. Manufacturers may list a chassis code such as a short letter-and-number combination, while retailers may list only the public model name. The chassis code is usually the more precise identifier.
Model-year changes can alter strut length, knuckle shape, upper-mount spacing, or rear suspension geometry. A mid-generation refresh can also introduce different electronic dampers or brake hardware. Always use the catalog’s production range and chassis notes instead of assuming nearby years share every suspension component.
Drivetrain and body style
Front-wheel-drive, rear-wheel-drive, and all-wheel-drive versions may use different axles, subframes, springs, dampers, or mounting brackets. Body styles can differ as well because a wagon, hatchback, coupe, sedan, and convertible do not necessarily have the same weight distribution or rear structure.
Even when the front suspension is shared, the rear springs and shocks may be different. A kit listed for a sedan may not correctly support a wagon’s rear load or attach to a convertible’s reinforced body structure.
Mounts and suspension geometry
The upper mount supports the damper at the body, while the lower mount attaches it to the steering knuckle or suspension arm. Their shape, bolt spacing, and angle determine whether the coilover can be installed without unsafe modification.
Changing ride height also changes suspension geometry. Depending on the car, lowering can create additional negative camber, alter toe, reduce bump travel, or change sway-bar operating angles. A kit that fits physically still needs enough adjustment and alignment range to operate safely at the chosen height.
Factory and aftermarket equipment
Large brakes, wheel spacers, aftermarket wheels, air suspension, adaptive dampers, and modified control arms can all change compatibility. Tell the seller about these parts rather than checking only the factory configuration.
If the car already has suspension modifications, compare the entire combination. One component may clear the wheel by itself but interfere when combined with a thick sway bar, adjustable control arm, or a different brake rotor and caliper.
How to verify the result before regular driving
The final check is not simply whether the coilovers can be bolted into place. A correct installation should leave the suspension secure, the steering and braking systems unobstructed, and the vehicle aligned for its actual ride height.
Use this post-installation checklist
- Confirm the coilover part number matches the vehicle and the parts supplied.
- Verify all upper and lower mounts are seated correctly.
- Torque fasteners to the specified values with the suspension loaded as required by the instructions.
- Check spring seating, lock rings, adjusters, bump stops, and dust boots.
- Make sure brake hoses and ABS wires cannot stretch, kink, or rub.
- Turn the steering from lock to lock and check tire, wheel, spring, and brake clearance.
- Check clearance at the intended ride height and with the vehicle resting on all four wheels.
- Measure ride height from consistent reference points on both sides.
- Have the vehicle aligned after the final height is set.
- Perform a slow test drive and investigate any noise, rubbing, pulling, or warning light.
Check your result
A good verification result is a quiet, centered suspension with no contact through steering movement, no warning lights caused by the conversion, even ride height, and an alignment report that matches the vehicle’s setup.
Common coilover fitment mistakes
Most fitment problems come from an incomplete vehicle description or from treating a product photo as technical proof. The table below separates the symptom from the likely reason and the appropriate response.
| What you notice | Likely cause | What to do |
|---|---|---|
| The kit is listed for the model but the lower bracket does not match. | Different generation, drivetrain, body style, or chassis code. | Stop installation and verify the VIN or chassis code with the manufacturer. |
| The wheel touches the spring or threaded body. | Wheel offset, tire width, brake package, or coilover design differs from the tested setup. | Check the kit’s clearance requirements; do not assume a spacer is automatically safe. |
| An electronic suspension warning appears. | The kit is not intended for adaptive dampers or the required cancellation system was omitted. | Use the manufacturer’s approved solution and confirm whether coding is required. |
| The rear installation has extra parts or no single rear coilover. | The vehicle uses a separate rear spring and shock arrangement. | Follow the application-specific instructions; do not force a front-style unit into the rear. |
| The car bottoms out after lowering. | Ride height is beyond the usable range, shock travel is insufficient, or bump stops were altered incorrectly. | Raise the car to the specified range and inspect setup and travel before driving normally. |
| The car pulls or tires wear quickly. | Alignment changed after lowering or a suspension component is loose. | Check fasteners and obtain a four-wheel alignment. |
When a retailer says “universal”
Universal or semi-universal descriptions deserve caution. Some parts, such as certain springs or damping accessories, may serve multiple applications, but complete coilover assemblies normally depend on vehicle-specific mounting dimensions and geometry.
If a listing uses “universal” while showing several unrelated vehicles, ask for the exact application part number and installation instructions. Do not rely on a promise that the kit can be made to fit with drilling or improvised brackets.
When the catalog has conflicting information
Capture the conflicting listings and send them to the manufacturer with your VIN and intended part number. Ask which source is current and whether the difference comes from a production change, regional specification, or separate suspension option.
Until the conflict is resolved in writing, do not order based on the cheaper or faster listing. Returning a part may be possible, but incorrect suspension hardware can also create installation delays and safety risks.
Coilover fitment FAQs
These questions cover the issues that most often confuse first-time buyers after they have identified the basic vehicle details.
Can I use coilovers made for the same model but a different year?
Sometimes, but only when the manufacturer confirms that the chassis, mounting points, suspension options, and production range are shared. Nearby model years are not automatically interchangeable, especially around a redesign or mid-generation update.
Do coilovers fit all trims of one car?
No. Trim differences can include adaptive dampers, larger brakes, different sway bars, special upper mounts, or different ride-height sensors. Check the trim and factory equipment exclusions in the application notes.
Do I need the VIN to choose coilovers?
Not always, but the VIN can resolve an uncertain production date, market specification, or chassis code. Provide it when the catalog is ambiguous or when the manufacturer offers VIN-based confirmation.
Will coilovers fit my aftermarket wheels?
They may, but wheel diameter alone does not determine clearance. Offset, wheel width, tire size, brake hardware, spring diameter, and ride height all matter. Compare the manufacturer’s clearance guidance with your actual wheel and tire combination.
Can I install coilovers without an alignment?
You may be able to move the car a short distance for service, but you should not use it normally without an alignment after changing ride height. Lowering can significantly change toe and camber, which affects handling and tire wear.
Choose coilovers from verified vehicle fitment
Learning how to know what coilovers fit your car means checking the complete application, not just the make, model, and year. Identify the chassis, body style, drivetrain, factory suspension, electronic features, brake package, and wheel setup, then match those details to the manufacturer’s exact part number and exclusions.
After purchase, compare the delivered hardware with the instructions and verify mounts, wiring, spring seating, clearance, ride height, torque, and alignment. If any part does not match or a safety-related question remains unanswered, stop and get confirmation from the manufacturer or a qualified suspension installer before driving. That process takes longer than guessing, but it gives you a defensible fitment decision and a safer final result.


