
How Long Does It Take to Install Coilovers? A DIY Guide Explained
Installing coilovers can be a manageable weekend project, but the time required depends on more than how quickly the old suspension comes off. Vehicle design, rust, access to the upper mounts, the amount of ride-height adjustment, and whether a professional alignment is included can all change the schedule. For a straightforward, rust-free car, an experienced installer may finish the mechanical work in a few hours.
A first-time DIY installer should usually reserve most of a day, with extra time available for seized hardware or adjustments.
If you are asking how long does it take to install coilovers, a realistic planning range is about four to eight hours for a complete DIY installation on one vehicle, not including unexpected repairs. A shop may complete a routine installation faster, but the quoted labor time varies by model and by whether the shop also sets ride height, checks clearance, and performs an alignment.
This guide explains how to plan the job, remove the original struts or shocks safely, install and adjust the new coilovers, and check the result before driving normally. It also shows when the project has moved beyond a reasonable beginner task, because suspension work affects steering, braking, tire clearance, and vehicle control.
At a glance
- Reserve four to eight hours for a typical first-time installation, plus time for a professional alignment.
- Use the vehicle-specific instructions and torque specifications rather than guessing at settings.
- Do not treat the job as finished until fasteners are torqued, clearances are checked, and the car is aligned.
How Long Does It Take to Install Coilovers: Step by Step
Coilovers combine a coil spring and shock absorber in one adjustable suspension assembly. Some replace complete struts, while others replace only the spring-and-shock unit at each corner. Before beginning, confirm exactly what your kit is designed to replace and whether your vehicle needs separate rear spring and shock components.
The safest realistic method is to work on one axle at a time, support the vehicle securely, record the original ride height, and follow the kit and vehicle service instructions for every fastener. The sequence below describes a common strut-style installation; details differ among cars, so the supplied instructions always take priority.
Tools you will need
- Vehicle jack and four appropriately rated jack stands for lifting and supporting the car
- Wheel chocks to prevent movement on the ground
- Socket set, ratchet, breaker bar, and suitable extensions for suspension fasteners
- Torque wrench for tightening critical hardware to specification
- Coilover adjustment tools supplied with the kit
- Penetrating oil and a wire brush for corroded fasteners, if needed
- Ruler or tape measure for recording ride height
- Optional: paint marker or masking tape for labeling parts and alignment marks
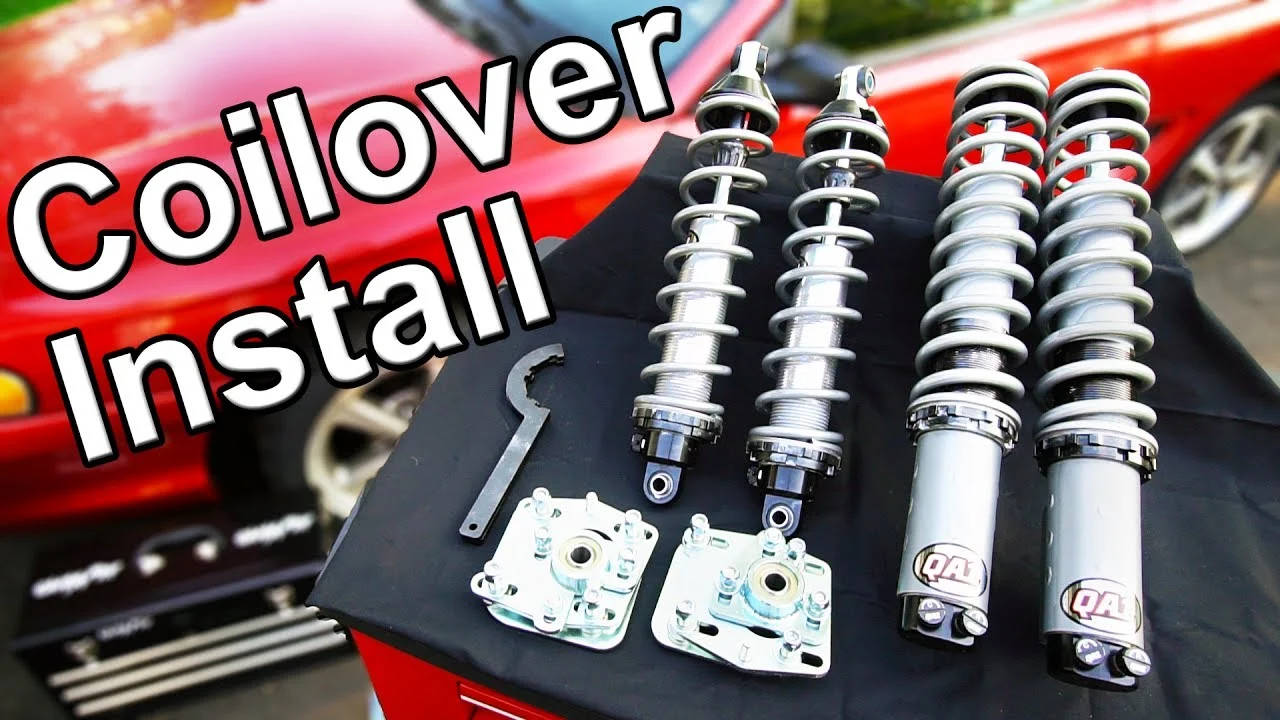
Step 1 Confirm compatibility and read the installation instructions
Before lifting the car, verify that the coilovers match the exact year, model, drivetrain, body style, and suspension configuration. Check whether the kit includes front and rear units, replacement top hats, helper springs, adjustable end links, or hardware that must be reused. A kit intended for a different trim may physically fit while still having the wrong spring rate, brake-line bracket, or adjustment range.
Read the instructions all the way through and identify the required torque values. Look for warnings about preload, left and right orientation, upper-mount assembly, and whether the manufacturer specifies a minimum or maximum ride height. If the instructions are missing or unclear about a safety-critical assembly, pause and obtain the correct documentation rather than improvising.
Step 2 Measure the current ride height and prepare the work area
Park on a flat, solid surface and measure from the center of each wheel hub to the lower edge of the fender. Hub-to-fender measurements are more useful than measurements from the ground because tire pressure and tire size can affect ground clearance. Record all four measurements, along with the adjustment setting supplied with the coilovers if the manufacturer provides one.
Photograph the original suspension and the routing of brake hoses, ABS wires, and sway-bar links. Clear enough space to lay out parts in order, and allow room to open doors or the trunk if the upper mounts are accessed from inside the vehicle. Set the parking brake, place wheel chocks at the wheels that remain on the ground, and gather every tool before raising the car.
Step 3 Lift the vehicle and support it securely
Use the vehicle’s approved jacking points and place jack stands at the specified support locations. Raise the entire front or rear axle when the suspension design requires both wheels to hang, then confirm that the car is stable before removing a wheel. Give the body a firm push near the supported corner; it should not shift or rock on the stands.
Never rely on a hydraulic jack as the only support while removing suspension components. Keep the removed wheels nearby as an additional, though not primary, safeguard against excessive movement, and never place any part of your body under a vehicle that is supported only by a jack.
Important
Stop if the support points are damaged, the stands cannot sit level, or you are unsure which components carry the vehicle’s weight. Suspension removal can release stored spring energy and can allow a supported vehicle to move unexpectedly.
Step 4 Remove the wheels and identify the suspension connections
Remove the wheels and inspect the suspension before loosening anything. Identify the lower strut bolts or shock mount, upper mounting nuts, sway-bar end link, brake-line bracket, and ABS wire clips. Some vehicles also have a separate steering-knuckle pinch bolt or a camber-adjustment bolt that changes alignment.
Mark the original position of eccentric alignment washers if the vehicle uses them, but do not assume the marks will preserve alignment after the new coilovers are installed. Label left and right parts if the kit has different assemblies, and compare each new unit with the original before taking the old one out.
Step 5 Loosen the original suspension without damaging adjacent parts
Apply penetrating oil to visibly corroded fasteners and allow it time to work. Remove or loosen brackets holding the brake hose and ABS wire to the strut, then disconnect the sway-bar link if it prevents the suspension from moving. Support the steering knuckle or hub with a jack or stand so its weight does not pull on a brake hose, axle, or ball joint when the strut is detached.
Loosen the lower mounting bolts first while the assembly is still controlled, then loosen the upper mounting nuts without removing the final nut until the assembly is supported. On many cars, the upper mount is accessed beneath the hood; on others, trim panels or rear interior panels must be removed. Keep track of washers, spacers, and orientation marks.
Some original struts use a compressed spring that must be transferred to another component. If your installation requires disassembling a factory spring with a compressor, do not proceed unless you have the correct compressor and know how to use it. A compressed coil spring stores substantial energy; having a shop transfer the spring may be the safest choice.
Step 6 Compare the new coilovers with the original parts
Place the new and old assemblies side by side. Confirm that the mounting-hole pattern, threaded shaft, brake-line tab, sway-bar mounting point, and overall orientation correspond to the vehicle. Check that the adjustment knobs or rebound controls remain accessible after installation and that left and right units are in the correct positions.
Inspect the threads, lock collars, spring seats, helper springs, and top mounts for damage. Do not turn adjustment collars with pliers or a pipe wrench, because damaged threads can make later height changes difficult or unsafe. Use the supplied spanner wrenches and lubricate threads only if the manufacturer permits it.
Step 7 Set an initial height and install the coilovers
Set each coilover to the manufacturer’s recommended initial configuration before installing it. Height adjustment is commonly made by changing the position of the threaded body or lower mount, not by removing all spring preload. The correct method varies, so follow the kit instructions rather than assuming that a certain number of exposed threads is safe.
Raise the new assembly into position and loosely install the upper hardware. Align the lower mount with the steering knuckle or control arm, then install the lower bolts and any supplied spacers. Reattach brake-line brackets, ABS wire clips, sway-bar links, and other hardware exactly as they were routed originally.
Keep all fasteners finger-tight or lightly snug until the assembly is correctly positioned, unless the instructions specify a different sequence. Make sure the brake hose is not twisted and that the ABS wire has enough slack through the full steering and suspension movement.
Step 8 Torque the mounting hardware in the specified sequence
Use the vehicle service manual or coilover instructions to torque the upper and lower mounting hardware. Torque values can differ substantially among models, and some nuts are single-use or require a particular tightening procedure. A click-type torque wrench should be set correctly and used on clean, accessible threads.
Do not use an impact gun to finish critical fasteners unless the manufacturer specifically allows it. An impact tool can over-tighten a nut, spin an adjustment shaft, or damage a threaded stud. After tightening, verify that the fastener has pulled the parts together evenly and that no washer, spacer, or bushing has been left out.
A useful way to approach how long does it take to install coilovers is to check your progress after each stage.
Step 9 Repeat the installation on the other corners
Complete the remaining corners using the same inspection and routing checks. Working one axle at a time helps you compare the untouched side, but do not copy a damaged or incorrectly installed arrangement from the old suspension. The new coilover should be installed according to the kit’s orientation and the vehicle’s design.
Before reinstalling each wheel, turn the steering from lock to lock where possible and watch for contact between the spring, tire, brake hose, ABS wire, and control arm. At the rear, inspect clearance around the inner wheel, spring perch, bump stop, and body. The suspension must have room to move without pinching or stretching a component.
Step 10 Reinstall the wheels and lower the vehicle carefully
Clean the wheel mounting surfaces, install the wheels, and tighten the lug nuts in a star pattern while the vehicle is still supported. Lower the car gradually and confirm that each tire remains clear of the fender, spring, and suspension components. Torque the lug nuts to the vehicle manufacturer’s specification once the vehicle is on the ground.
Roll the car forward and backward a short distance or gently settle each corner so the springs and bushings take their normal position. Do not use aggressive bouncing as a substitute for proper adjustment. Measure the hub-to-fender height again on level ground and compare left to right.
Step 11 Make only small ride-height adjustments
If the height is uneven or not close to the intended setting, adjust the coilovers in small, equal increments on the same axle. Support the vehicle, unload the suspension as required by the kit instructions, unlock the collar, make the adjustment, and retighten the collar. Keep a written record of the number of turns or the measured change at each corner.
A large drop can create problems even when the car looks level. Insufficient bump travel, altered suspension geometry, tire-to-fender contact, and difficulty clearing ramps or speed bumps are signs that the setting is too low or that additional components may be needed. The usable height range is the range that preserves safe travel and clearance, not simply the lowest possible position.
Step 12 Perform a static inspection and arrange an alignment
With the car on level ground, inspect every corner with the wheels straight ahead. Confirm that brake hoses and ABS wires are secure, locking collars are tight, top-mount hardware is seated, and no tool or loose part remains near the suspension. Check tire clearance at steering lock and look for contact marks after gently moving the suspension through its available range.
The installation is not complete without a professional four-wheel alignment. Changing ride height changes camber, toe, and sometimes caster or steering geometry. Drive only far enough to reach the alignment shop if the car feels stable and nothing rubs; avoid normal road use until alignment and final checks are complete.
Check your result
A successful initial check means the vehicle sits securely, the steering moves freely, the tires do not rub, no brake or ABS wiring is stretched, all accessible fasteners are torqued, and the car is ready for alignment—not yet for hard driving.
What Determines How Long Coilover Installation Takes?
The most useful answer to how long does it take to install coilovers depends on the vehicle and the amount of setup involved. A simple bolt-on installation on a newer car may take roughly four to six hours for a careful first-time installer. A rusty vehicle, a design with difficult upper mounts, or a kit requiring spring transfer and repeated height adjustments can take a full day or longer.
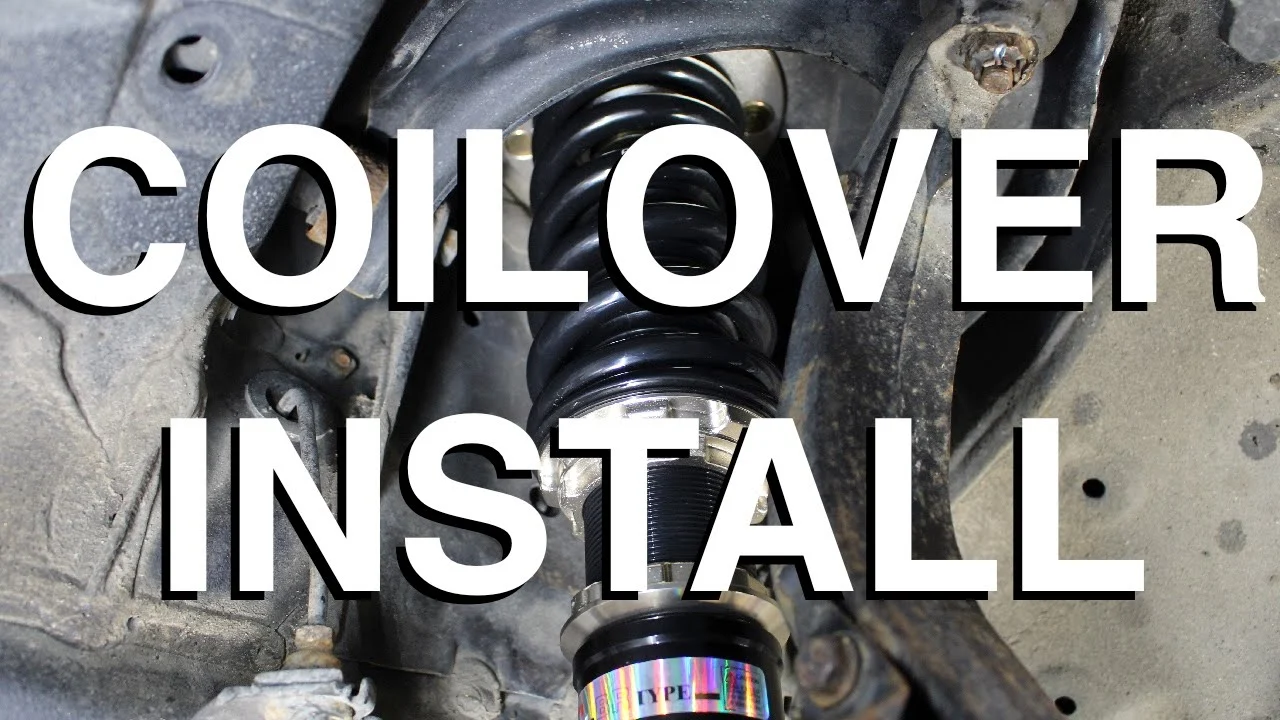
Vehicle design and access
Some cars have easily accessible front strut towers and straightforward rear assemblies. Others hide upper mounts under cowl panels, trunk trim, or interior carpeting. A multilink rear suspension may involve several separate components instead of one complete coilover, increasing the number of fasteners and alignment-sensitive connections.
Rust and seized hardware
Corrosion is one of the biggest schedule variables. A bolt that normally takes a minute to remove may require penetrating oil, heat, specialized extraction tools, or replacement hardware. Rounded fastener heads, seized sway-bar links, and rusted brake-line brackets can turn a routine job into a repair project.
Adjustment and setup time
Mechanical installation is only part of the work. Setting a sensible ride height, checking tire clearance, equalizing side-to-side measurements, and rechecking all lock collars can take as long as removing the original components. If the coilovers include adjustable damping, record the initial settings so later changes are deliberate rather than random.
Alignment and related repairs
A wheel alignment is a separate service, even when a shop installs the coilovers. The installer may also discover worn control-arm bushings, ball joints, tie-rod ends, wheel bearings, or damaged mounting hardware. Replacing those parts can be necessary for a safe result and will extend the timeline.
How to Check the Installation Before Regular Driving
A visual inspection catches many errors, but suspension components also need a controlled functional check. Start with the vehicle stationary, then use a short, low-speed drive only after the static inspection passes. Keep the first drive close to home and avoid heavy traffic, rough roads, and high speeds.
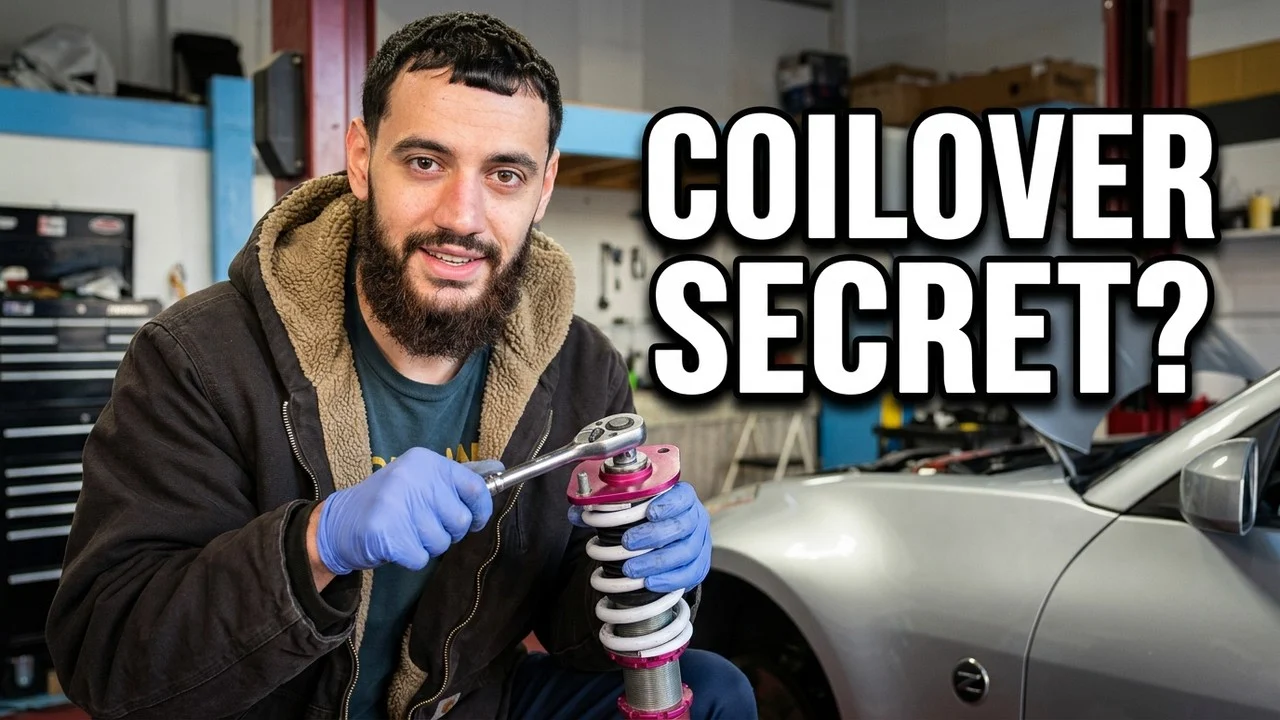
Use a practical inspection checklist
- Confirm every wheel lug nut and accessible suspension fastener is torqued.
- Verify the coilover bodies and springs are oriented correctly and the lock collars are tight.
- Check that brake hoses and ABS wires are clipped in place without twisting or tension.
- Turn the steering fully left and right and check for tire or spring contact.
- Look beneath the car for tools, loose hardware, fluid leaks, or disconnected components.
- Compare left-to-right ride height on a flat surface.
- Schedule a four-wheel alignment before normal driving.
Pay attention during the first low-speed drive
Drive slowly over a smooth surface and listen for clunks, metallic scraping, spring movement, or repeated knocking. The steering should return normally, the car should track without an unusual pull, and braking should feel consistent. Stop immediately if the vehicle pulls sharply, the steering wheel is significantly off-center, a tire rubs, or a suspension corner feels unstable.
After the short drive, park on a level surface and recheck the accessible hardware and clearances. New noises are not automatically harmless settling; they can indicate loose top-mount hardware, a contacting brake line, an incorrectly seated spring, or a fastener that was not tightened at ride height when required by the design.
Common Coilover Installation Problems
Most post-installation problems fall into a few recognizable categories. Do not solve a noise or handling issue by simply turning an adjustment collar or increasing damping; first determine whether the assembly is installed and torqued correctly.
| Symptom | Likely areas to inspect |
|---|---|
| Clunk over bumps | Loose top mount, sway-bar link, lower mounting bolt, or improperly seated spring |
| Tire rubbing | Ride height, wheel offset, tire size, steering-lock clearance, or insufficient suspension travel |
| Car pulls or steering wheel is off-center | Alignment, uneven ride height, damaged component, or incorrect assembly |
| Harsh or bouncy ride | Incorrect damping setting, excessive preload, too little travel, or spring-rate mismatch |
| Brake or ABS warning | Damaged, stretched, disconnected, or incorrectly routed sensor wiring |
When the car sits unevenly
First confirm that the vehicle is on level ground and that tire pressures match. Measure both sides using the same hub-to-fender method, then inspect spring seating and collar positions. Do not compensate for a bent component, worn bushing, or damaged chassis by making a large height adjustment.
When the ride is harsher than expected
Check whether the coilovers are set at the manufacturer’s baseline damping setting and whether the vehicle has enough bump travel. A very low ride height can make the car ride poorly even if the dampers are adjusted correctly. Verify spring preload and helper-spring instructions before changing settings.
When a fastener will not loosen or tighten correctly
Stop before rounding the head or damaging the threaded shaft. Use the correct socket, clean rust from the exposed threads, and consult the vehicle service procedure for removal methods. If a mounting stud spins, a bolt is seized inside a bushing, or a brake line is at risk, the safest next step is qualified repair rather than more force.
Beginner Questions About Coilover Installation Time
These questions address the planning issues that most often cause beginners to underestimate the project.
Can I install coilovers in one afternoon?
Possibly, if the vehicle is rust-free, the kit is a direct fit, the necessary tools are ready, and no spring transfer or repairs are required. For a first installation, reserving the entire day is safer because setup, troubleshooting, cleanup, and an initial inspection take longer than the basic bolt removal.
Does a professional shop include alignment time?
Not always. Ask whether the estimate covers only removal and installation or also ride-height adjustment, torque checks, and a four-wheel alignment. Alignment is often billed separately because it uses different equipment and may reveal worn parts that need attention.
Do coilovers need to settle before alignment?
They need to be seated and adjusted to the intended height before alignment, but there is no universal waiting period. Follow the kit instructions, gently settle the suspension, and avoid repeatedly changing ride height after the alignment. Any meaningful height change can alter alignment readings.
Can I reuse the original top mounts and hardware?
Only when the coilover manufacturer and vehicle procedure allow it. Some kits are designed for factory top mounts, while others include replacement mounts or require specific spacers. Inspect reused mounts and replace worn bearings, cracked rubber, or single-use hardware as directed.
Is an alignment required if I keep the factory ride height?
Yes, it is still strongly recommended. Removing and reinstalling suspension parts can change alignment, and even a small height difference can affect toe or camber. An alignment confirms that the car tracks properly and that the tires will not wear prematurely.
Conclusion
For a typical, direct-fit project, plan on four to eight hours for a careful DIY coilover installation, with more time for rust, difficult access, adjustments, or repairs. The answer to how long does it take to install coilovers should include the inspection and alignment afterward, not just the time spent removing the original suspension.
Work on a stable surface, support the vehicle correctly, follow the kit’s torque and adjustment instructions, and stop when a fastener, spring, or mounting arrangement is beyond your confidence or equipment. Once the car passes the clearance and safety checks, have it professionally aligned before returning to regular driving.


