
How to Install Coilovers on Civic: A Safe, Proper Setup Guide
Replacing a Civic’s factory suspension with coilovers can change more than ride height. A correctly installed set can give you adjustable clearance, firmer control, and a more deliberate stance, but a rushed installation can create clunks, uneven handling, tire wear, or a dangerous loss of control. The job is achievable for a careful beginner when the car is supported properly and the kit matches the exact Civic chassis.
The basic process is to remove each factory strut or shock assembly, transfer or replace only the parts the coilover manufacturer permits, install the new units without twisting brake or ABS lines, and set the four corners to a sensible starting height. Every Civic generation differs, so the included instructions and factory service information take priority over a generic guide.
This article explains how to install coilovers on Civic models in a safe, repeatable way. You will learn what to check before buying a kit, how to support the car, where common installation mistakes happen, and how to confirm that the suspension is seated and functioning before an alignment and road test.
At a glance
- Verify the coilovers fit your exact Civic year, body style, drivetrain, and suspension configuration.
- Support the vehicle with properly positioned jack stands; never rely on a hydraulic jack while working underneath it.
- After installation, settle the suspension, inspect for interference, torque the hardware, and get a four-wheel alignment.
How to install coilovers on civic models safely
The procedure below covers the common MacPherson-strut front suspension and separate rear shock-and-spring arrangement found on many Civics. Some generations, trims, and aftermarket kits use different hardware, integrated rear assemblies, or model-specific brackets, so compare every step with the kit manual before loosening anything.
Work on a flat, hard surface with the parking brake applied and the wheels chocked. Keep the car supported at the manufacturer-recommended lift points, and stop if a fastener is seized, a brake line is damaged, or the replacement part does not match the original mounting arrangement.
Tools you will need
- Vehicle jack and four correctly rated jack stands for lifting and supporting the Civic
- Wheel chocks to prevent movement while the car is raised
- Socket and wrench set, including the sizes specified by the kit and service information
- Breaker bar or penetrating oil for stubborn fasteners
- Calibrated torque wrench for final tightening
- Spring compressors only if the manufacturer explicitly requires reuse of a factory spring or top mount
- Tape measure or ruler for recording and matching ride height
- Paint marker, gloves, safety glasses, and a small wire brush for marking and cleaning hardware
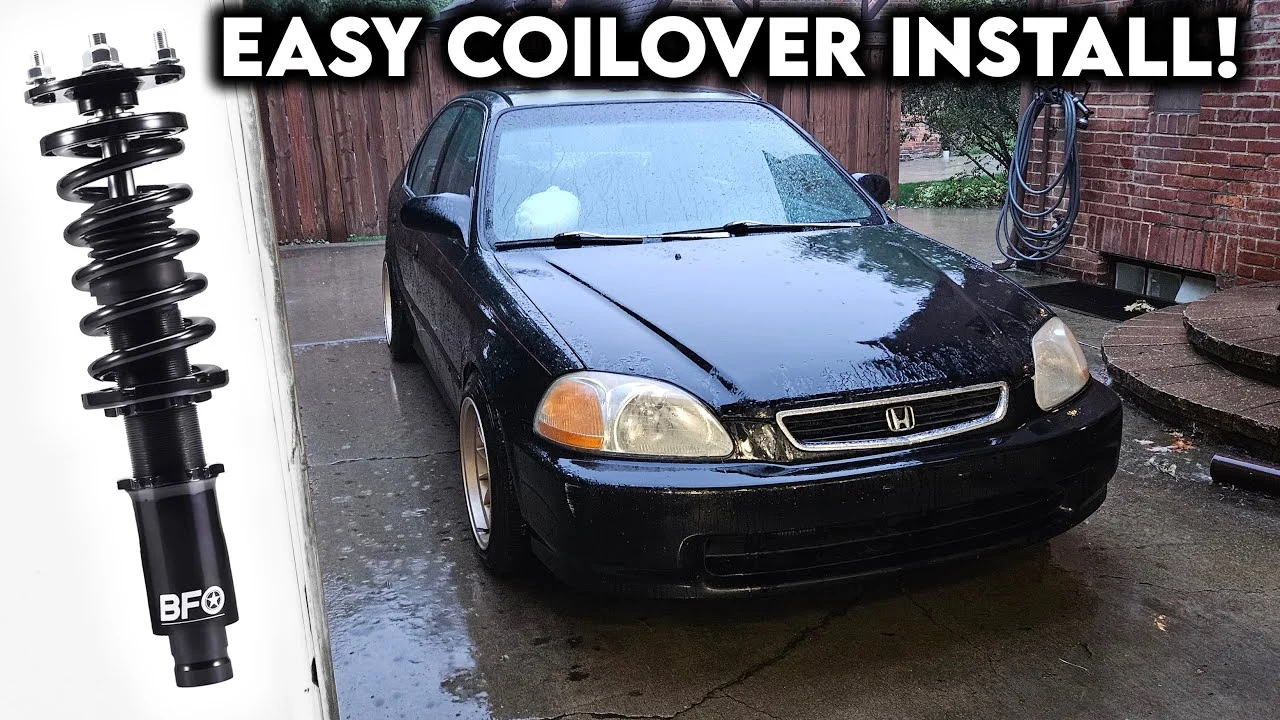
Step 1 Confirm the kit and inspect every component
Before lifting the Civic, place the coilovers beside the factory suspension and identify the front and rear units, upper mounts, lower brackets, collars, lock rings, spanners, and any replacement bolts or spacers. Check that the part number matches the exact year range and body style. A kit for a sedan may not fit a hatchback, coupe, Type R, Si, or all-wheel-drive variant even when the cars look similar.
Look for bent brackets, damaged threads, leaking dampers, cracked bushings, missing lock rings, and hardware that is the wrong diameter. Compare the mounting holes and brake-line tabs with the original parts. Do not install a component that requires forcing, drilling, or bending unless the manufacturer’s instructions specifically call for that modification.
Read the instructions for preload and ride-height adjustment before turning any collar. Preload is the spring compression established when the spring is captured between its seats; it is not always the same as lowering the car. On many height-adjustable coilovers, ride height should be changed with the threaded lower mount rather than by loosening the spring seat.
Step 2 Record the original ride height and loosen the wheel hardware
With the Civic still on the ground, measure from the center of each wheel hub vertically to the lower edge of the fender. This hub-to-fender measurement avoids differences caused by tire pressure or tire brand. Record all four values, and note whether the car sits unevenly before the work begins.
Also photograph the routing of each ABS wire, brake hose, and ride-height sensor if equipped. These images are useful because the replacement brackets must preserve the original movement and clearance. Loosen each wheel’s lug nuts slightly while the tires remain on the ground, but do not remove them yet.
Step 3 Raise the Civic and support it securely
Chock the wheels that remain on the ground, then use the jack at a specified lifting point. Raise one end high enough to place jack stands under strong, approved support points, and lower the vehicle gently onto them. Repeat for the other end if the installation requires all four wheels removed at once.
Push the body lightly from the side and confirm that the car remains stable on the stands. The jack may stay lightly positioned as a secondary support, but it must not be the only support. Remove the wheels and place them under the chassis only as an additional precaution, never as a substitute for rated stands.
Important
Never work beneath a Civic supported only by a floor jack. If the car shifts, a stand is damaged, or a support point looks questionable, lower the vehicle and correct the setup before continuing.
Step 4 Remove the front factory strut assemblies
Start at one front corner and identify the fasteners holding the brake hose or ABS wire to the strut. Remove those brackets carefully, supporting the line so it is not pulled or allowed to hang from the strut. Do not let the caliper, hub, or knuckle tug on a stretched hose.
Support the steering knuckle with a jack or a suitable stand before removing the large lower strut bolts. Mark the original camber-related bolt position if the Civic uses an eccentric or if the bolt has a special orientation, but understand that the marks are only a reference and do not replace a professional alignment.
At the top of the strut tower, remove the upper nuts while leaving one loosely engaged until the lower bolts are out. Then remove the final upper nut while holding the assembly. Lower it carefully.
Do not remove a factory coil spring from its strut with a spring compressor unless the coilover instructions require transferring that spring, mount, or bearing.
Step 5 Prepare the front coilover without changing the intended spring setup
Set the new front coilover next to the original assembly and compare its orientation. Locate the brake-line tab and make sure it will face the correct direction when installed. Threaded collars should turn smoothly by hand after dirt and shipping debris are removed; do not use an impact gun on adjustment collars.
Adjust the spring seat and lower mount only as described by the manufacturer. The spring should remain captured at full droop unless the kit is designed otherwise. If the spring becomes loose when the suspension hangs, stop and consult the instructions because an incorrectly adjusted spring can move during driving.
Apply anti-seize only where the manufacturer permits it, usually on exposed adjustment threads rather than on friction-sensitive mounting surfaces. Keep lubricant away from brake components, bushings, and fastener threads unless the service instructions specify a particular lubricant.
Step 6 Install and loosely secure the front coilover
Guide the upper studs or top mount into the strut tower and start the upper nuts by hand. Align the lower bracket with the steering knuckle, install the original or supplied bolts in the correct direction, and start the nuts by hand. Leave the hardware slightly loose until the assembly is seated and all brackets line up naturally.
Reconnect the brake hose and ABS wire using the coilover’s brackets. Turn the steering from lock to lock by hand and check that the hose and wire do not stretch, rub, or pass between moving parts. Confirm that the spring, damper body, and lower mount do not contact the tire, wheel, steering arm, or chassis.
A useful way to approach how to install coilovers on civic is to check your progress after each stage.
Repeat the process on the opposite front corner. Keeping one original assembly intact until the matching replacement is understood can help a beginner compare orientation, but never assume both sides are identical if the kit supplies left- and right-specific parts.
Step 7 Remove the rear factory spring and shock components
The rear layout varies more among Civic generations than the front. Some cars use a separate rear spring and shock, while others use a different integrated arrangement. Identify the upper and lower shock mounts and the spring seats before removing anything, and follow the kit’s rear-specific instructions.
Support the rear control arm or spring seat with a jack before removing the lower shock bolt or the fastener that limits the arm’s movement. Lower the support slowly so the spring is no longer compressed. Keep your hands away from the spring’s ends and seats while lowering it.
Remove the rear spring and shock only after confirming that no brake hose, ABS wire, or control arm is being stretched. If the rear shock has a separate upper mount, retain or replace its components exactly as the coilover instructions state. Do not mix rubber isolators, washers, sleeves, or spacers from the old assembly without confirmation.
Step 8 Install the rear coilovers and preserve component orientation
Place the rear spring or rear coilover in its intended lower and upper seats. The end of a coil must sit against the stop in the spring perch if the design uses a separate spring. Make sure any supplied isolator is installed in the correct position; an upside-down isolator can cause noise and change the effective ride height.
Install the rear shock with the piston rod and upper mount oriented as shown by the instructions. Start all upper and lower fasteners by hand, then raise or lower the control arm gradually until the bolts pass through without forcing them. Keep brake lines and wiring in their original safe paths.
Install the opposite rear assembly, then compare both sides visually. The threaded collars should be at similar starting positions unless the vehicle had a documented side-to-side height difference. Do not correct a crooked car by guessing; measure after the suspension has settled.
Step 9 Set a conservative starting height
Use the manufacturer’s stated adjustment range and select a moderate starting height rather than immediately pursuing the lowest possible stance. Adequate bump travel—the distance available before the suspension reaches its internal stop—is essential for control and comfort. Excessive lowering can cause the tire to contact the fender, reduce steering clearance, and place suspension arms at unfavorable angles.
Measure from the center of each hub to the fender and adjust matching corners in small increments. On a threaded-body design, loosen the lock collar with the supplied spanner, turn the lower mount or spring seat as directed, then retighten the lock collar. Never hammer directly on aluminum collars or use a pipe wrench that can damage the threads.
Keep enough thread engagement in the lower mount to meet the kit’s instructions. If the manual specifies a minimum exposed thread or a maximum amount of adjustment, that limit is a safety requirement, not a suggested appearance setting.
Step 10 Tighten the suspension hardware using the correct sequence
With the car still supported, snug the upper and lower fasteners so the assemblies cannot shift. Final torque should follow the Civic service information or coilover manufacturer’s specifications, whichever applies to the particular fastener. A generic torque value from another Civic generation is not a safe substitute.
Some suspension bushings must be tightened at normal ride height so their rubber is not twisted at rest. If the service information requires this, support the suspension at its normal loaded position before final tightening, or use the manufacturer’s approved method. Do not fully tighten a bonded rubber bushing while the control arm hangs far below its normal position.
Use a calibrated torque wrench and mark each completed fastener with a paint marker if helpful. Ensure the threads extend through the nuts as expected and that no bolt head, nut, washer, or spacer has been omitted. Recheck the top mounts, lower mounts, brake-line brackets, and wheel lugs.
Step 11 Reinstall the wheels and settle the suspension
Clean the wheel mounting faces, install the wheels, and tighten the lug nuts in a star pattern by hand. Lower the Civic until the tires just touch the ground, then torque the lug nuts to the vehicle manufacturer’s specification in the recommended pattern.
Roll the car forward and backward several feet on a level surface, or gently bounce each corner while keeping clear of pinch points. This allows the springs and bushings to settle. Recheck the hub-to-fender measurements on all four corners and make small, equal adjustments only when the suspension is fully settled.
Turn the steering from full left to full right and inspect the front tires and coilovers. Look behind the wheels as well as from above. Nothing should touch, bind, or pull tight, and both front brake hoses should remain relaxed throughout the steering range.
Step 12 Perform the initial inspection and arrange an alignment
Before driving, verify that every wheel lug is torqued, the brake and ABS wiring is secured, the lock collars are tight, and the ride height is within the kit’s allowed range. Check that the tires have suitable clearance at steering lock and that no tool, stand, or loose hardware remains under the Civic. Understanding how to install coilovers on civic also means recognizing the limits of the method.
Move the car a short distance at walking speed and listen for metal-on-metal contact, repeated clunks, scraping, or a spring that shifts. If anything sounds wrong, stop immediately and inspect rather than trying to diagnose it at speed.
A four-wheel alignment is required after changing ride height. Lowering changes camber and toe, which determine how the tires sit and point. Drive only as far as necessary to reach an alignment shop, at low speed and with extra clearance, unless the vehicle is visibly unsafe to move.
What changes when a Civic gets coilovers
Coilovers combine a coil spring with a damper, commonly called a shock absorber, in one adjustable assembly. The spring supports the vehicle’s weight, while the damper controls how quickly the suspension compresses and rebounds. Height adjustment changes the car’s position, but it does not automatically improve handling.
Many kits also include a replacement top hat, which is the upper mounting component between the damper and the body. Some top hats retain factory rubber isolation for a quieter ride; others use spherical bearings or pillow-ball mounts for more direct suspension movement. A spherical mount can transmit more noise and vibration, so it is not automatically the better choice for a street-driven Civic.
Ride height should be chosen with suspension travel and tire clearance in mind. A car that looks level while parked may bottom out over a driveway or lose usable travel on the road. After the installation, inspect the inner tire sidewall, fender edge, sway-bar area, and damper body for evidence of contact.
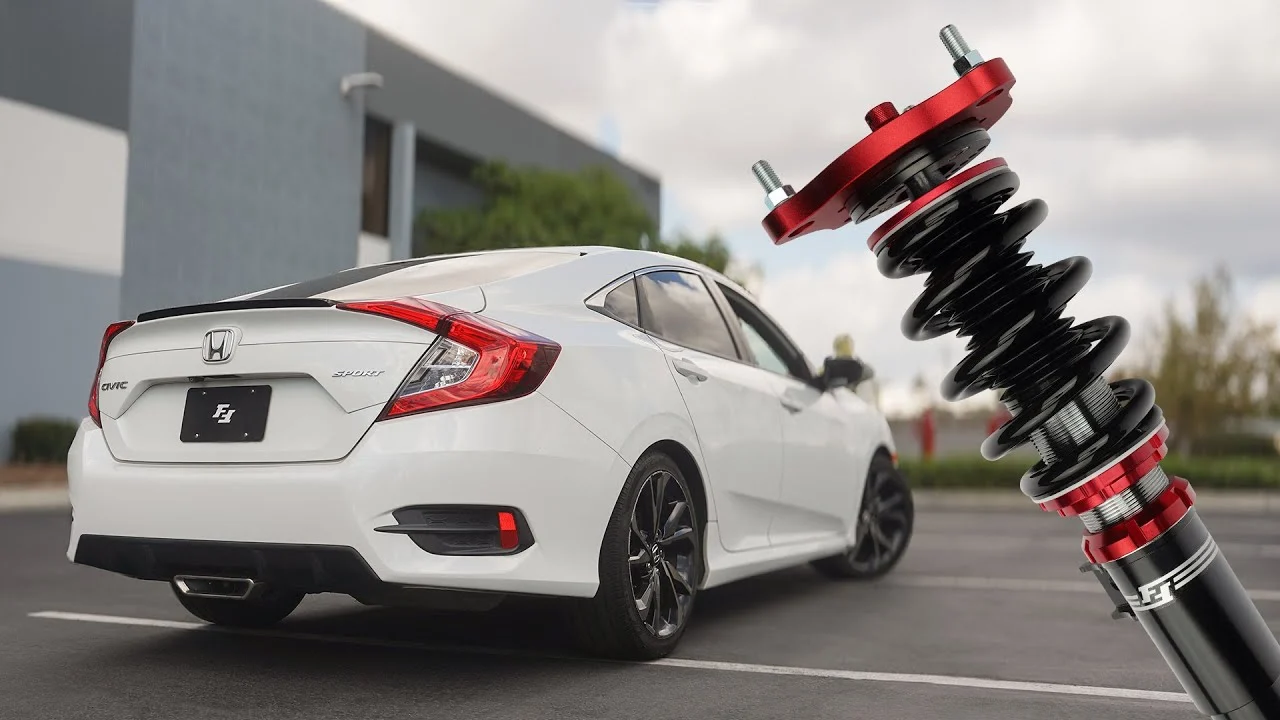
Why alignment matters after installation
Camber describes how far the top of the tire leans inward or outward when viewed from the front. Toe describes whether the front edges of the tires point toward or away from one another. Even a small change in toe can make a Civic wander and wear the tires quickly.
Ask for an alignment using the ride height you intend to keep. If the car will be adjusted again later, the alignment should be repeated because changing height can alter toe and camber. Keep the alignment printout so you have a baseline for future troubleshooting.
When a professional should take over
Stop and seek qualified help if a mounting point is cracked, a brake line is corroded or twisted, a fastener will not release without damaging the surrounding part, or the kit does not match the vehicle. The same applies if you cannot determine whether a spring is safely captured or whether a bushing must be tightened at loaded height.
Suspension components are safety-critical. A professional inspection is especially appropriate after an installation where the car pulls sharply, steering wheel position changes dramatically, a wheel binds, or a tire contacts the body.
How to verify the finished installation
A proper check is more than confirming that the Civic sits lower. Inspect the car first while stationary, then use a controlled low-speed test and finally confirm the alignment. The order matters because a stationary clearance problem should never be discovered during a fast corner.
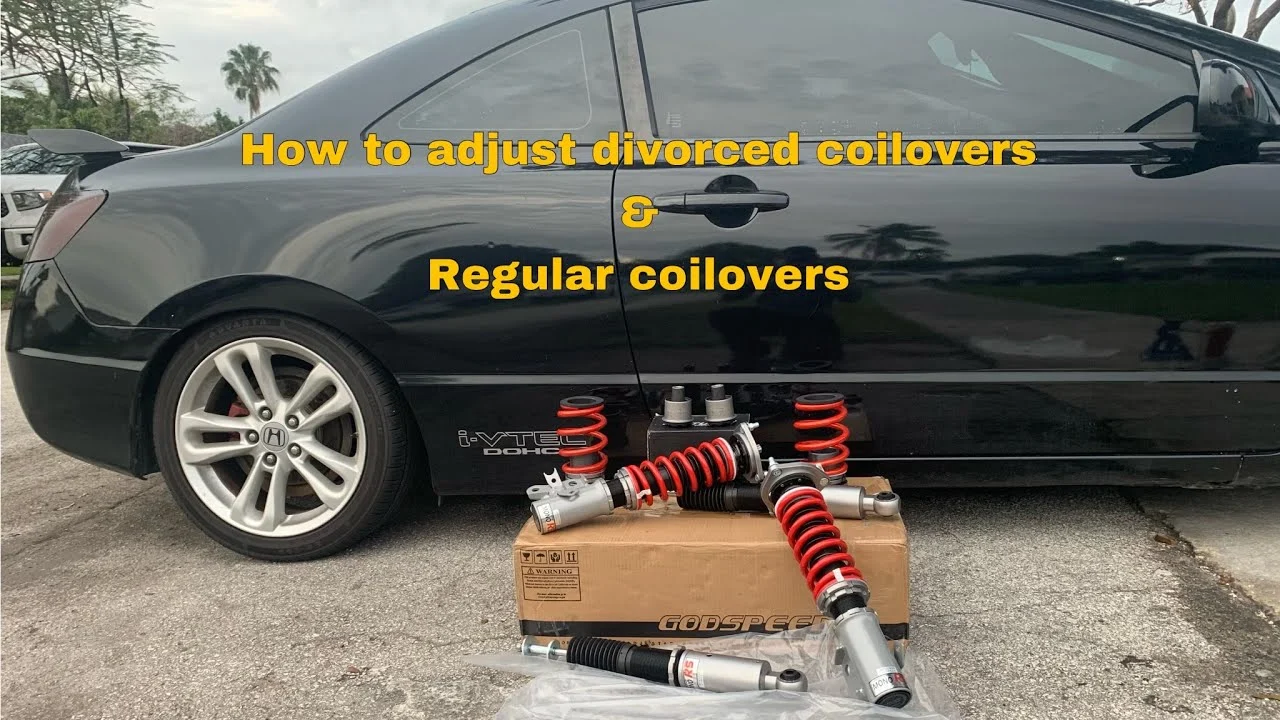
- Compare left and right hub-to-fender measurements after settling.
- Confirm that every spring is seated against its perch and remains captured at full suspension droop.
- Check brake hose and ABS wire slack at normal steering positions and through the suspension’s visible range.
- Look for clearance around the tire, wheel barrel, sway bar, control arm, and coilover body.
- Confirm that adjustment lock collars are tight and that no threaded mount is beyond its permitted range.
- Verify wheel-lug torque and inspect for missing washers, sleeves, spacers, or brackets.
Check your result
During the first cautious drive, the steering should remain predictable, the car should track without a strong pull, and there should be no repeated clunk, scrape, or sudden change in ride height. Recheck the hardware and alignment if any of those conditions is absent.
Common coilover installation problems
Most post-installation complaints come from an installation detail rather than a defective damper. Use the symptoms below as inspection clues, not as permission to continue driving a car that feels unstable.
| Symptom | Likely areas to inspect |
|---|---|
| Clunk over small bumps | Loose upper mount, lower bolt, sway-bar link, brake-line bracket, or spring that is not seated |
| Scraping while turning | Tire-to-coilover clearance, brake hose routing, wheel offset, or insufficient fender clearance |
| Vehicle pulls or steering wheel is off-center | Alignment, unequal ride height, damaged suspension component, or a tire problem |
| One corner sits higher | Unequal collar settings, spring not seated, unsettled bushings, or a preexisting problem |
| Harsh ride and frequent bottoming | Too little bump travel, excessive lowering, incorrect preload, or damper settings unsuitable for the road |
Diagnosing a new noise
Park on level ground and ask an assistant to move the car slowly while you listen from outside, away from the wheels. Then inspect the suspected corner with the vehicle safely supported. A loose fastener, displaced spring, or contacting line often leaves a clear witness mark or changes position when the suspension is unloaded.
Do not simply increase damper stiffness to hide a mechanical noise. Adjustment cannot correct a loose mount, incorrect spacer, damaged bushing, or tire interference.
Handling an uneven ride height
Measure both sides using the same hub-to-fender method and check that the car is on level ground. Confirm that the spring ends sit against their stops and that the adjustment collars are measured from consistent reference points. Some vehicles naturally have small side-to-side differences because of fuel tank and driver weight, but a large or sudden difference deserves inspection.
After adjustment, roll and settle the car again before measuring. Changing one corner can influence the opposite corner through the suspension, so make gradual changes and recheck all four measurements.
Beginner questions about Civic coilovers
Can I install coilovers without a spring compressor?
Usually, a complete coilover kit does not require a spring compressor because the spring and damper arrive as an assembled unit. A compressor may be needed if the instructions require transferring a factory spring, upper mount, or bearing. Never compress or disassemble a loaded spring without the correct equipment and procedure.
How low should I set my Civic after installing coilovers?
Start near the manufacturer’s recommended baseline and keep enough clearance for tires, steering movement, driveways, and suspension travel. The lowest possible setting is not automatically the safest or best-handling setting. Use the hub-to-fender measurement and inspect for contact after the car settles.
Do coilovers need an alignment?
Yes. Changing ride height generally changes toe and may change camber, so a four-wheel alignment should follow installation. Have the alignment performed after the final ride height is selected, not before.
Can I reuse the factory bolts and top hats?
Only when the coilover instructions and Civic service information allow it. Some kits are designed for factory top hats, while others include replacement mounts, spacers, and hardware. Inspect reusable bolts and nuts, and replace any one-time-use fasteners specified by the service information.
How long should I drive before rechecking the installation?
Perform a short, slow inspection drive first, then recheck wheel-lug torque and visible hardware according to the kit instructions. If you hear a new noise, feel a pull, or notice rubbing, stop and inspect immediately rather than waiting for a scheduled recheck.
Finish the job with clearance, torque, and alignment checks
Learning how to install coilovers on civic models is mainly an exercise in preparation and careful verification. The replacement parts must fit the exact chassis, the car must remain securely supported, and every spring, mount, line, and fastener must be installed in the orientation intended by the manufacturer.
Set a moderate ride height, settle the suspension, inspect all clearances, torque the hardware correctly, and arrange a four-wheel alignment before normal driving. If any part of the assembly feels uncertain or the Civic behaves unpredictably, stop and have the suspension inspected by a qualified technician. A controlled, properly aligned setup is far more valuable than a low stance that compromises safety.


