
How to Lower Tein Coilovers Safely: Set Ride Height Correctly
Lowering a car with Tein coilovers is not simply a matter of turning the spring collars downward. The height adjustment method depends on the specific Tein model, and using the wrong collar can change spring preload, reduce suspension travel, or leave the shock body in an unsafe position. A careful adjustment can give you the stance you want while preserving reasonable ride quality and suspension function.
The safest general approach is to adjust ride height through the coilover’s lower mount when the design allows it, rather than compressing the spring to hold the car lower. You will need to confirm the instructions for your exact Tein kit, measure the car before and after, and inspect clearances at full steering lock and through suspension movement.
This guide explains how to lower Tein coilovers on a typical adjustable setup, including preparation, measuring, collar adjustment, tightening, and post-installation checks. It also explains when to stop because a model-specific instruction, damaged thread, seized collar, or alignment problem requires a qualified suspension technician.
At a glance
- Use the lower mount for height adjustment when your Tein model is designed for it; do not use the spring perch as a substitute.
- Measure from the wheel center to the fender before and after adjustment, not only from the ground.
- After changing ride height, verify clearance and have the wheel alignment checked before driving aggressively.
How to lower tein coilovers safely and measure the result
Before turning anything, identify the exact Tein coilover model and read its adjustment instructions. Tein systems differ: some use a threaded shock body with a separate lower mount, while others have model-specific limits or adjustment procedures. The process below describes the common separate-lower-mount design, but the manufacturer’s instructions take priority if they differ.
Tools you will need
- Tein adjustment wrenches, used to loosen and tighten the locking collars without damaging them
- Floor jack and properly rated jack stands, used to lift and support the vehicle on a solid, level surface
- Tape measure or ride-height gauge, used to record repeatable measurements
- Wheel chocks, used to prevent the car from moving while it is raised
- Paint marker or masking tape, used to mark the starting position of collars and mounts
- Torque wrench and the vehicle’s service manual, used to restore fasteners to the specified torque
- Optional: wire brush and penetrating fluid for dirty or lightly corroded threads; do not force a seized collar
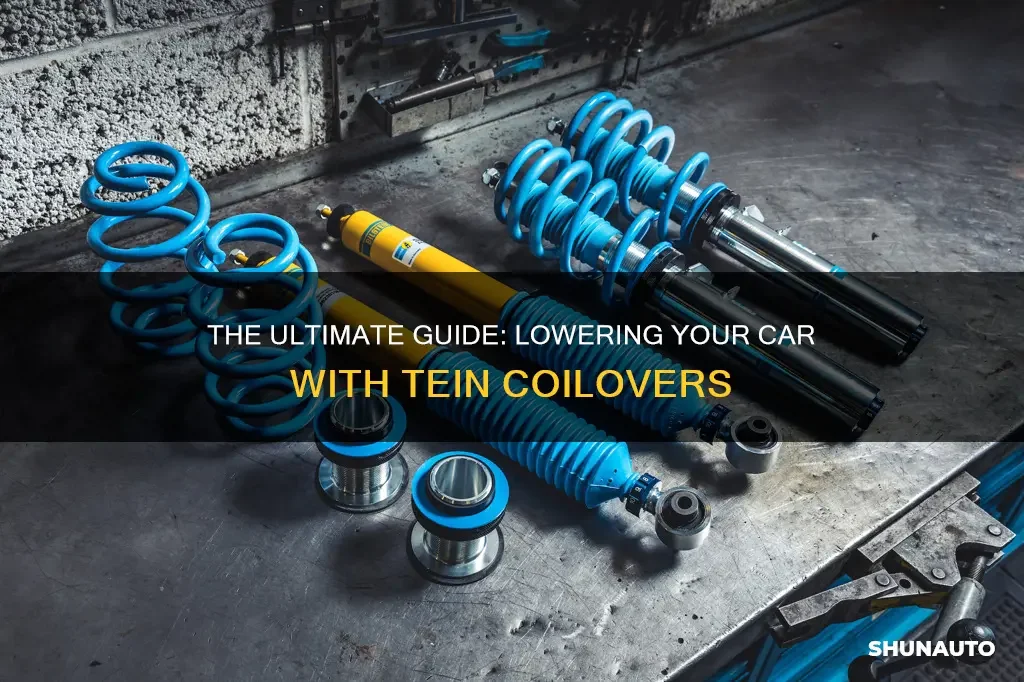
Step 1 Confirm the coilover design, adjustment range, and target height
Find the model name and part number on the Tein documentation, packaging, or coilover label. Look for instructions describing ride-height adjustment, minimum and maximum height, spring-seat position, lower-mount position, and any required exposed-thread or shock-body limits.
Choose a modest target rather than immediately aiming for the lowest possible setting. A lower car has less ground clearance and may have less bump travel, which is the suspension movement available when the wheel moves upward. A height that looks acceptable while parked can still cause tire rubbing, bottoming, or contact with exhaust and underbody parts on the road.
Park on a flat surface, set the parking brake, and place the transmission in Park or in gear. Before lifting the vehicle, measure from the center of each wheel to the lower edge of the corresponding fender, keeping the tape vertical. This wheel-center-to-fender measurement avoids changes caused by tire pressure or uneven ground.
Record all four measurements, along with tire pressure and the amount of fuel if practical. Also measure ground clearance at vulnerable points such as the front lip, exhaust, and jacking points. Photographing the original collar positions can help you return to the starting setup.
Step 2 Secure the vehicle and inspect the threads before adjustment
Chock the wheels that will remain on the ground, then loosen the wheel lug nuts slightly if the wheels must be removed. Lift the vehicle at the manufacturer-approved jacking points and support it with jack stands under suitable structural points. Never rely on a floor jack alone while your hands are near the suspension.
Remove the wheels if they block access to the collars. Clean loose dirt from the threaded body and collars with a brush. Do not grind, hammer, or apply heat to a threaded shock body, because damage to the threads or seals can make the coilover unsafe.
Inspect the spring, lower mount, locking collars, damper body, and nearby brake hose. Look for bent components, leaking damper oil, cracked springs, damaged threads, loose hardware, or a brake line that is stretched or rubbing. If any of these conditions are present, stop and resolve the fault before changing ride height.
Important
Do not attempt to free a collar that will not move with normal hand pressure and the correct Tein wrench. A seized or cross-threaded collar may need professional disassembly, and forcing it can damage the coilover or cause the wrench to slip.
Step 3 Measure and mark the current spring and lower-mount positions
Use a paint marker or a strip of masking tape to mark the relationship between each relevant collar and the threaded body. Mark the lower mount’s position as well if it is threaded separately. These marks provide a reference if the new setting causes problems or if the vehicle needs to return to its original height.
Measure the visible threaded section or the distance between the lower mount and a fixed point, but treat those numbers as references rather than universal specifications. The correct measurement depends on the Tein model and the vehicle’s suspension geometry. Do not copy a measurement from another car and assume it will produce the same ride height.
Check whether the spring is still seated correctly in its upper and lower perches. The spring should not be loose when the suspension is fully extended unless the manufacturer specifically allows that condition. A loose spring can move or unseat when the wheel leaves the ground.
Step 4 Loosen the locking collars without changing the spring setting unnecessarily
Most Tein coilovers use collars that lock the spring perch or lower mount against the threaded section. Place the adjustment wrench fully onto the collar, then turn it in the direction specified by the instructions. A second wrench may be needed to hold one collar while loosening the other.
Keep track of which collar controls the spring seat and which locks the lower mount. On a height-adjustable design, the spring perch establishes spring preload, while the lower mount changes the overall assembly length. Confusing these functions is the most common way to lower the car while unintentionally altering the spring setting.
If the collar begins to turn but the spring perch moves with it, stop and identify the adjustment method again. Do not continue by counting turns until you know whether you are changing ride height, preload, or both.
Step 5 Adjust the lower mount in small, equal increments
When the Tein instructions specify lower-mount adjustment, rotate the lower mount to change the coilover’s installed length. Make the same measured adjustment on both coilovers at one end of the vehicle. Small changes are easier to evaluate and reduce the chance of exceeding the model’s safe adjustment range.
Do not let the threaded lower mount run so far out that only a short section of thread remains engaged, and do not bury it beyond the manufacturer’s limit. The exact minimum engagement and allowable range are model-specific. If the instructions show a reference dimension, stay within it rather than relying on appearance.
A useful way to approach how to lower tein coilovers is to check your progress after each stage.
Keep the spring perch close to its original position unless the Tein procedure specifically calls for changing it. The goal is to preserve the intended spring preload while shortening the coilover assembly through the lower mount. If your model does not have this type of independent adjustment, follow its instructions instead of applying this method.
Step 6 Restore the locking collars and repeat the adjustment on the other side
Once the first coilover is set, tighten its locking collar against the appropriate mating surface. Use the torque value specified by Tein or the vehicle service information if one is provided. Avoid striking the collar with a hammer or using a long pipe for extra leverage, because the collar can deform or the threaded body can be damaged.
Adjust the opposite coilover to the same reference position. Compare the visible thread, collar marks, and measured adjustment rather than assuming an equal number of turns was made. Clean threads and starting positions can differ slightly from side to side.
Repeat the procedure at the other end of the vehicle only if you have a clear target for the front-to-rear stance. Many vehicles need some rake, meaning the front and rear sit at different heights, for practical clearance and handling reasons. A perfectly level appearance is not automatically the correct setup.
Step 7 Reinstall the wheels, lower the vehicle, and settle the suspension
Inspect the wheel wells before reinstalling the wheels. Confirm that brake hoses, ABS wires, sway-bar links, and other parts are routed correctly and are not trapped between a spring or collar and a nearby component.
Install the wheels and tighten the lug nuts by hand. Lower the car until the tires touch the ground, then tighten the lug nuts in a crisscross pattern using the vehicle’s specified torque. Remove the jack and chocks only when the car is fully supported by the ground.
Roll the car forward and backward a short distance, or gently move it several feet, so the suspension can settle. Do not judge the final height while the car is still supported by the jack or immediately after the wheels have been hanging. Measure all four wheel-center-to-fender distances again on the same level surface.
Step 8 Correct side-to-side differences and stay within practical clearance
Compare the new measurements with your original notes. A small difference can come from the surface, fuel load, or normal vehicle weight distribution, but a larger unexplained difference suggests unequal adjustment, a spring that has not seated, or a suspension component problem.
If one side is clearly higher, raise the vehicle safely and compare the collar and lower-mount positions. Make a small correction rather than turning a collar repeatedly without measuring. Adjusting one corner can affect the diagonal corner, so recheck all four heights after each meaningful change.
Inspect the clearance with the steering turned fully left and right. Look for contact between the tire and fender liner, inner fender, spring, damper body, brake hose, and sway-bar components. Check underneath for reduced clearance at the exhaust, subframe, oil pan, and jacking points.
Step 9 Tighten all hardware and perform a slow initial road check
Before driving normally, verify that every relevant locking collar is tight, wheel lugs are torqued, and no tools or loose materials remain under the vehicle. Confirm that the ride-height adjustment has not pulled a brake line or stretched an ABS wire.
Drive slowly on a quiet, smooth route with the windows open. Listen for clunks, scraping, spring movement, or repeated bottoming. Test gentle braking and steering first, then stop and inspect the wheel wells again.
A new ride height changes suspension geometry, including camber and toe. Drive only far enough to reach an alignment shop if the steering wheel is off-center, the car pulls, a tire rubs, or the vehicle feels unstable. Do not use aggressive cornering or high speed as a test.
Why lower-mount adjustment matters on Tein coilovers
The spring perch and lower mount perform different jobs. The spring perch supports the spring and helps establish preload, while the lower mount changes how long the coilover assembly is when installed. On designs with independent height adjustment, changing the lower mount lets you lower the vehicle without heavily compressing the spring.
Spring preload is the amount of initial compression applied to the spring when the suspension is extended. It is not the same thing as vehicle ride height. Turning the spring perch down may lower the car on some setups, but it can also change preload, reduce available droop travel, or allow the spring to become loose when the suspension unloads.
This distinction explains why a car can appear lower but drive worse after an adjustment. Excessive lowering may leave the damper operating near the end of its travel, causing harsh impacts over bumps. It can also change camber, toe, roll-center geometry, and the relationship between the sway bar and suspension arms.
Understanding how to lower tein coilovers also means recognizing the limits of the method.
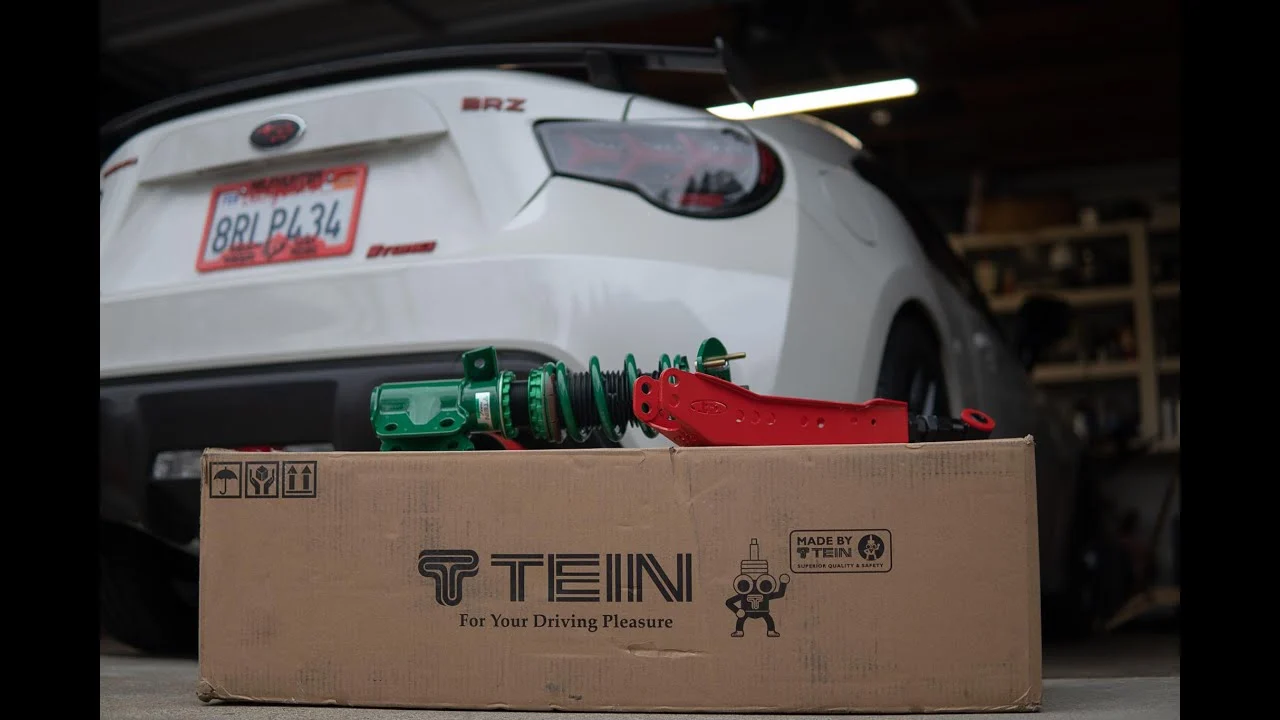
Model compatibility is not interchangeable
Tein offers multiple coilover families and vehicle-specific applications. The collar shapes, lower-mount threads, damper settings, and height-adjustment instructions may differ. Even two kits fitted to similar vehicles may not share the same adjustment limits.
Use the manual for the exact kit whenever possible. If you cannot identify the model or cannot tell which collar controls the lower mount, pause rather than guessing. A suspension shop familiar with adjustable coilovers can identify the hardware without forcing it.
How much lowering is reasonable?
There is no single safe lowering amount for every vehicle. The practical limit is set by the coilover’s adjustment range, remaining bump and droop travel, tire and wheel dimensions, fender clearance, underbody clearance, and local road conditions.
A useful result is not simply the smallest wheel-center-to-fender measurement. It is a height that leaves the tire clear during steering and suspension movement, keeps the car from repeatedly bottoming, and preserves enough clearance for ramps, speed bumps, and normal driveway transitions.
How to verify the final setup
Verification should happen in stages. First confirm that the hardware is secure while the car is stationary. Then check clearances at rest and during steering.
Finally, have the alignment measured after the suspension has settled and any final ride-height changes are complete.
Use repeatable ride-height measurements
Measure from the center of each wheel to the fender lip, using the same point and tape position each time. Ground-to-fender measurements can be misleading if tire pressures, wheel sizes, or the surface change.
Record the final numbers and the visible adjustment references. Keeping these notes makes future maintenance easier and helps identify whether a corner has moved over time.
Check your result
A basic success check is equal, intentional adjustment on the paired coilovers, no loose spring at full droop where the manual does not allow it, no tire or brake-line contact, and a car that tracks straight during a gentle drive.
Schedule a professional alignment
Changing ride height changes suspension angles, even when the adjustment is modest. Have a four-wheel alignment performed after the final height is established. Ask for a printout showing camber, caster where adjustable, and toe before and after correction.
Do not assume that a straight steering wheel proves the alignment is correct. Toe can be outside specification while the wheel appears nearly centered, and unequal rear alignment can affect how the vehicle tracks.
Common problems after lowering Tein coilovers
Most issues come from confusing the adjustment collars, exceeding the usable height range, or skipping the post-adjustment inspection. The symptoms below can help you decide whether a simple recheck is appropriate or whether the vehicle should not be driven further.
| Symptom | Likely causes and response |
|---|---|
| One corner sits higher | Unequal adjustment, an unsettled spring, uneven ground, or a worn component. Re-measure on level ground and compare collar positions before making a small correction. |
| Clunking over bumps | Loose collar, mount hardware, sway-bar link, or spring movement. Stop and inspect; do not assume the sound is normal. |
| Tire rubs while turning | Insufficient fender or liner clearance, changed alignment, or an unsuitable wheel and tire combination. Do not continue driving until the contact is resolved. |
| Ride becomes very harsh | Insufficient bump travel, excessive lowering, incorrect damper setting, or a spring-seat change. Return to a documented safe height or seek a suspension inspection. |
| Collar will not move | Dirt, corrosion, cross-threading, or a loaded suspension. Use the correct wrench only; stop if normal force does not free it. |
When the car is lower but the spring feels loose
Do not drive if the spring can move freely or unseat when the suspension is unloaded, unless the Tein instructions explicitly describe that condition as normal. The spring may have been adjusted through the wrong perch, or the vehicle may be outside the intended height range.
Return to the model-specific instructions and inspect the spring seats. If you cannot establish the correct setting, have the coilover checked by a qualified technician.
When the car scrapes after a small adjustment
Scraping may come from the front lip, exhaust, undertray, tire, or a suspension component. Identify the contact point rather than continuing to drive and hoping the part wears clear. A small height change can also alter the angle of an exhaust or sway bar enough to create contact.
Raise the vehicle only with proper support and look for fresh marks, polished metal, torn plastic, or rubber dust. Resolve the interference and recheck steering and suspension clearance before normal use.
Beginner FAQs about lowering Tein coilovers
These questions address common uncertainties that arise when the hardware is unfamiliar. The exact Tein manual remains the final authority for model-specific limits and collar positions.
Can I lower Tein coilovers by turning only the spring perch?
Usually, that is not the preferred method when the kit has an independently adjustable lower mount. Moving the spring perch can change preload and suspension travel. Use the adjustment method specified for your model.
How low should I set my Tein coilovers?
Set them only as low as needed while retaining tire clearance, useful ground clearance, and adequate suspension travel. The lowest visual setting is not necessarily the safest or best-handling setting.
Do I need an alignment after lowering coilovers?
Yes. A ride-height change can alter toe and camber, so a four-wheel alignment should follow the final adjustment. If the car pulls, the steering wheel is off-center, or a tire is rubbing, limit driving until it is checked.
Why is one side of my car higher after adjustment?
Possible causes include unequal collar positions, a spring that has not settled, an uneven surface, or normal weight distribution. Measure from wheel center to fender on level ground and compare both sides before making another adjustment.
Can I adjust the coilovers while the car is on the ground?
Do not place your hands near the collars or suspension without safely lifting and supporting the vehicle as required by the manufacturer. The suspension may be loaded, access may be poor, and the car can move unexpectedly.
Finish the adjustment with measurements, clearance, and alignment
Learning how to lower tein coilovers safely means treating ride height as a suspension adjustment, not just a visual change. Identify the exact kit, preserve the intended spring setting, use the lower mount when the design allows it, and make small equal adjustments that you can measure and document.
After lowering, settle the suspension, inspect every clearance, tighten the hardware to the specified torque, and arrange a professional alignment. If a collar is seized, a spring is loose, a damper leaks, or the vehicle rubs or handles unpredictably, stop and seek qualified help before driving normally.


