
How to Find Coilovers for My Car: A Practical Step-by-Step Guide
Choosing coilovers is not as simple as matching a vehicle’s year, make, and model. Two kits can fit the same chassis yet produce very different results: one may prioritize comfortable street driving, while another may be intended for autocross, track use, or a very low show-car stance. The wrong choice can cause poor ride quality, limited suspension travel, tire rubbing, or installation problems.
The good news is that how to find coilovers for my car becomes a manageable research task once you separate compatibility from performance. You need accurate vehicle information, a realistic use case, enough clearance for your wheels and tires, and a supplier or manufacturer that clearly states what the kit includes.
This guide walks through that process from vehicle identification to final verification. You will learn how to compare vehicle-specific kits, interpret height and damping claims, check whether your car needs special parts, recognize unreliable listings, and confirm that a selected kit is appropriate before ordering or installing it.
At a glance
- Confirm the exact chassis, drivetrain, body style, and suspension configuration before comparing kits.
- Choose spring rates, damping features, and height range for your actual driving rather than appearance alone.
- Plan for alignment, wheel-clearance checks, and professional help if the fitment information is incomplete.
How to find coilovers for my car without guessing at fitment
Coilovers combine a shock absorber with a threaded spring perch or body that allows the vehicle’s ride height to be adjusted. Some kits replace only the dampers and springs, while others also include adjustable top mounts, camber plates, or separate height-adjustment hardware. The safest selection method is to verify physical compatibility first, then compare how each kit is designed to behave.
Tools you will need
- Your vehicle identification information, including year, make, model, trim, engine, drivetrain, body style, and any suspension package
- The current wheel and tire sizes, measured from the sidewall and wheel markings
- The manufacturer’s fitment chart, installation instructions, and technical specifications for each candidate kit
- Optional: a measuring tape or ruler for recording current ride height and available wheel clearance
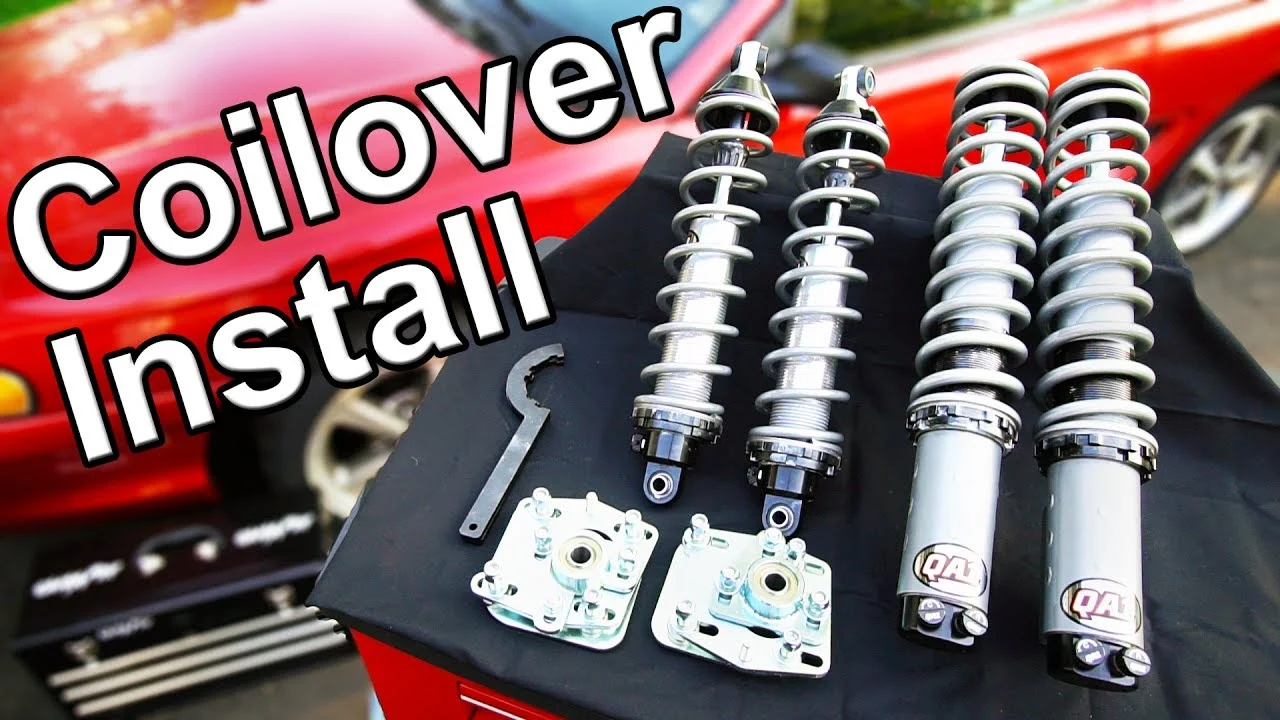
Step 1 Record the exact vehicle configuration
Write down the information a suspension manufacturer will use to separate one application from another: model year, generation, body style, engine, drivetrain, transmission if relevant, and trim level. Also note whether the car has electronic dampers, adaptive suspension, self-leveling suspension, a factory sport package, or a special performance edition.
Do not rely only on a license plate lookup or a general model name. A rear-wheel-drive coupe, all-wheel-drive sedan, convertible, and wagon may share a badge but use different spring lengths, mounting points, or suspension geometry. VIN information, the owner’s manual, a factory parts catalog, or a reputable parts-counter lookup can help resolve uncertainty.
Success at this stage means you can describe the car precisely enough that a manufacturer’s catalog would identify one specific application rather than several possible versions. If the listing says “fits most models” without explaining those differences, treat that as a reason to investigate further.
Step 2 Inspect the current suspension and wheel setup
Look at the car before shopping. Identify whether it has the original suspension, lowering springs, aftermarket dampers, air suspension, modified control arms, or other changes. Record the wheel diameter, wheel width, offset if known, tire size, and any spacers.
These details matter because a coilover may fit the suspension mounting points while the existing wheels or tires still rub after the car is lowered.
Measure from the center of each wheel hub to the edge of the fender, or use another consistent reference point on all four corners. This is more useful than measuring from the ground when comparing current and future ride height because tire size can change. Photograph unusual brackets, electronic sensors, or lines near the struts so you can compare them with the installation instructions.
Notice existing problems such as bent suspension parts, leaking shocks, worn bushings, rusted fasteners, or uneven ride height. Coilovers are not a substitute for repairing damaged components. A worn mounting point or seized adjustment hardware can turn a straightforward installation into a larger repair.
Step 3 Define how the car will actually be driven
Choose the primary use before comparing brands. A street-driven car generally benefits from controlled ride quality, useful bump travel, corrosion-resistant hardware, and a height range that does not force the suspension to sit near its limit. A car used for autocross, track days, or competition may need different spring rates, damping adjustment, camber control, and setup support.
Be honest about how often the car will carry passengers, luggage, or winter grime. A very low setting that looks appropriate in a photograph may be impractical on uneven roads or may leave too little shock travel. If you want a modest drop and comfortable commuting, a street-oriented kit is usually a more sensible starting point than a competition-focused package.
Separate your requirements into must-haves and preferences. Must-haves might include compatibility with electronic-damper warnings, a particular ride-height range, or preservation of factory top mounts. Preferences could include adjustable damping, camber plates, separate height adjustment, or stainless hardware.
Helpful tip
Use “lower than stock” as a secondary goal, not the complete specification. The usable height range, remaining suspension travel, and alignment capability matter more than the lowest advertised position.
Step 4 Verify the vehicle-specific fitment listing
Open the manufacturer’s fitment chart rather than relying on a marketplace title. Confirm the exact year range, body style, drivetrain, engine or brake configuration, and any exclusions. Check whether the kit is intended for the front and rear suspension layout on your vehicle and whether it replaces the original top mounts or reuses them.
Read every footnote. Some applications require separate rear height-adjustment components, special upper mounts, shorter sway-bar links, or removal of factory electronic dampers. Other kits may fit only vehicles with a certain factory suspension package.
A listing that says “direct fit” does not necessarily mean every original feature remains functional.
Compare the product number in the fitment chart with the product number on the seller’s page. If they differ, pause the purchase until the seller explains why. A correct catalog number and a complete application note are observable evidence that the kit was selected for the right chassis.
Step 5 Compare what each kit includes
Make a simple list for every candidate kit. Record whether it includes four dampers, springs, spring perches, locking collars, bump stops, dust boots, upper mounts, camber plates, rear height adjusters, and required hardware. Some products reuse factory upper mounts; others require new mounts or offer them as an upgrade.
Pay attention to whether the adjustment is true ride-height adjustment or merely spring-perch adjustment. On a properly designed height-adjustable system, the body or lower mount may allow the car to be lowered without using up all available spring preload and damper travel. A kit that adjusts only by compressing the spring can behave differently and may leave the spring loose at full droop if set incorrectly.
Read the installation manual before ordering if it is available. Look for instructions about orientation, torque values, brake-line brackets, ABS wiring, preload, and minimum or maximum settings. Missing instructions are not automatic proof that a kit is poor, but they make a confident fitment decision harder.
A useful way to approach how to find coilovers for my car is to check your progress after each stage.
Step 6 Evaluate spring rates and damping adjustment
Spring rate describes how much force is required to compress a spring a given amount. Higher rates generally resist body motion more strongly, but they can also transmit more impact through the chassis and may require appropriate damping and suspension geometry. There is no universally correct rate for every driver or road.
Damping is the shock absorber’s control of spring movement. Adjustable damping may allow changes to rebound, compression, or a combined setting. More adjustment does not automatically mean better performance; it can also make setup more confusing if the manufacturer gives little guidance.
Look for published spring rates, damper construction, adjustment range, and intended use. Be cautious when a seller emphasizes a low ride height but provides no spring-rate information, no damping explanation, and no instructions for adjustment. For a beginner’s street car, clear documentation and predictable behavior are often more valuable than the largest number of knobs.
Step 7 Check clearance, height range, and suspension travel
Compare the kit’s stated height range with your target ride height and current wheel-and-tire setup. Lowering changes the relationship between the tire, fender, spring, control arm, sway bar, inner wheel well, and steering components. The coilover itself may clear the wheel while another part of the tire or suspension does not.
Use the manufacturer’s wheel-clearance notes when available. If they are not provided, ask for the outside diameter and body dimensions of the damper near the wheel, then compare those dimensions with the existing assembly. Also check whether the kit changes the location of the spring, since a threaded body can occupy more space near the wheel than a factory spring.
Do not choose a kit solely because it can lower the vehicle farther than another. Excessive lowering can reduce bump travel, increase the chance of bottoming, alter toe and camber, and create interference at full steering lock or full compression. A usable setting leaves enough clearance and travel for the conditions in which you drive.
Step 8 Confirm special equipment and installation requirements
Determine whether your vehicle uses electronic shock control, height sensors, hydraulic self-leveling, or a suspension warning system. Coilovers designed for a conventional setup may not preserve those functions. Some cars need electronic modules or resistors to prevent warning messages, while others require coding or a different kit entirely.
Check whether the installation requires a spring compressor, press, specialized sockets, or removal of components that are difficult to access. Suspension springs store significant energy, and a compressed spring can cause serious injury if handled incorrectly. A beginner should not improvise with threaded rods, chains, or unsuitable clamps.
If the kit involves cutting, drilling, welding, disabling a safety-related system, or modifying a structural mounting point, stop and obtain a qualified suspension technician’s assessment. The same applies when the instructions conflict with the vehicle’s service information or the hardware does not match the stated application.
Step 9 Compare reputable sources and resolve uncertainties
Use the manufacturer’s catalog to establish fitment, then compare prices and availability among established retailers. Check whether the seller identifies the exact manufacturer part number, provides current technical specifications, and explains warranty coverage. Customer reviews can reveal recurring packaging or adjustment issues, but they should not replace the manufacturer’s fitment information.
Ask focused questions before buying: Does this part number fit the exact drivetrain and body style? Are upper mounts included? Does the kit work with the factory electronic dampers?
What is the recommended street height range? Are replacement parts and rebuild service available? A useful answer should be specific to the product, not simply “yes, it fits.”
Save the fitment page, technical sheet, and installation instructions with your order records. Product pages can change, and these documents will help if the delivered parts do not match the advertised configuration.
Step 10 Place the order only after a final fitment check
Before checkout, compare the vehicle details one more time against the selected part number. Confirm that the quantity is a complete vehicle set rather than a single axle or replacement component, and verify whether required mounts, links, or electronic accessories are included or sold separately.
When the parts arrive, inspect the boxes and labels before installation. Match the front and rear components to the instructions, check for bent shafts or damaged threads, and compare the included hardware with the parts list. Do not install a visibly damaged component or force a part that does not align with the documented application.
The selection task is complete when the part number matches the exact vehicle, the kit’s contents match your installation plan, the height and performance range suit your driving, and clearance or electronic-system questions have documented answers.
What the important coilover specifications mean
Product pages often use suspension terms without explaining how they affect a real car. Understanding the basics helps you distinguish a useful specification from a marketing phrase and prevents you from comparing unlike products. Understanding how to find coilovers for my car also means recognizing the limits of the method.
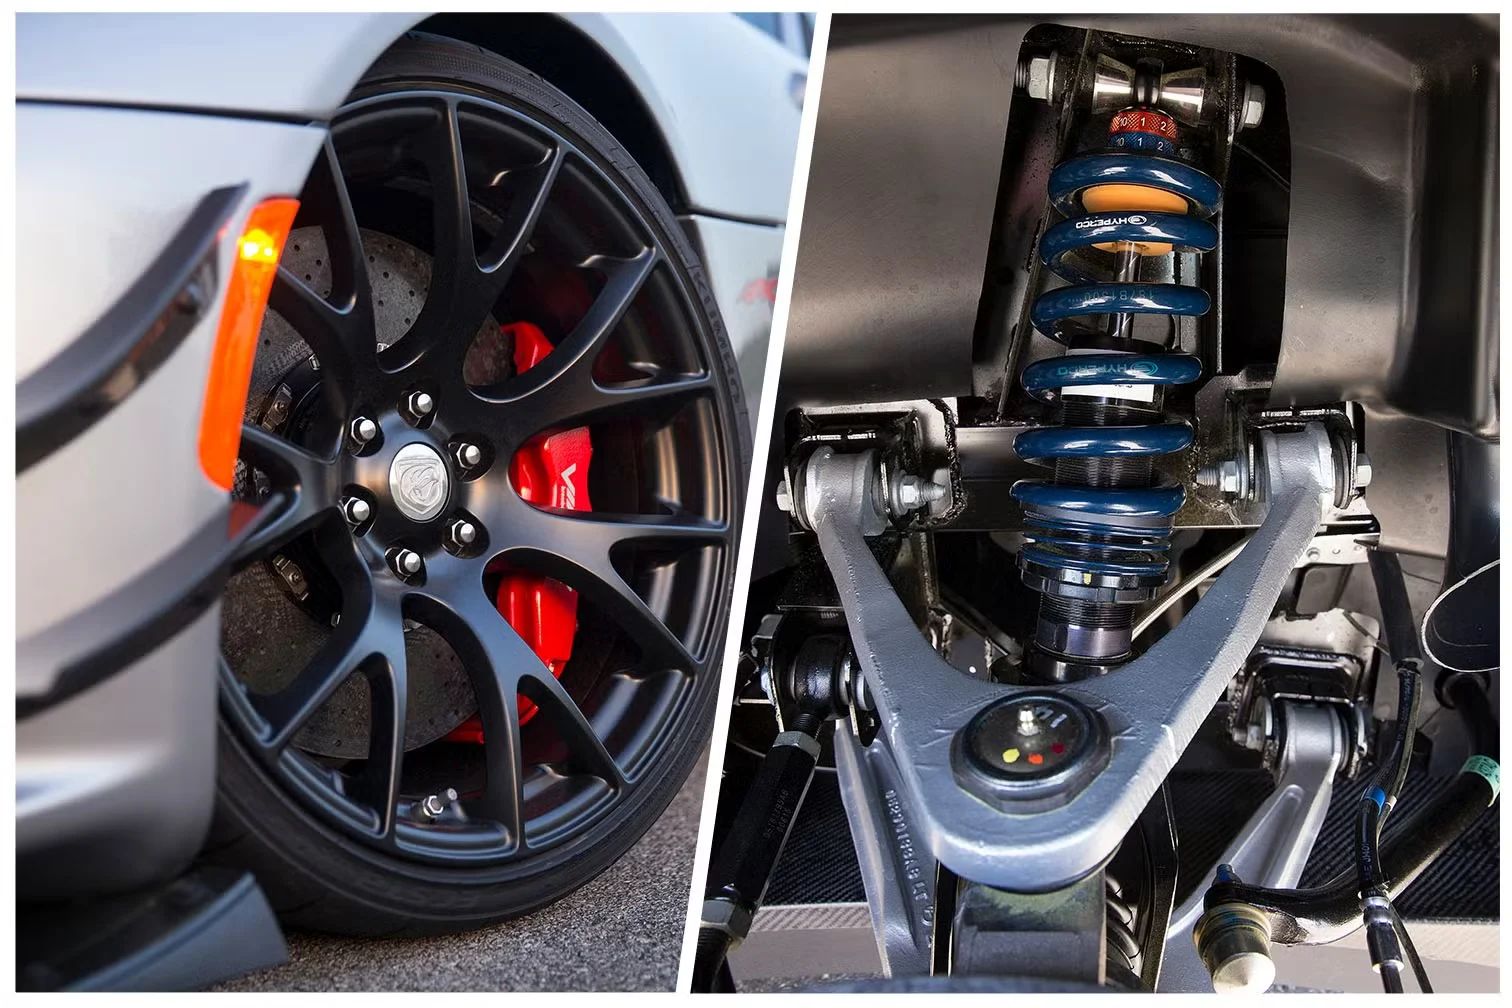
Ride-height adjustment
Ride height is the distance between the vehicle body and the road, usually discussed as the change from factory height. A wide advertised range is not automatically beneficial. Ask where the kit maintains adequate spring preload, damper travel, and suspension geometry.
Some systems use a threaded shock body or lower mount for adjustment, while others move a spring perch. The installation instructions should explain how to set the height and lock the collars. If the instructions are vague about minimum thread engagement or adjustment limits, contact the manufacturer before using the kit.
Camber plates and top mounts
A top mount connects the upper end of the front strut to the vehicle. An adjustable camber plate can change the angle of the wheel relative to the road, which may help compensate for geometry changes or support competition alignment settings. It can also add noise and transmit more road texture on some vehicles.
Do not assume that an included camber plate is desirable for a daily driver. The vehicle may need a more aggressive alignment, and the adjustment may require careful measurement to avoid uneven tire wear. Factory-style mounts may be preferable when preserving quiet operation is the priority.
Damper adjustment
A damper adjustment knob may control rebound, compression, or both through a combined setting. The adjustment should be repeatable and documented. If there are no baseline settings or instructions, changing the knob may produce little useful information.
Adjustable dampers cannot correct an unsuitable spring rate, damaged bushing, poor alignment, or inadequate tire clearance. They are a tuning feature, not a repair for an incorrectly chosen or improperly installed suspension.
How to verify the choice before and after installation
Verification has two parts: confirming the purchase before the car is disassembled and checking the finished installation before normal driving. This protects against catalog mistakes and catches problems that are not visible in an online listing.
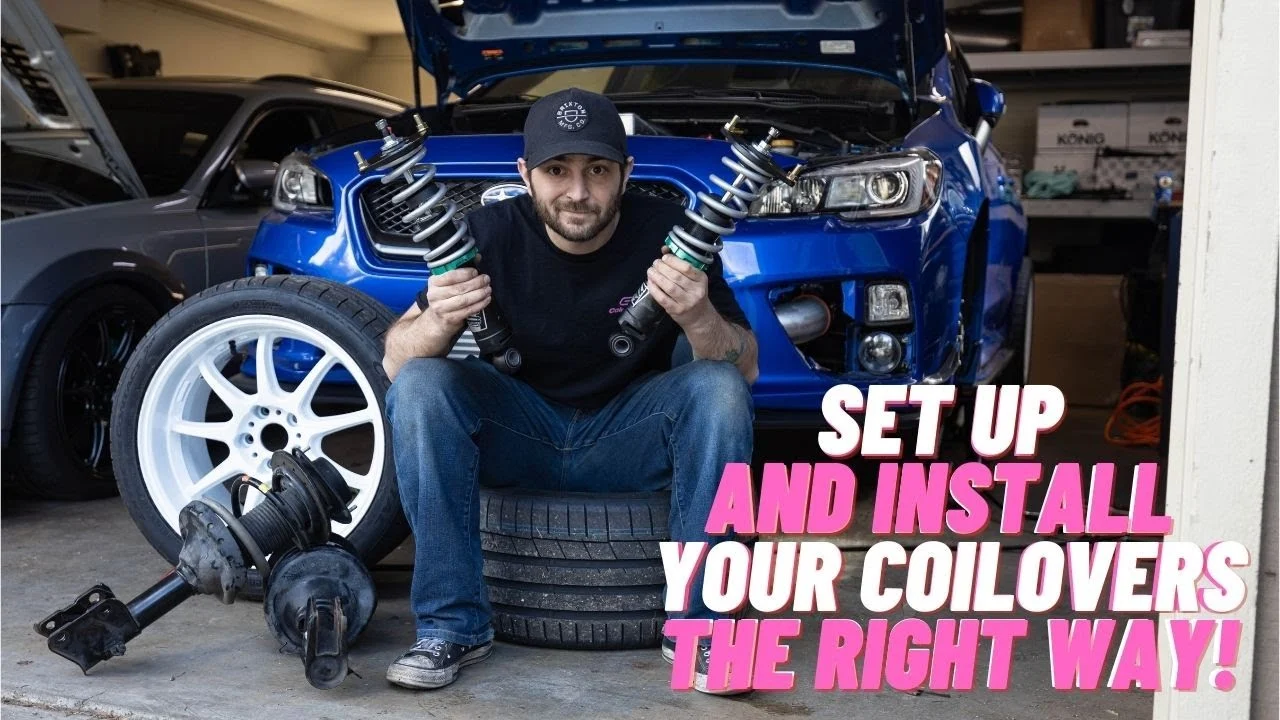
Use a pre-installation checklist
Before scheduling installation, confirm that the vehicle is level enough to measure consistently and that the candidate kit’s part number appears on the manufacturer’s application list. Make sure you understand which original parts are reused and which new parts are included.
- Exact year, body style, drivetrain, and suspension package match the catalog.
- Front and rear components are present and labeled correctly.
- Upper mounts, rear adjusters, bump stops, and hardware match the parts list.
- Electronic-damper or height-sensor requirements are understood.
- Target ride height is within the documented usable range.
- Wheel, tire, brake, and sway-bar clearance questions have been answered.
Inspect the completed installation
After installation, check that springs remain properly seated, locking collars are tightened according to the instructions, brake hoses and ABS wires are secured, and no component contacts the wheel or tire. Turn the steering from lock to lock while the vehicle is safely supported as directed by the technician, then inspect again with the vehicle on the ground.
Measure ride height at all four corners on level ground and compare the results with your intended setting. Small differences can occur, but a pronounced imbalance, unusual lean, loose spring, or damaged thread requires correction before driving normally.
Check your result
A successful initial check shows no rubbing, loose hardware, warning lights that were not addressed, leaking dampers, or contact between suspension parts through normal steering and suspension movement. Have the alignment checked after installation and after significant ride-height changes.
Complete alignment and road checks
Changing ride height changes alignment angles, especially toe. Have the vehicle aligned using specifications appropriate for your intended use. Ask for the measured results rather than accepting only a statement that the alignment was completed.
Begin with a slow, quiet-area check for clunks, scraping, steering pull, unusual vibration, or a suspension warning. Recheck wheel and suspension hardware at the intervals specified by the manufacturer or installer. Stop driving if the car develops severe pulling, metal-to-metal contact, unstable handling, or a tire rub that could damage the tire.
Common coilover selection mistakes and fixes
Most disappointing coilover purchases trace back to a mismatch between the application, the intended use, and the installation plan. The problems below are easier to prevent before ordering than to correct after the suspension is fitted.
| Issue | What to check |
|---|---|
| The kit is listed as fitting several versions of the car | Confirm drivetrain, body style, factory suspension, brake package, and the exact part number with the manufacturer. |
| The car sits too low or rides harshly | Check height adjustment, remaining travel, spring rate, bump stops, tire pressure, and alignment before changing damping settings. |
| The wheel or tire rubs | Inspect clearance at steering lock and compression; check wheel offset, tire size, spacers, spring position, and fender clearance. |
| A suspension warning appears | Review electronic-damper compatibility and the required module, coding, or alternate kit. Do not ignore a warning without identifying its cause. |
| The kit arrived with missing or mismatched parts | Stop installation, photograph the packaging and labels, compare the parts list, and contact the seller or manufacturer. |
When an online listing is not enough
Walk away from a purchase when the seller cannot confirm the exact application, the product number is inconsistent, or the instructions are unavailable for a complicated installation. A low price does not compensate for uncertain fitment or unavailable replacement components.
Also reconsider a kit that achieves the desired appearance only at an extreme setting. If the car will be driven on public roads, preserving predictable steering, tire clearance, and suspension travel should take priority over the lowest possible stance.
Beginner questions about finding coilovers
These questions address decisions that commonly remain unclear after a basic product search. The correct answer depends on the vehicle and the kit, so the manufacturer’s application notes still control.
Do coilovers fit any car with the same model name?
No. Fitment can vary by generation, body style, drivetrain, engine, brake package, factory suspension, and electronic equipment. Match the exact vehicle configuration to the manufacturer’s part number rather than relying on the model name alone.
Are more expensive coilovers always better?
No. Price may reflect materials, adjustment features, corrosion protection, rebuildability, included mounts, and development for a particular application. A well-documented street kit can be a better choice than a more expensive competition kit that does not suit your roads or driving habits.
Can I use my current wheels with coilovers?
Usually, but not automatically. The new damper body, spring position, ride height, wheel offset, tire width, and steering or compression movement all affect clearance. Verify the manufacturer’s wheel notes and inspect the installed suspension through the full range of movement.
Will coilovers make my car handle better?
They can improve control when properly selected, installed, and aligned, but they can also make handling worse if the spring rates, damping, ride height, or alignment are unsuitable. Tires, bushings, geometry, and driving conditions remain important parts of the result.
Do I need an alignment after installing coilovers?
Yes, an alignment is normally needed because changing ride height alters toe, camber, and other wheel angles. Drive only as necessary to reach the alignment facility, and stop if the vehicle rubs, pulls sharply, or feels unstable.
Choose coilovers by fit, function, and verification
Learning how to find coilovers for my car is mainly an exercise in careful matching. Start with the exact vehicle configuration, inspect the current wheels and suspension, define how the car will be driven, and compare complete kits using manufacturer documentation rather than photographs or broad marketplace claims.
A suitable kit should provide a usable height range, appropriate spring and damping characteristics, clear installation information, and verified compatibility with the vehicle’s mounts and electronic systems. Before driving normally, confirm clearance, hardware, ride height, warning lights, and alignment. When any of those checks cannot be answered confidently, pause the purchase or installation and ask a qualified suspension professional to review it.


